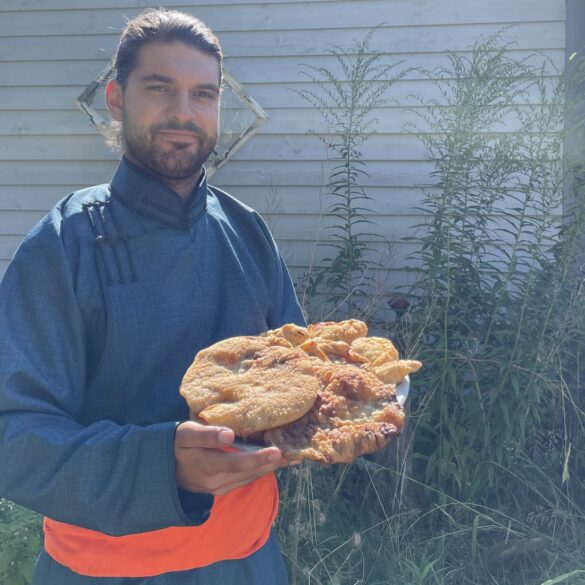
Fancy some festive fried doughnuts? Would you like to celebrate Mongolia’s cheerfulness and freedom ? Then why not give Mongolian Khuushuurs a try?
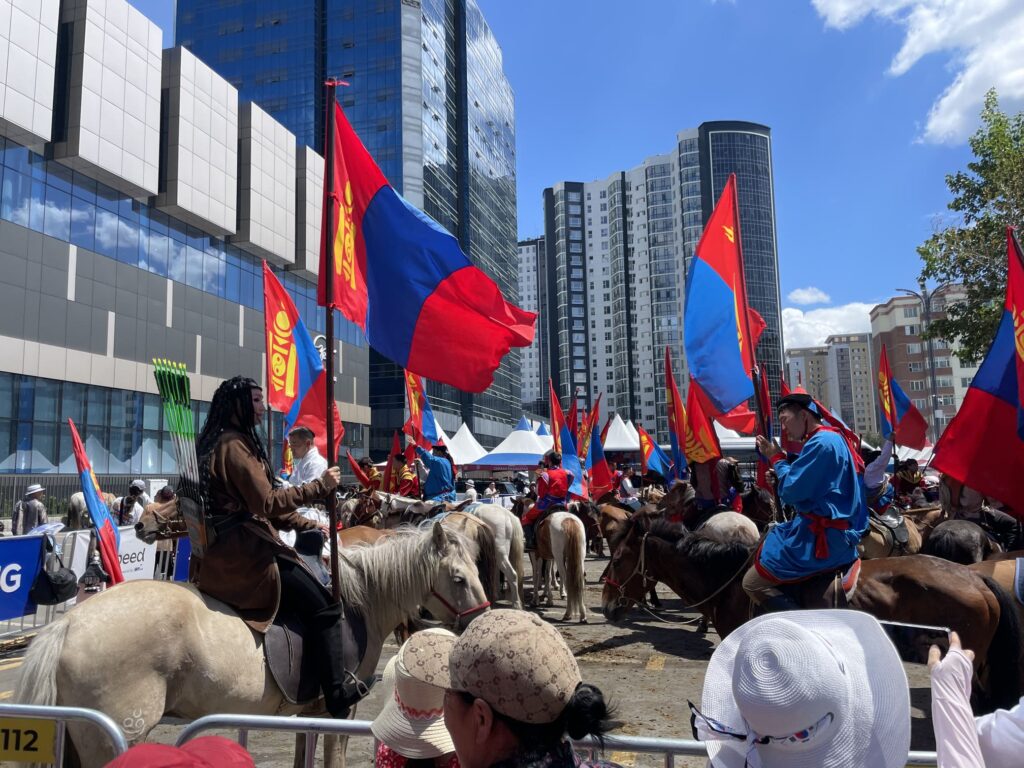
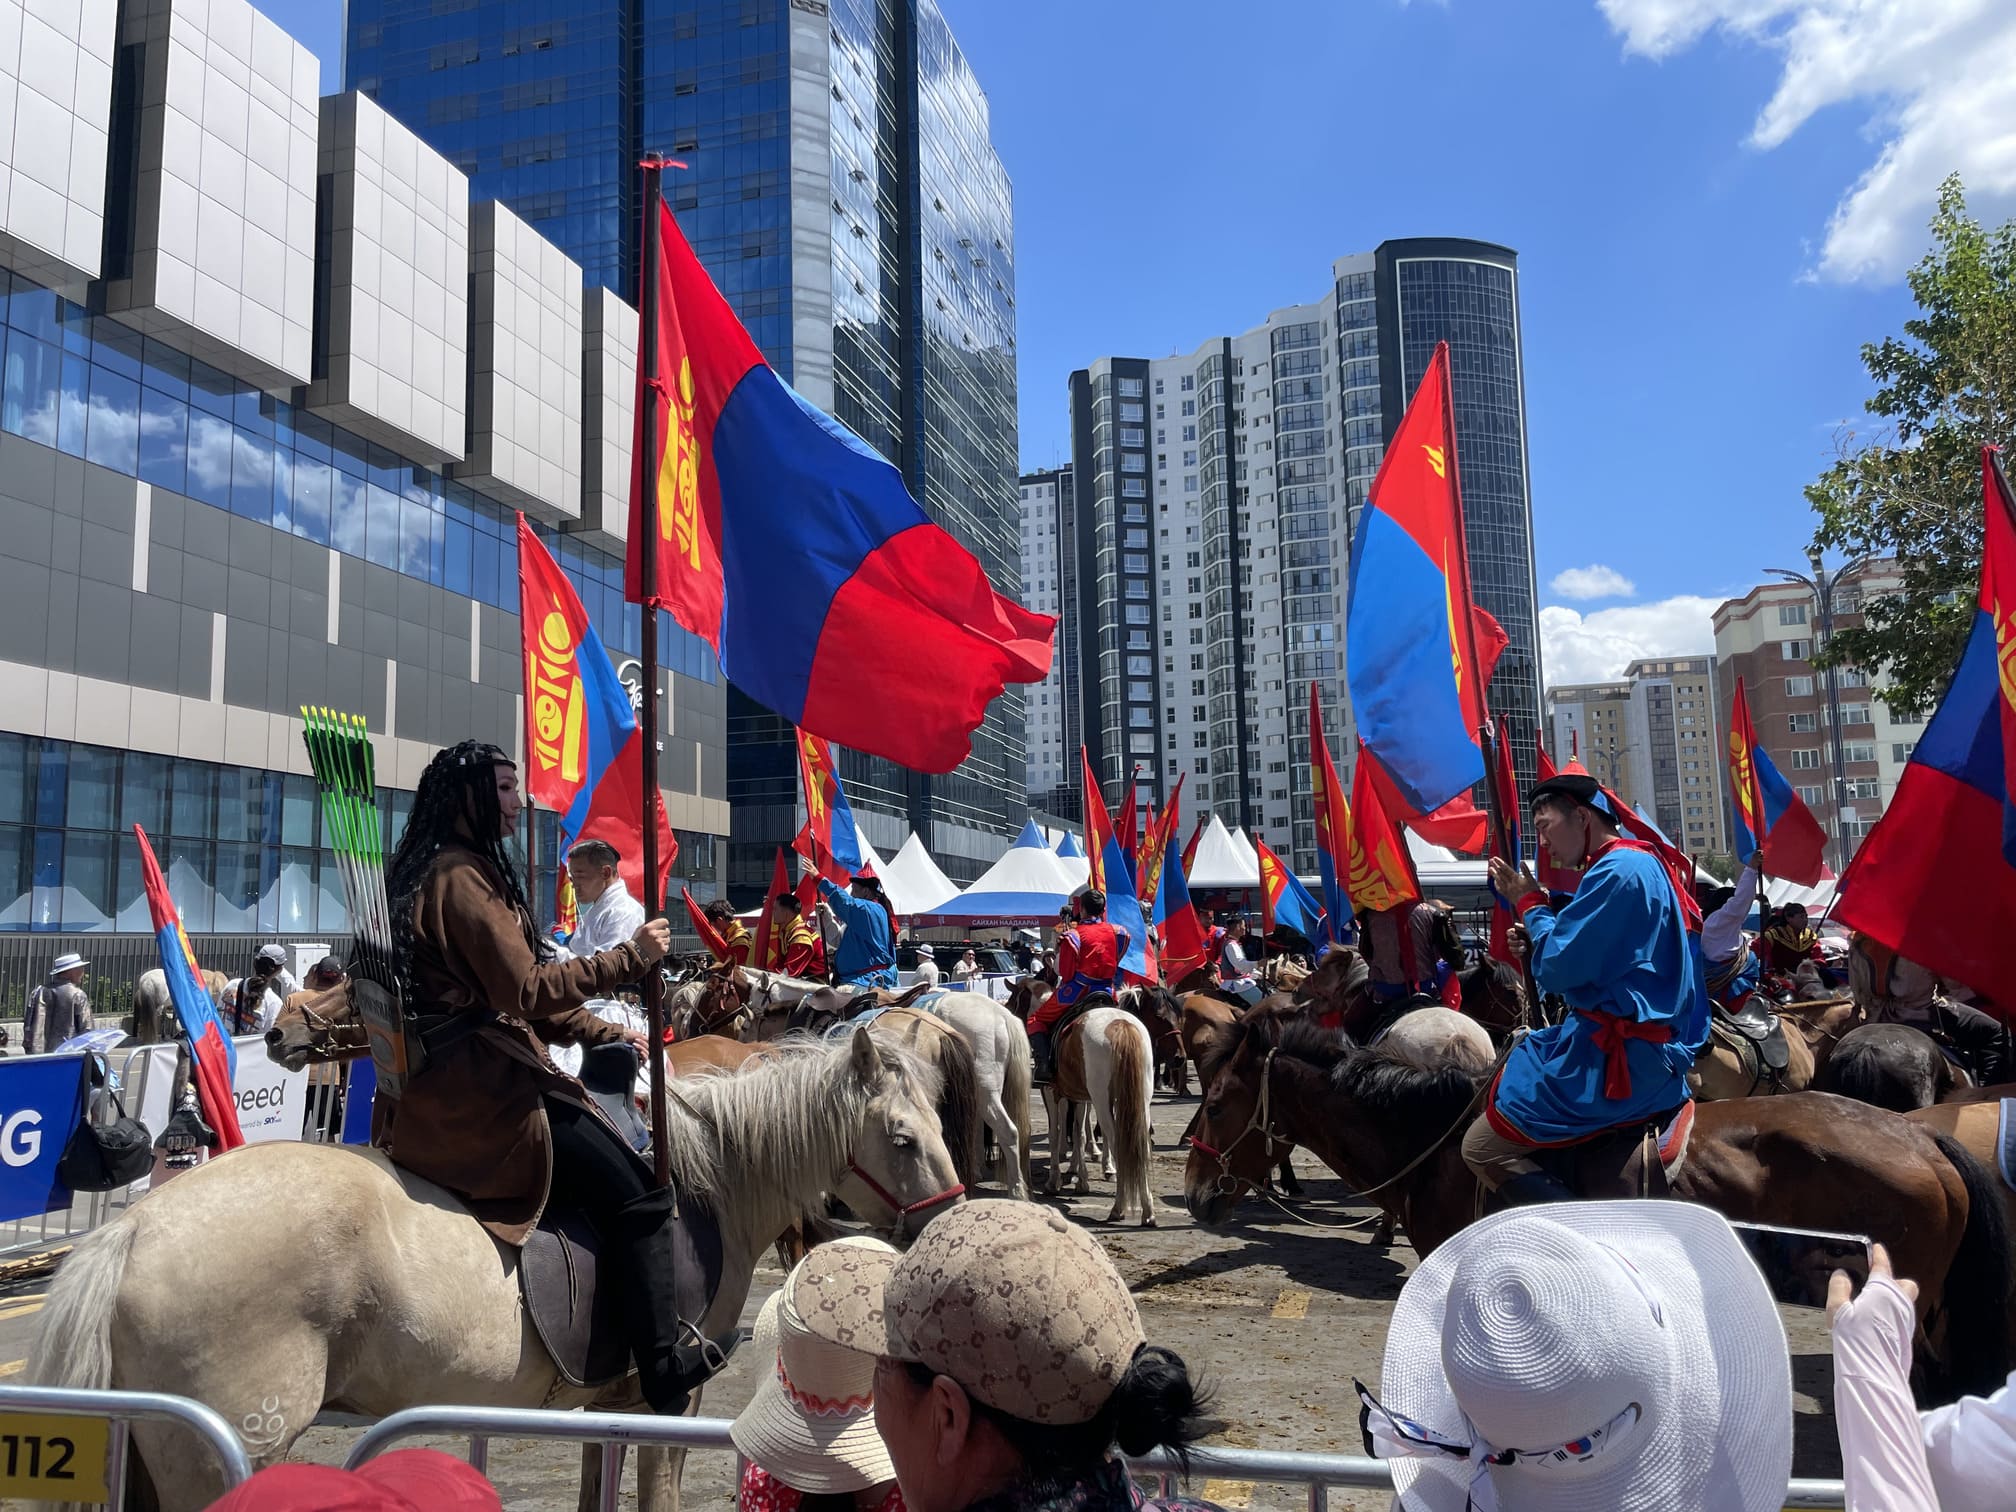
It’s the star dish at the national festival held around 11 July, the NAADAM. Established under Chinggis Khan during his reign, this festival now celebrates the country’s independence from China in the early 20th century. And the Khuushuur is THE star attraction at local stalls, whether in the capital, Ulaanbaatar, or in the country’s smaller provinces. I haven’t found any cultural reason for the link between this dish and the national holiday – perhaps its circular shape, reminiscent of the sun in the Naadam version, or simply the fact that it’s so practical to prepare as a fast-food item for sale.
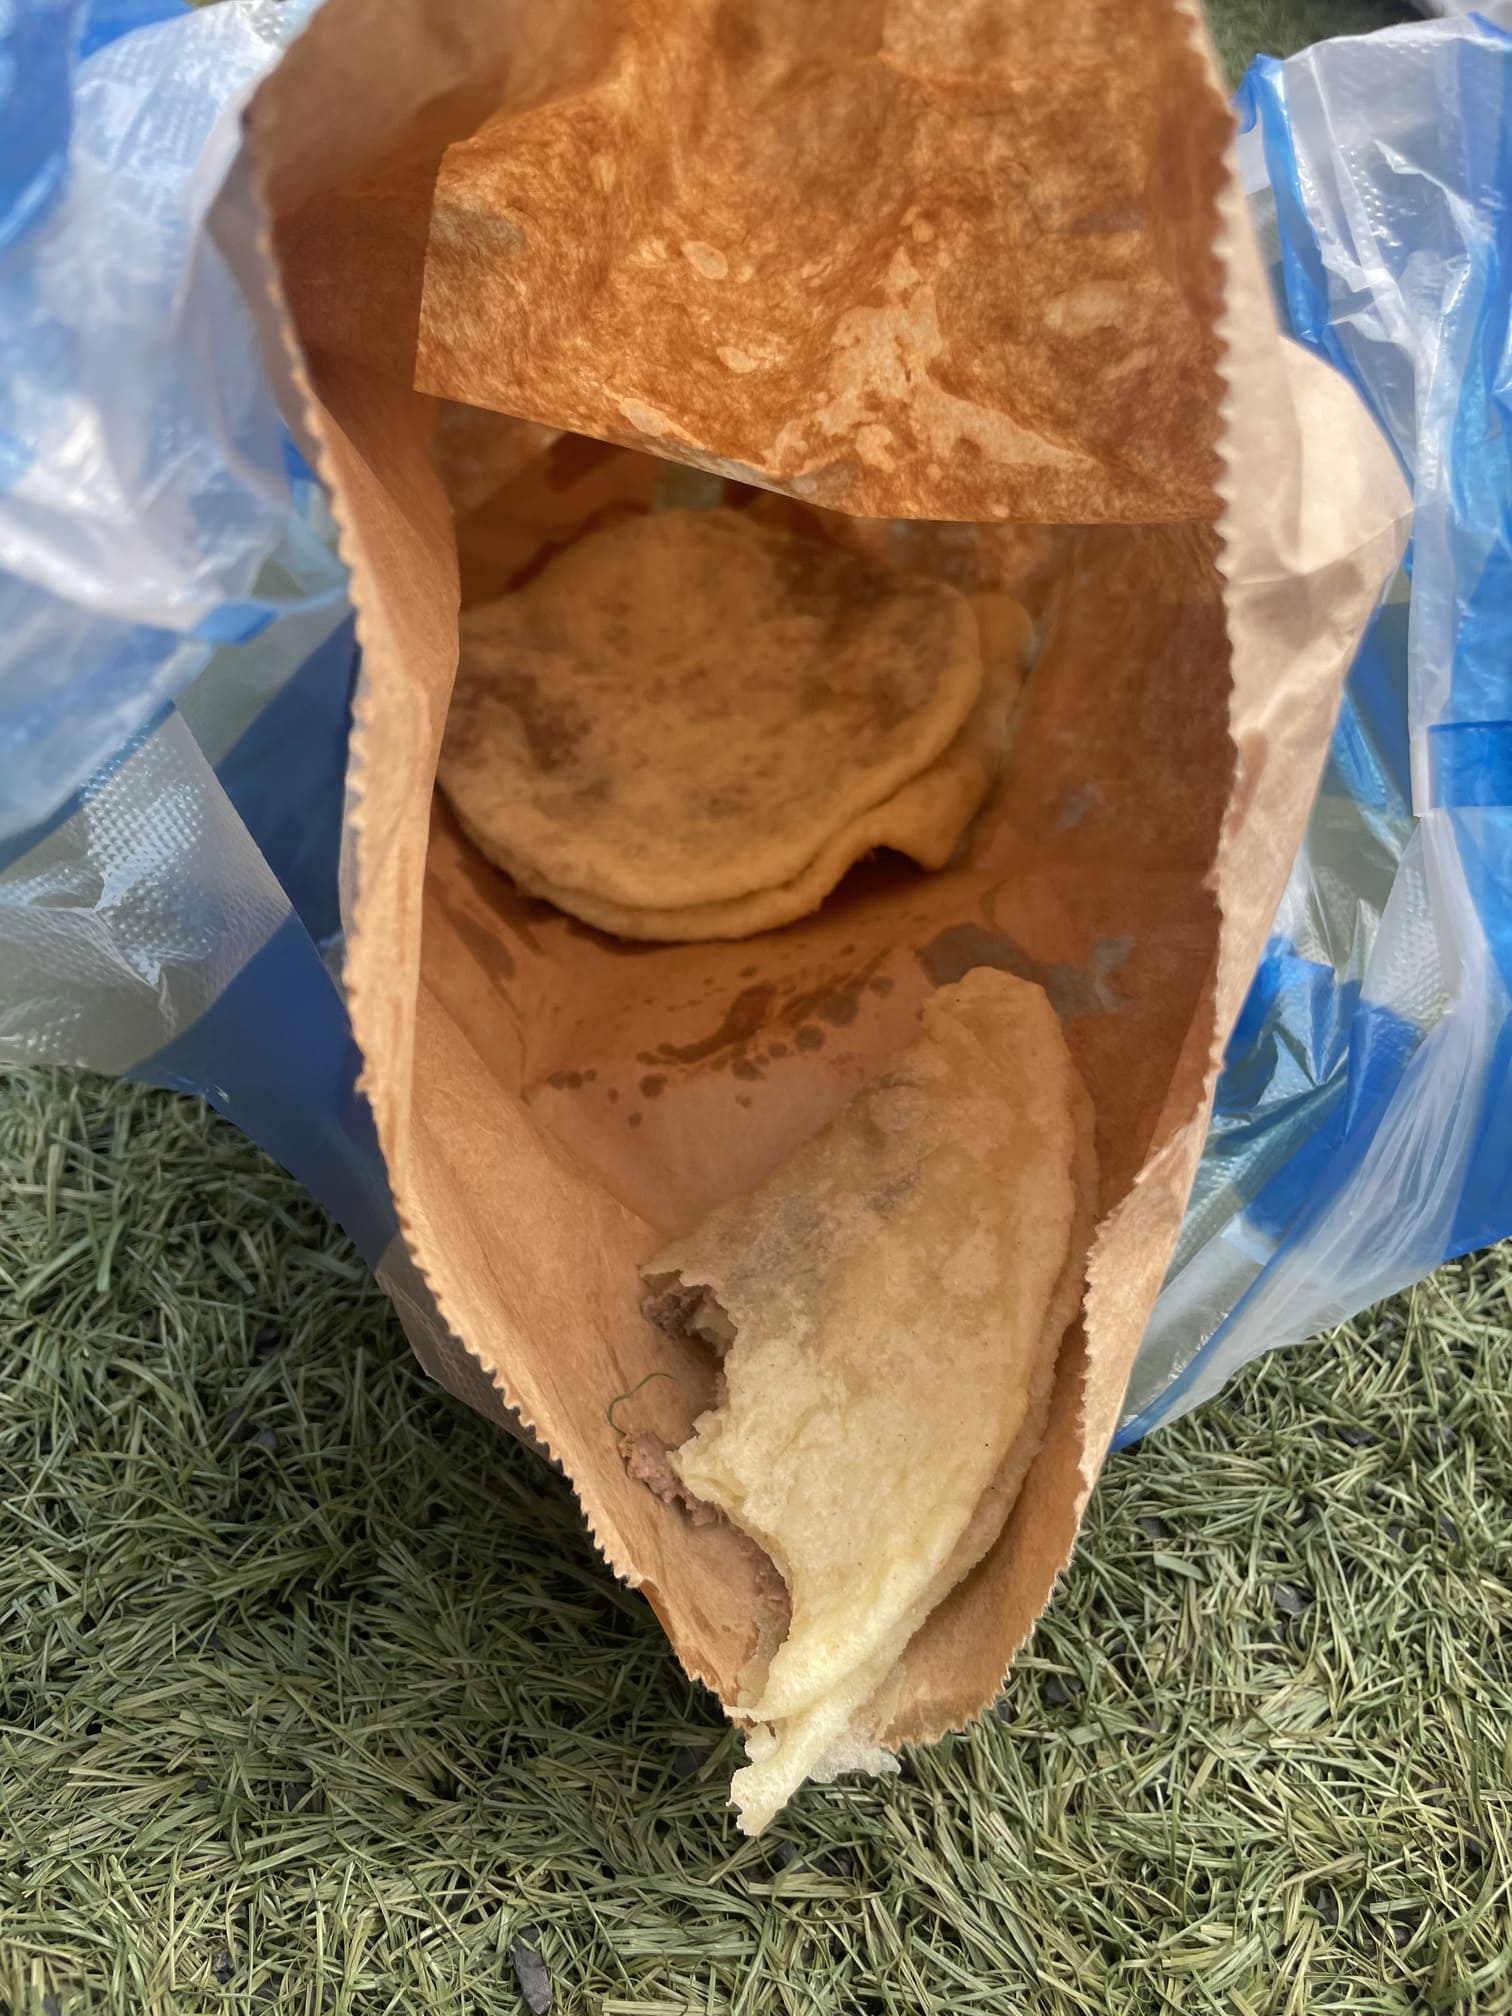
When I set foot in Ulaanbaatar on 11 July 2025, this was the very first meal I had to satisfy my hunger. A tasty and hearty dish, ideal for kicking off the cycling trip that lay ahead of me.
Naadam
My first Khuushuur
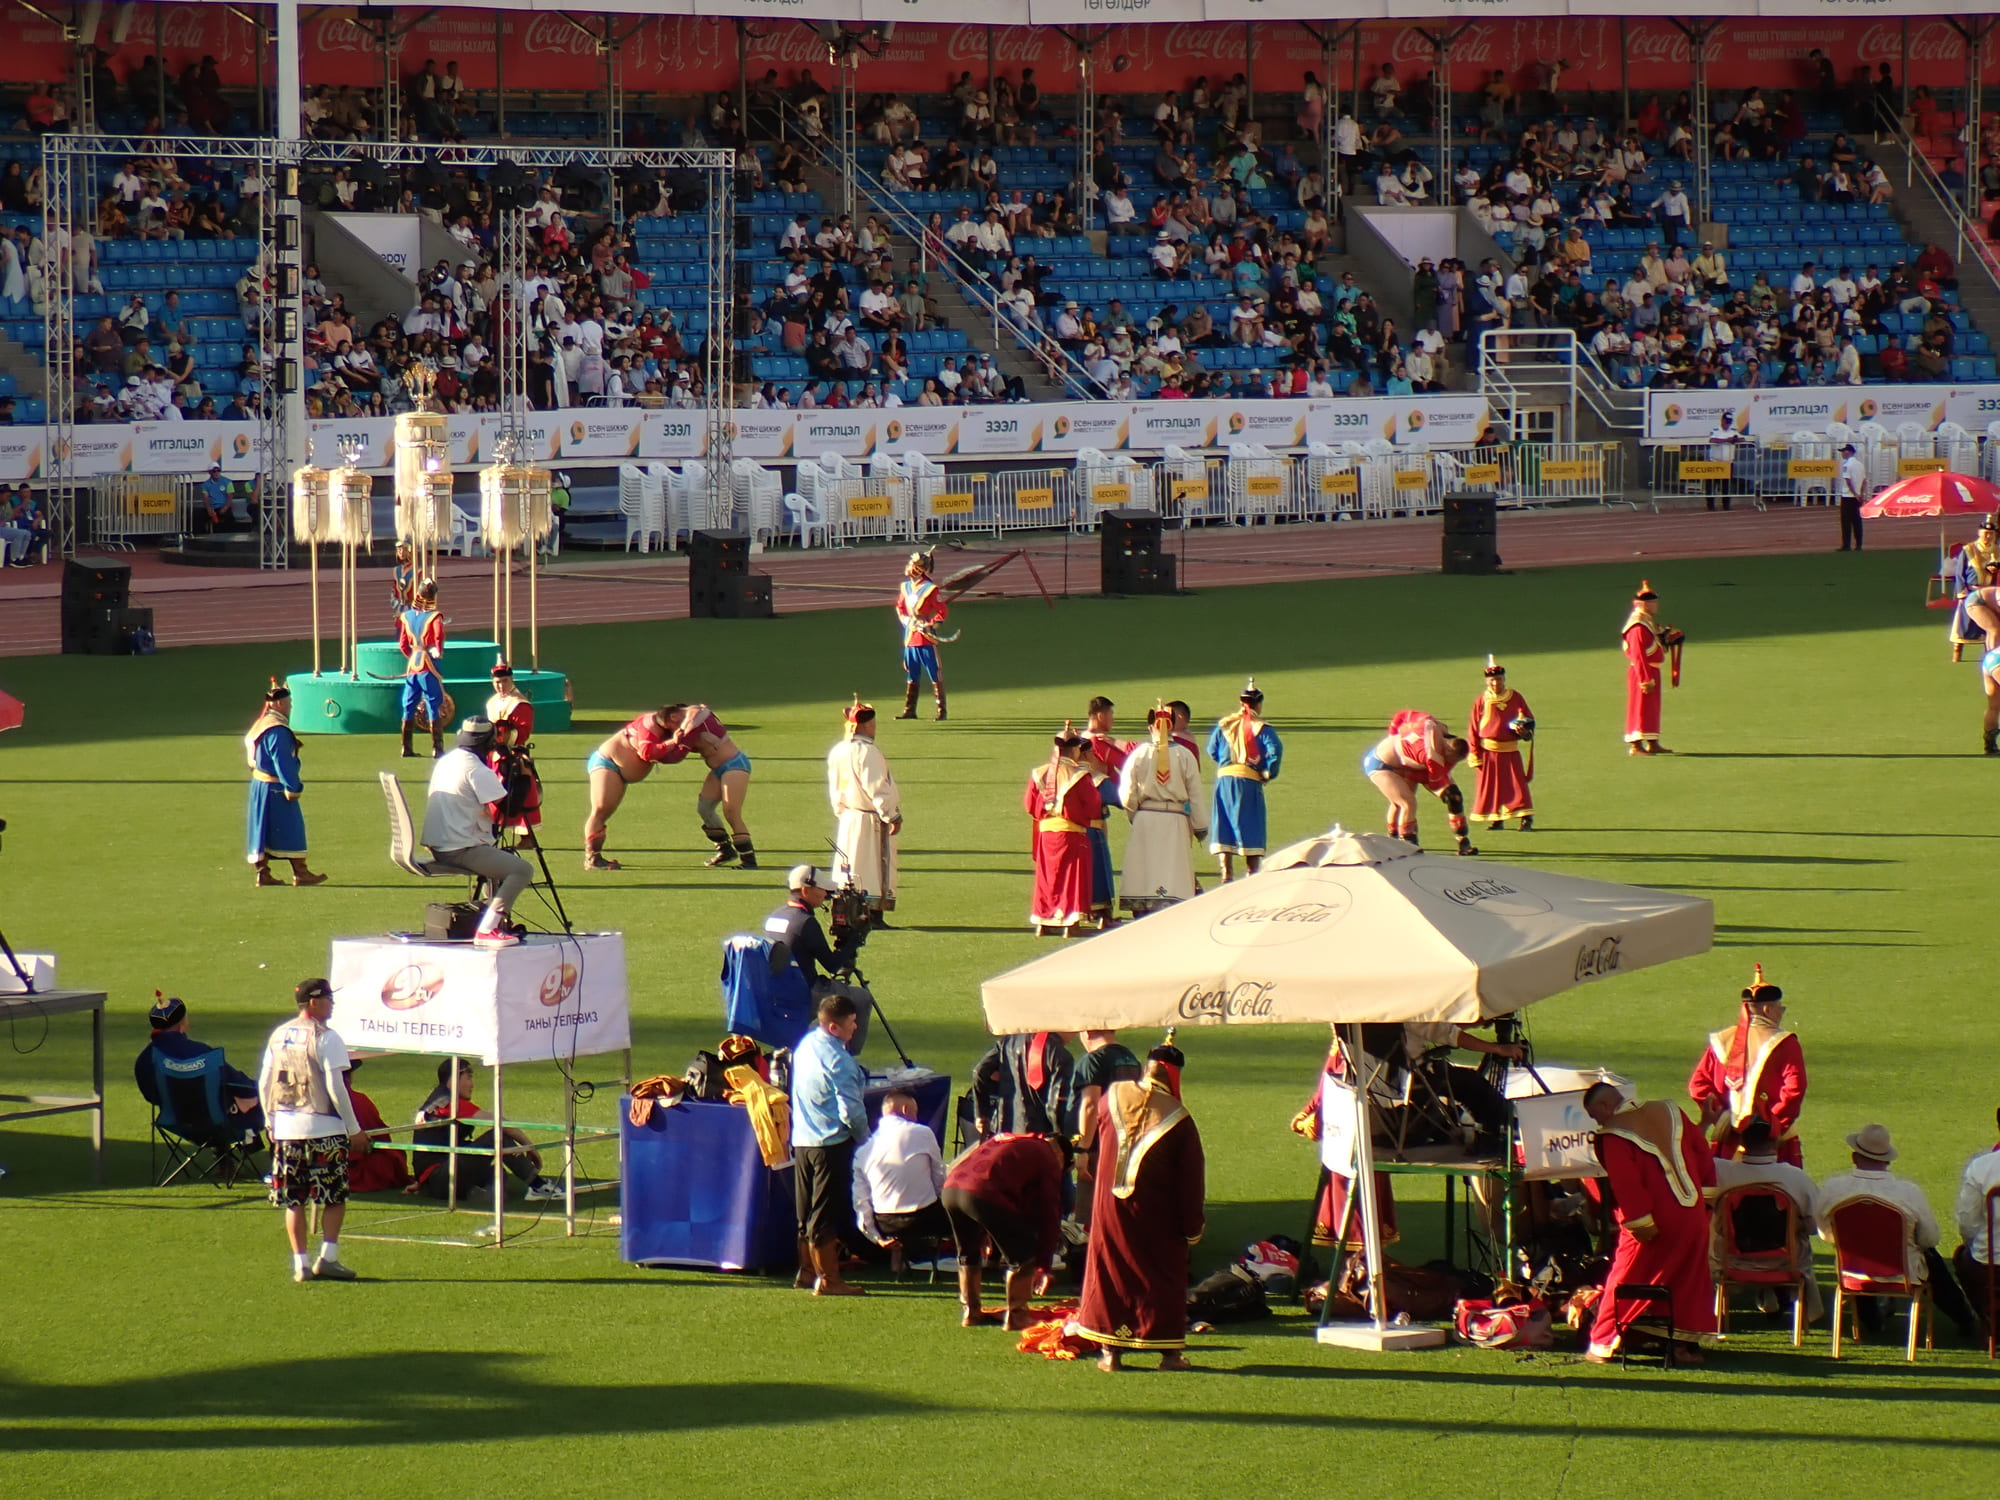
Bokh, Mongol wrestling, national sport
Depending on the season and the condition of the nomads’ herds, the meat used may be beef, mutton or lamb, and certainly any other Mongolian livestock when in season (horse, goat, camel – who knows?). The important thing about a Mongolian dish is that it is hearty and provides the energy needed for work on the steppe. Sticking strictly to the recipe or the exact ingredients isn’t all that important. And here’s the recipe:
Prep Time:Cooking Time:
Nutrition facts:A LOT calories20 grams fat
Rating 5.0/5
( 1 voted )
Ingredients
Dough :
1 kg flour
6–700 ml water
1 egg
Filling :
600 g minced meat
1–2 onions
Salt & pepper
Optional: Parsley, garlic, other spices and herbs of your choice.
As Mongolia is not a major producer or importer of spices, food is usually enjoyed in its natural state.
Instructions
Pâte :
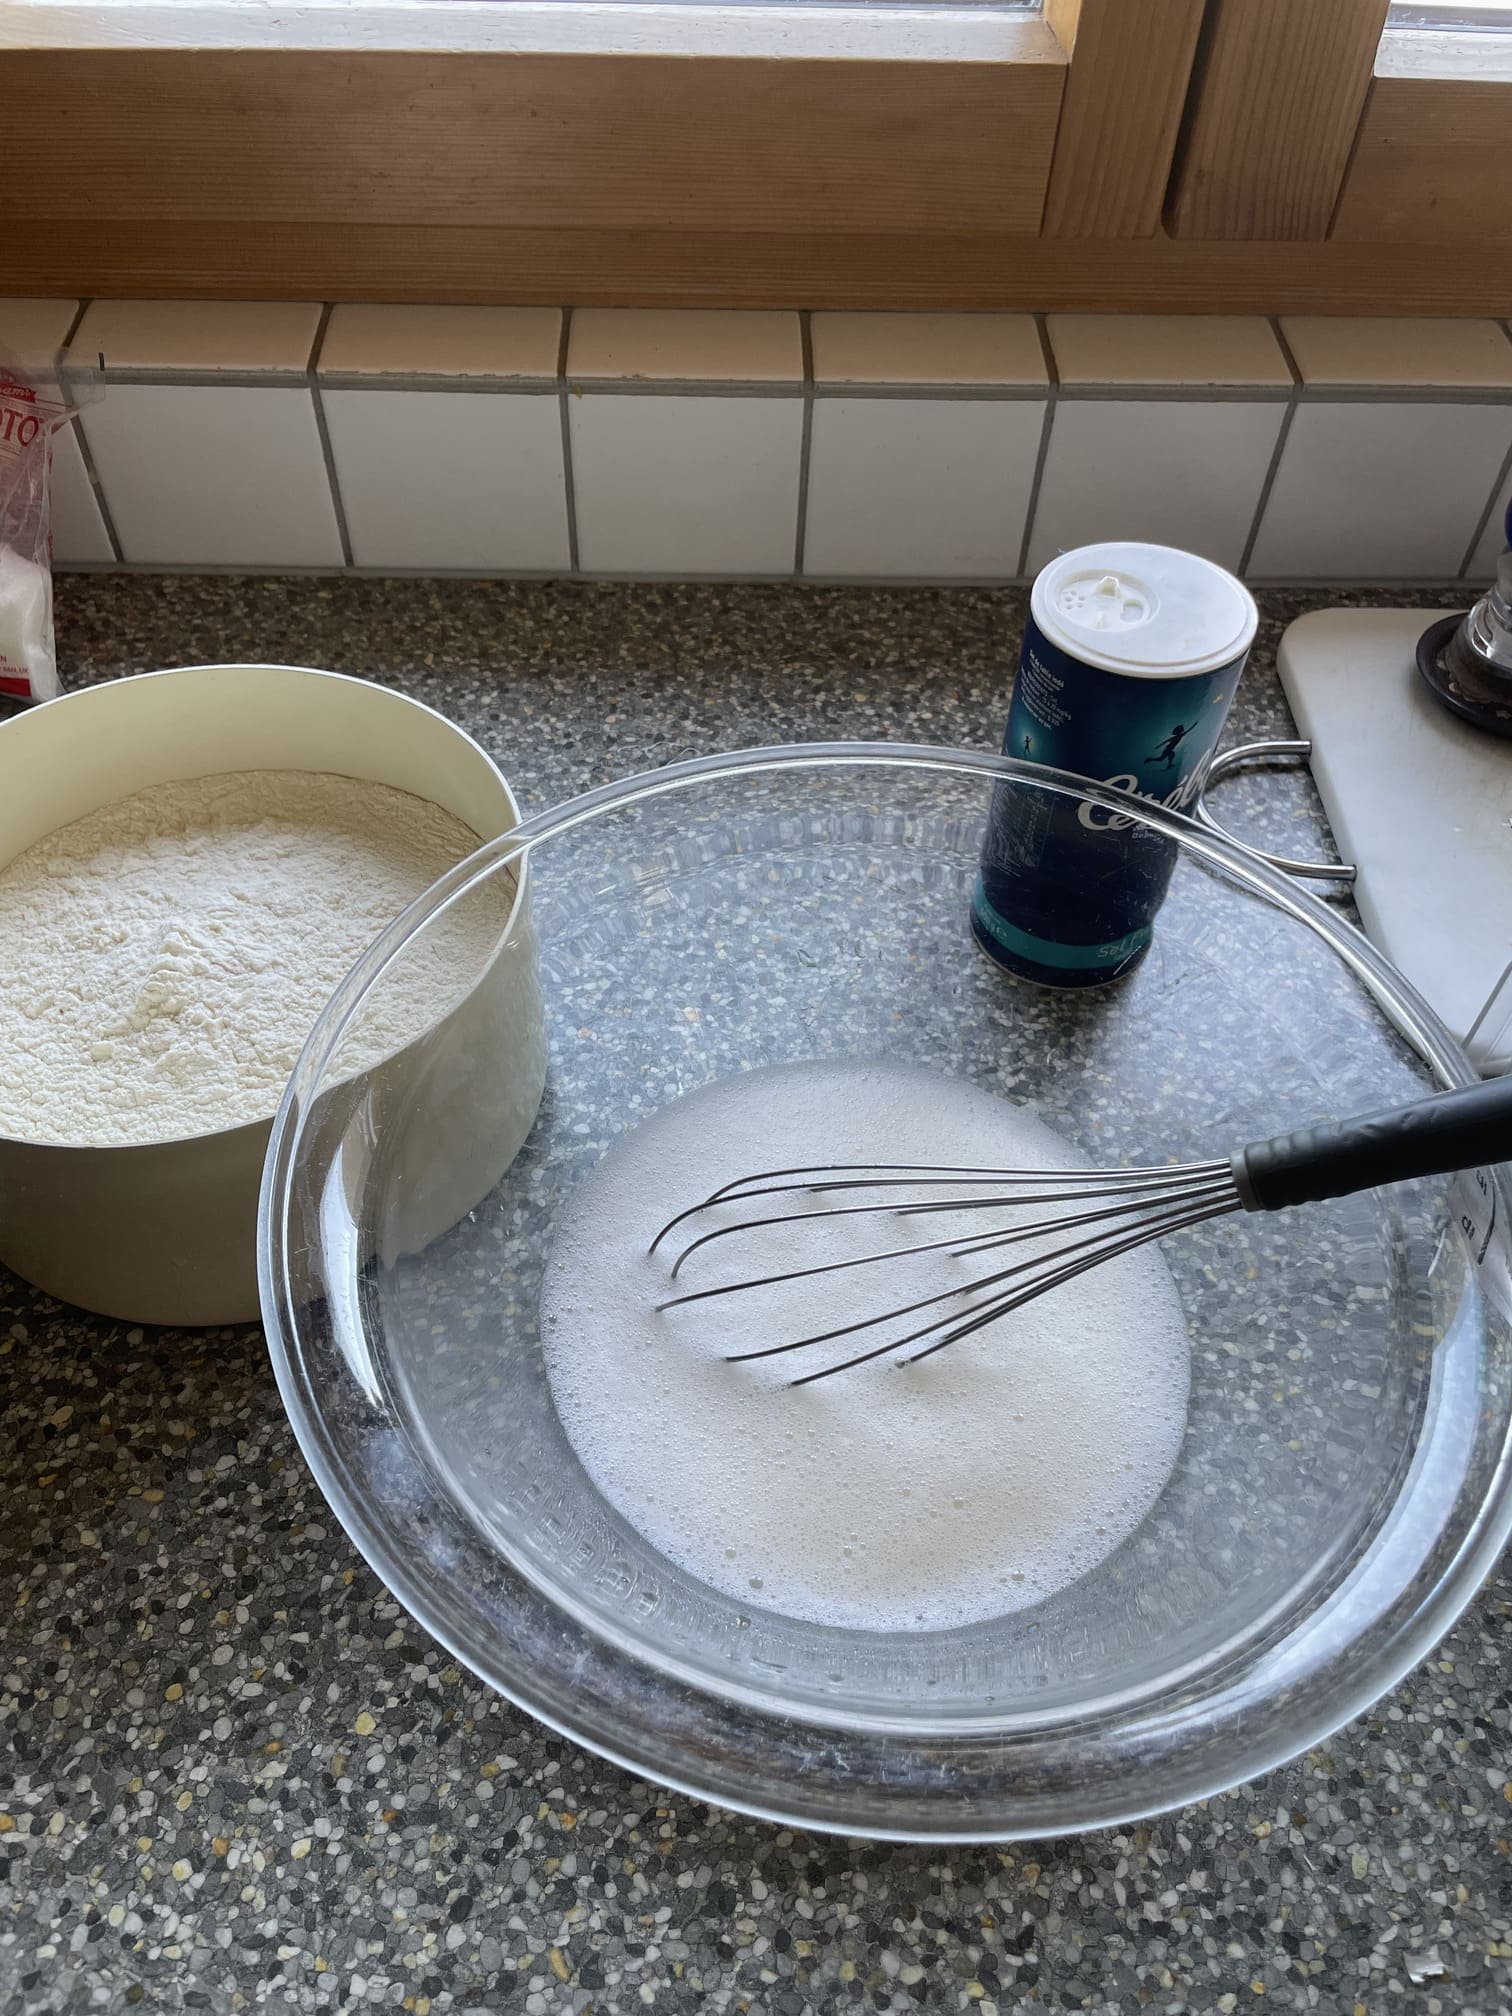
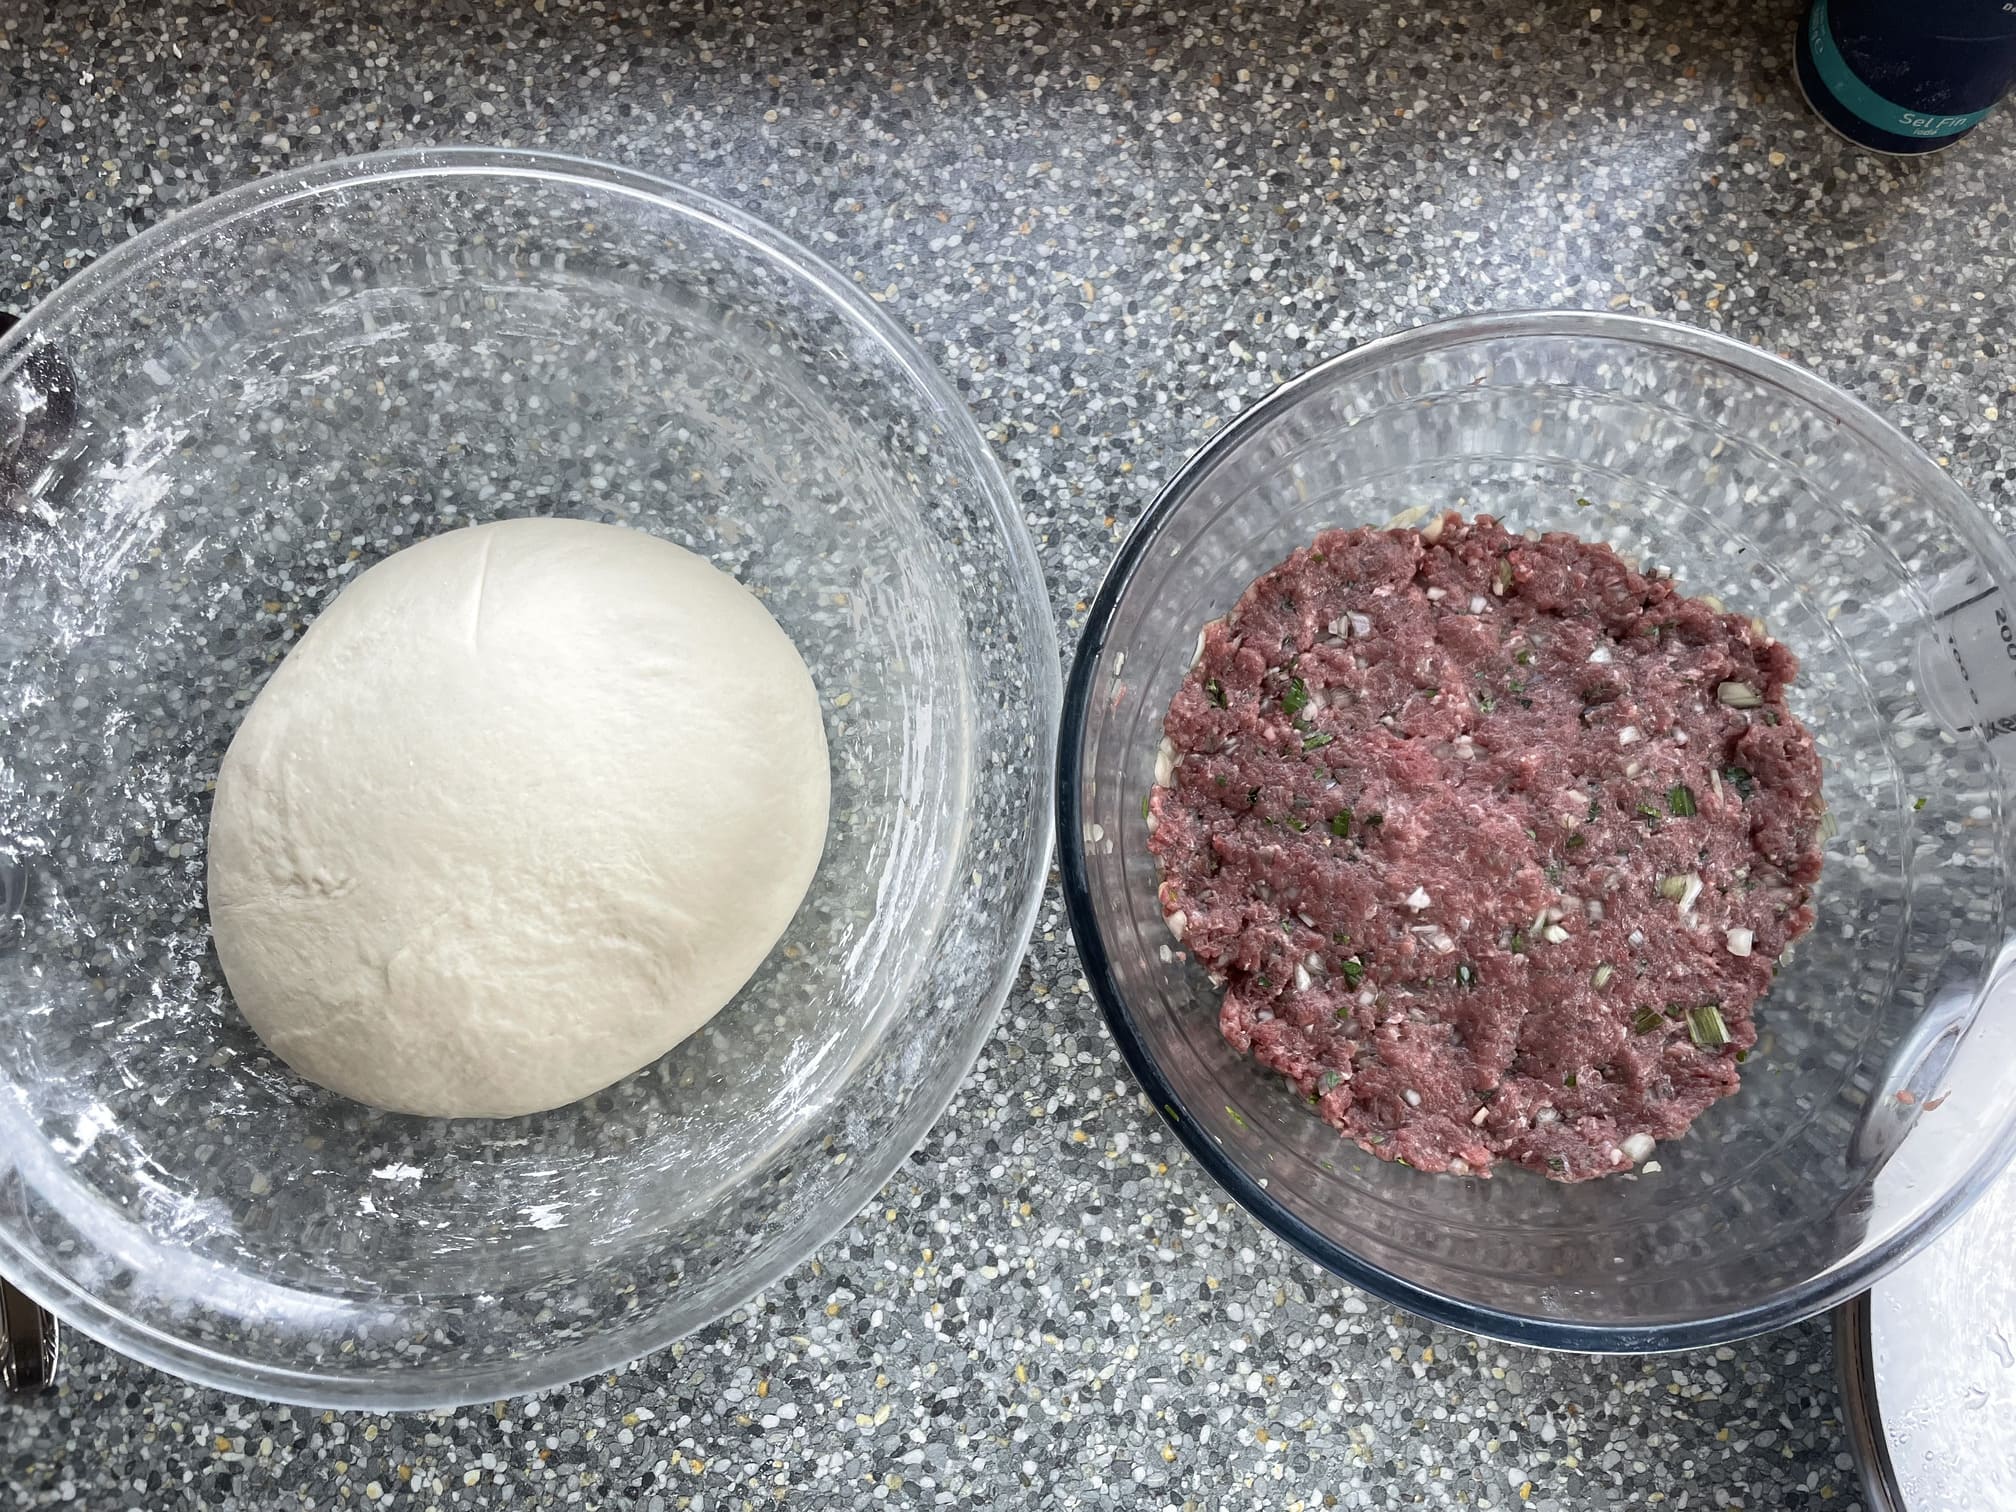
Mix the water and egg, then vigorously work in the flour by hand or in a food processor for several minutes until the dough forms a smooth ball.
It should no longer stick to your fingers and should feel firm to the touch.
Leave to rest for 1 hour in the fridge in a bowl covered with cling film.
Knead the dough several times, leave to rest for 5–10 minutes, then divide into 4–5 portions.
Filling :
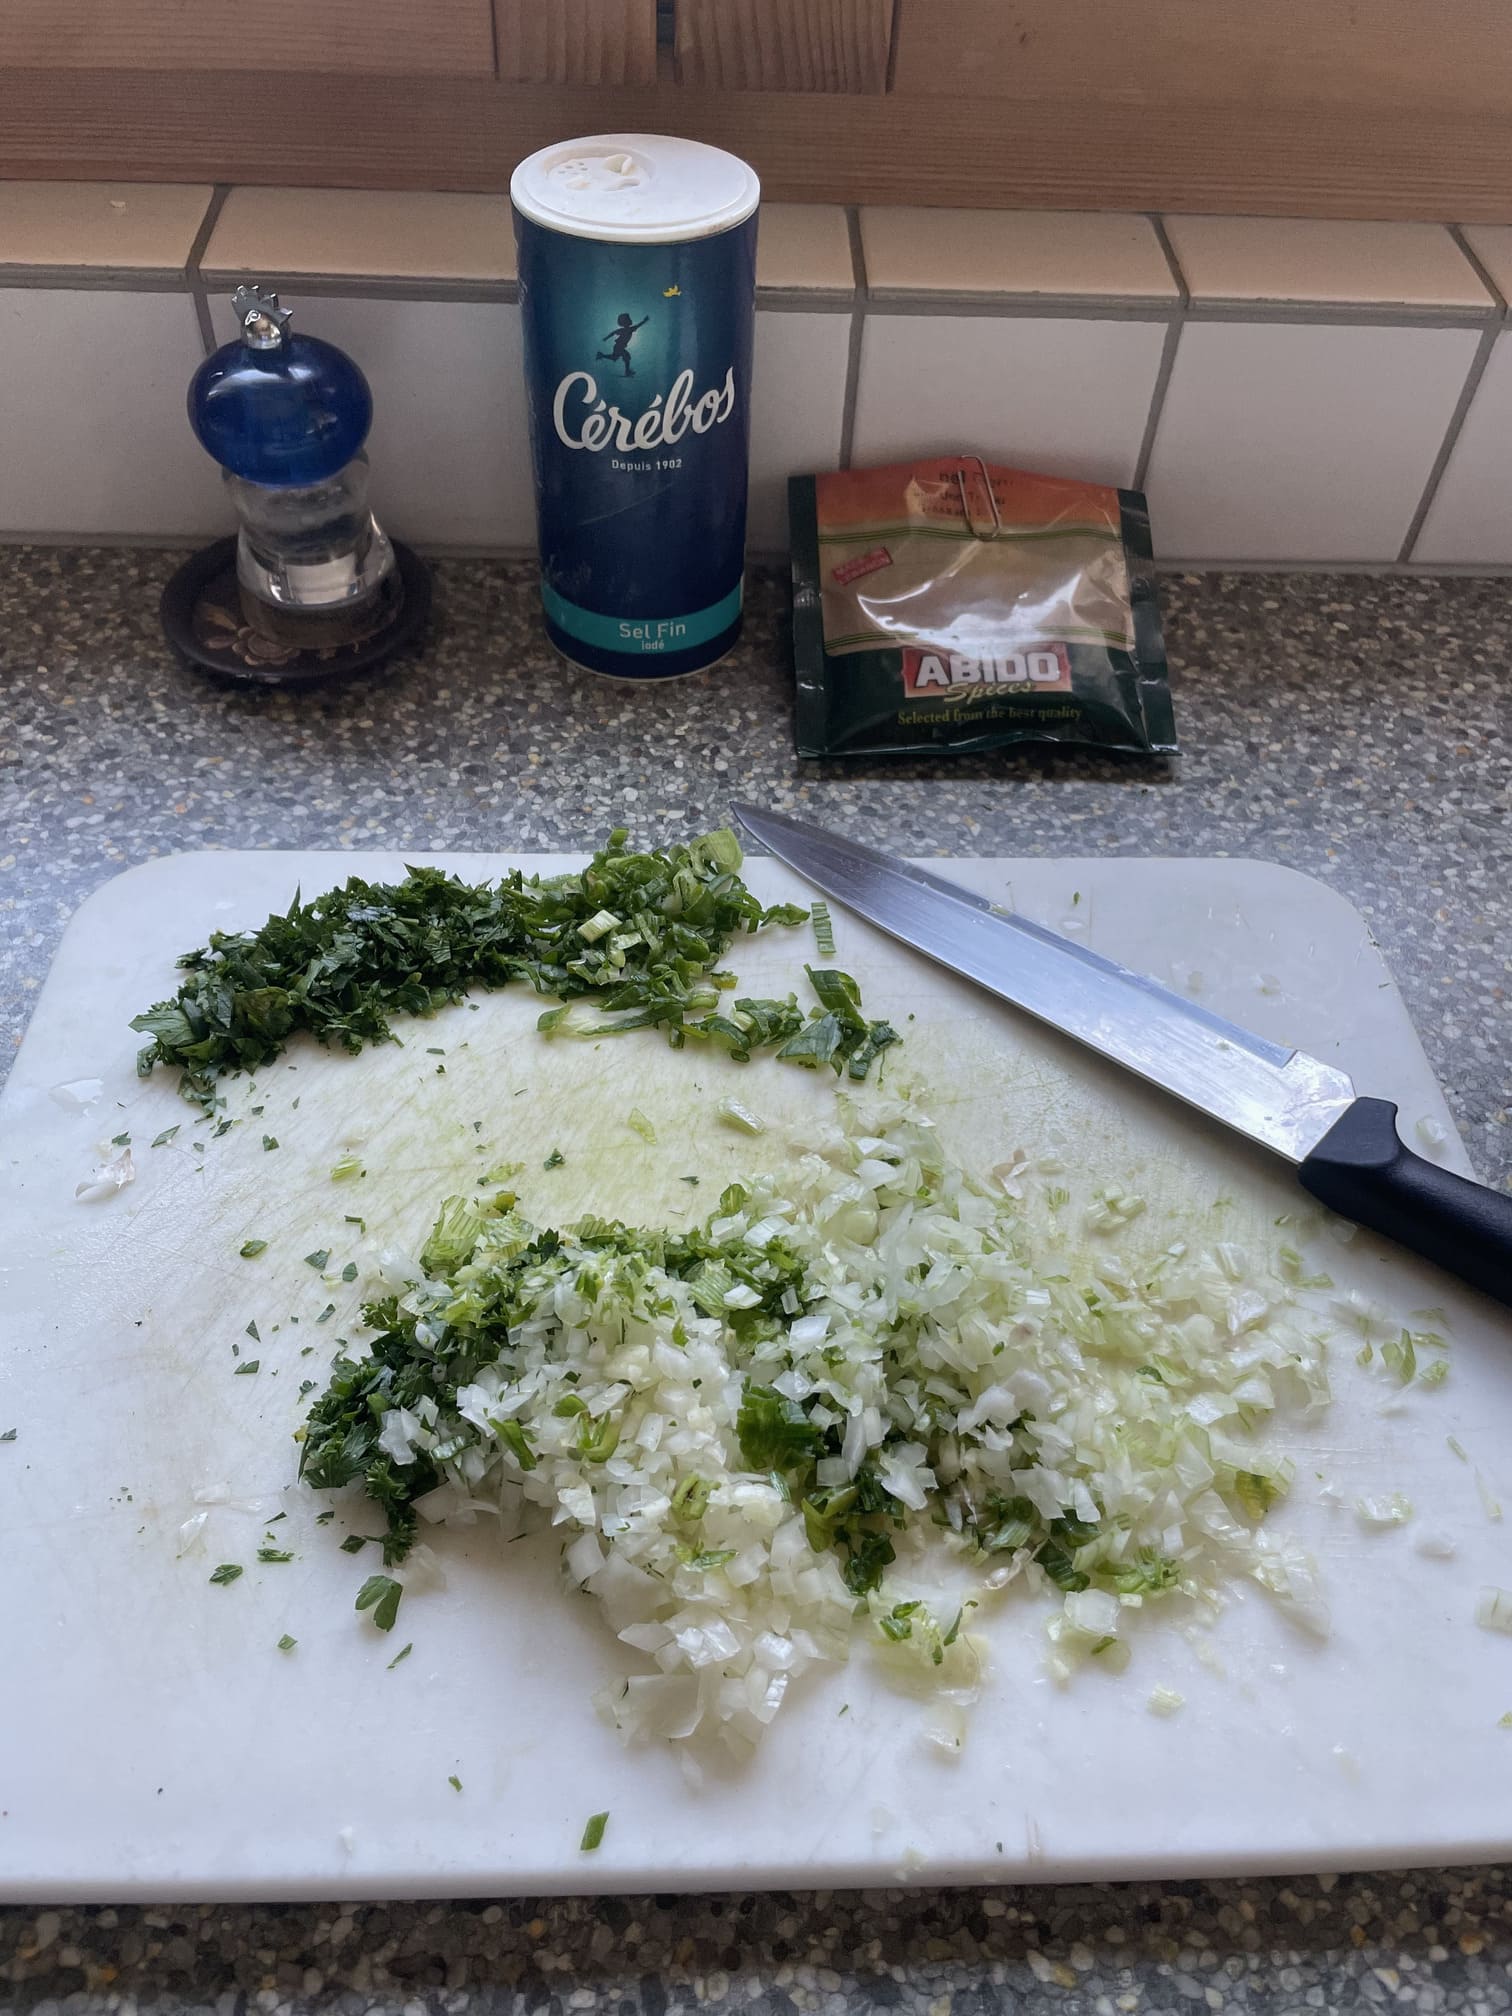
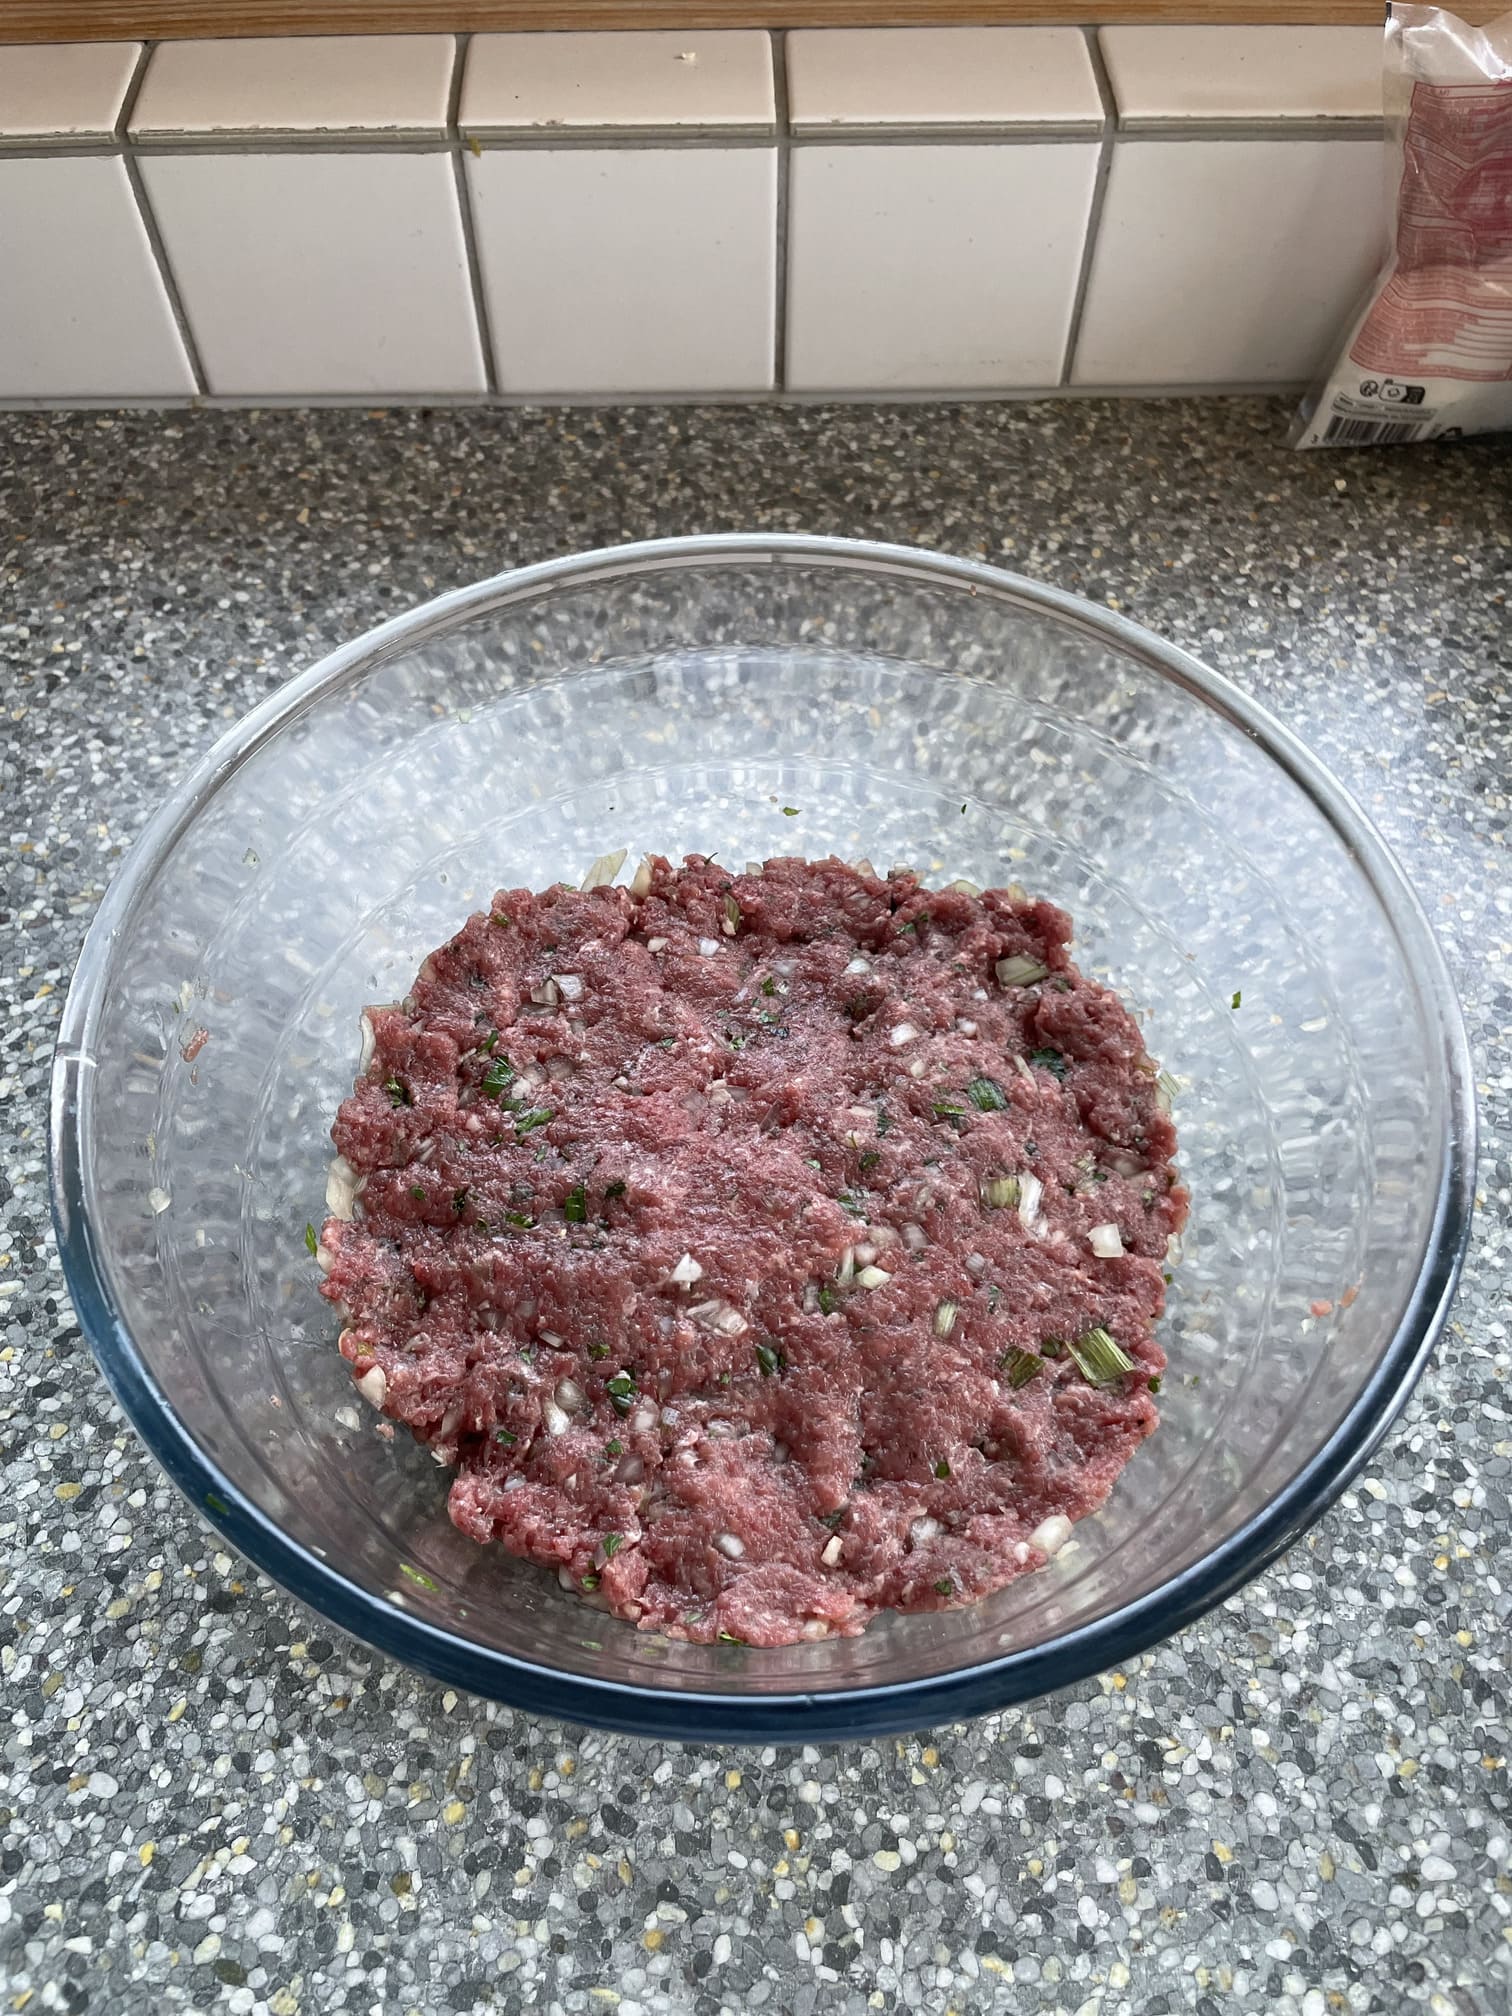
Dice the onions very finely, chop all the other herbs, the garlic and any other ingredients you fancy.
Mix the filling ingredients together until well combined.
Dough and filling :
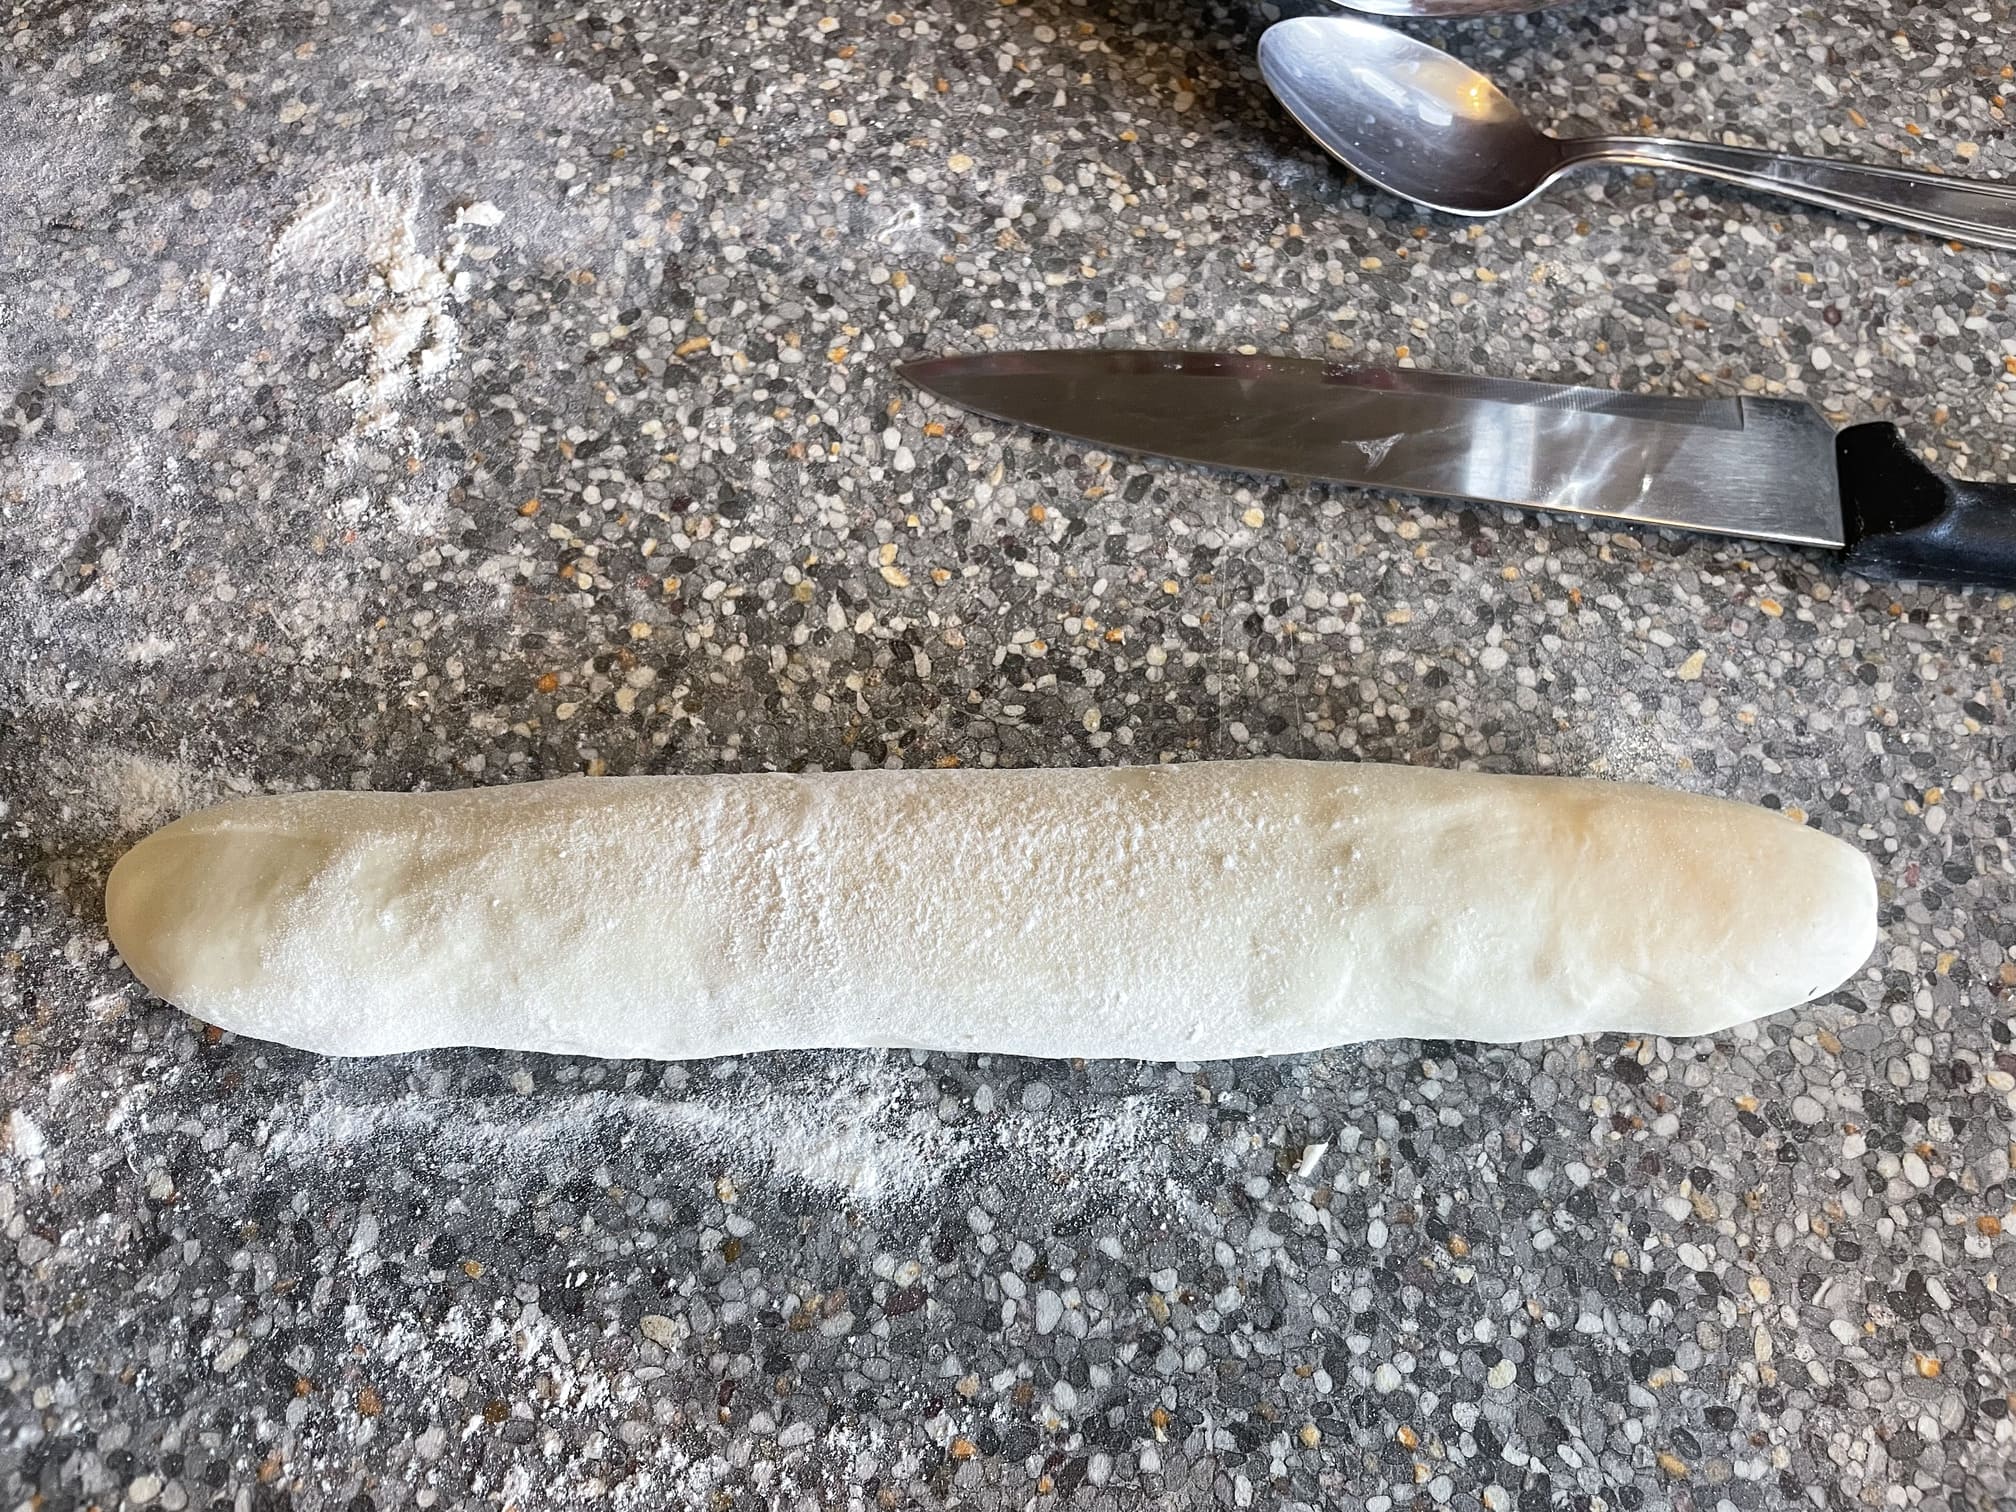
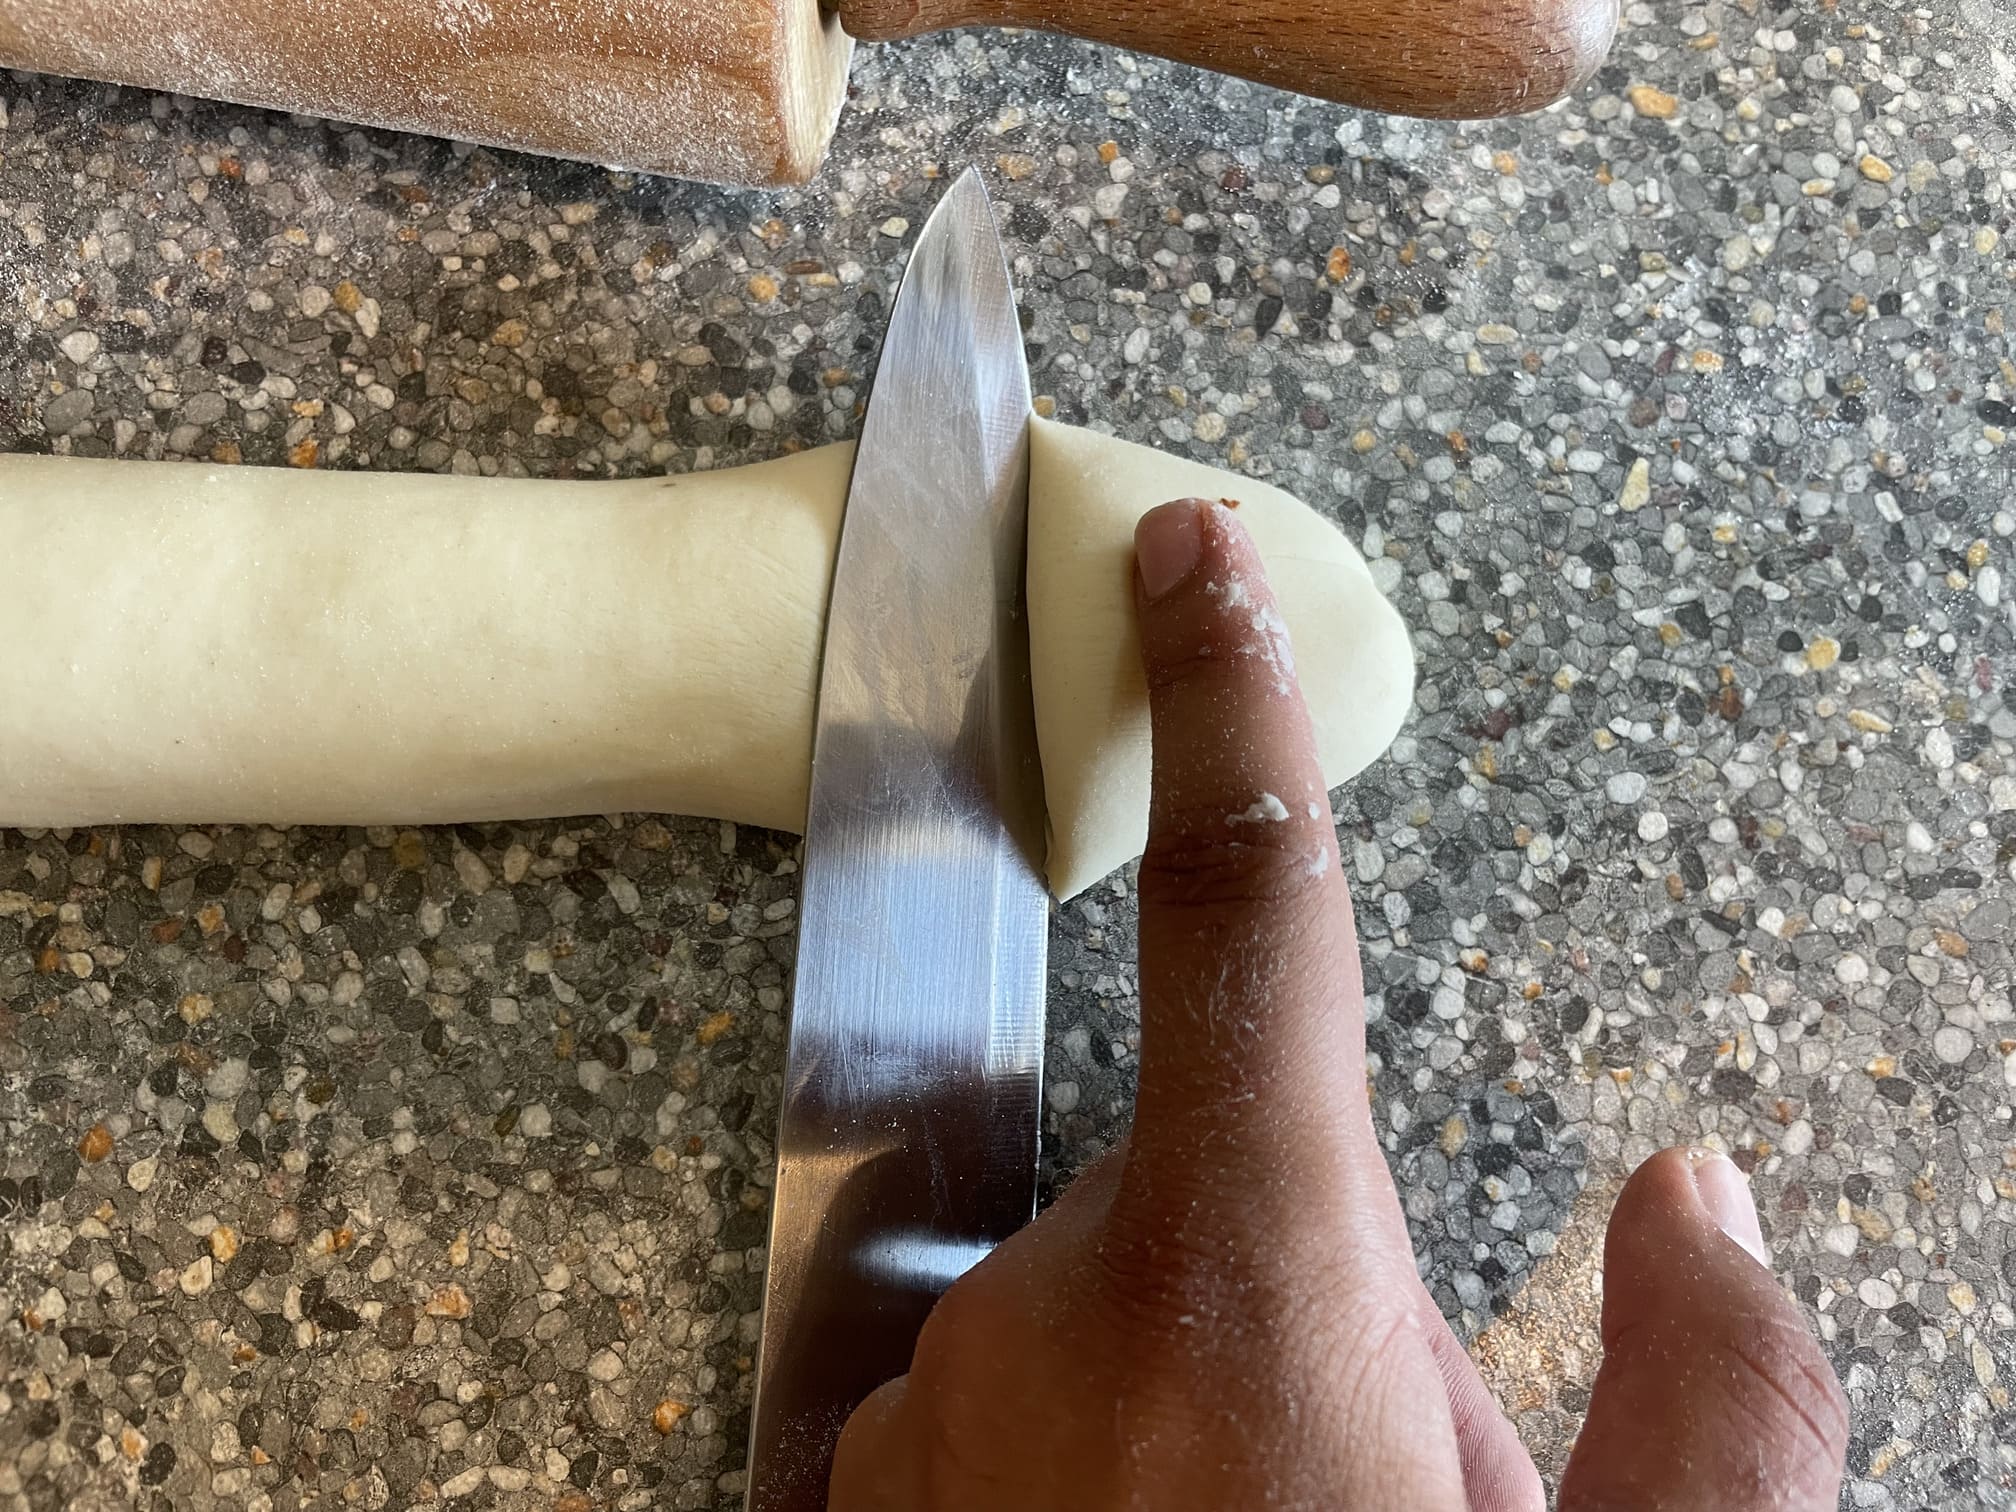
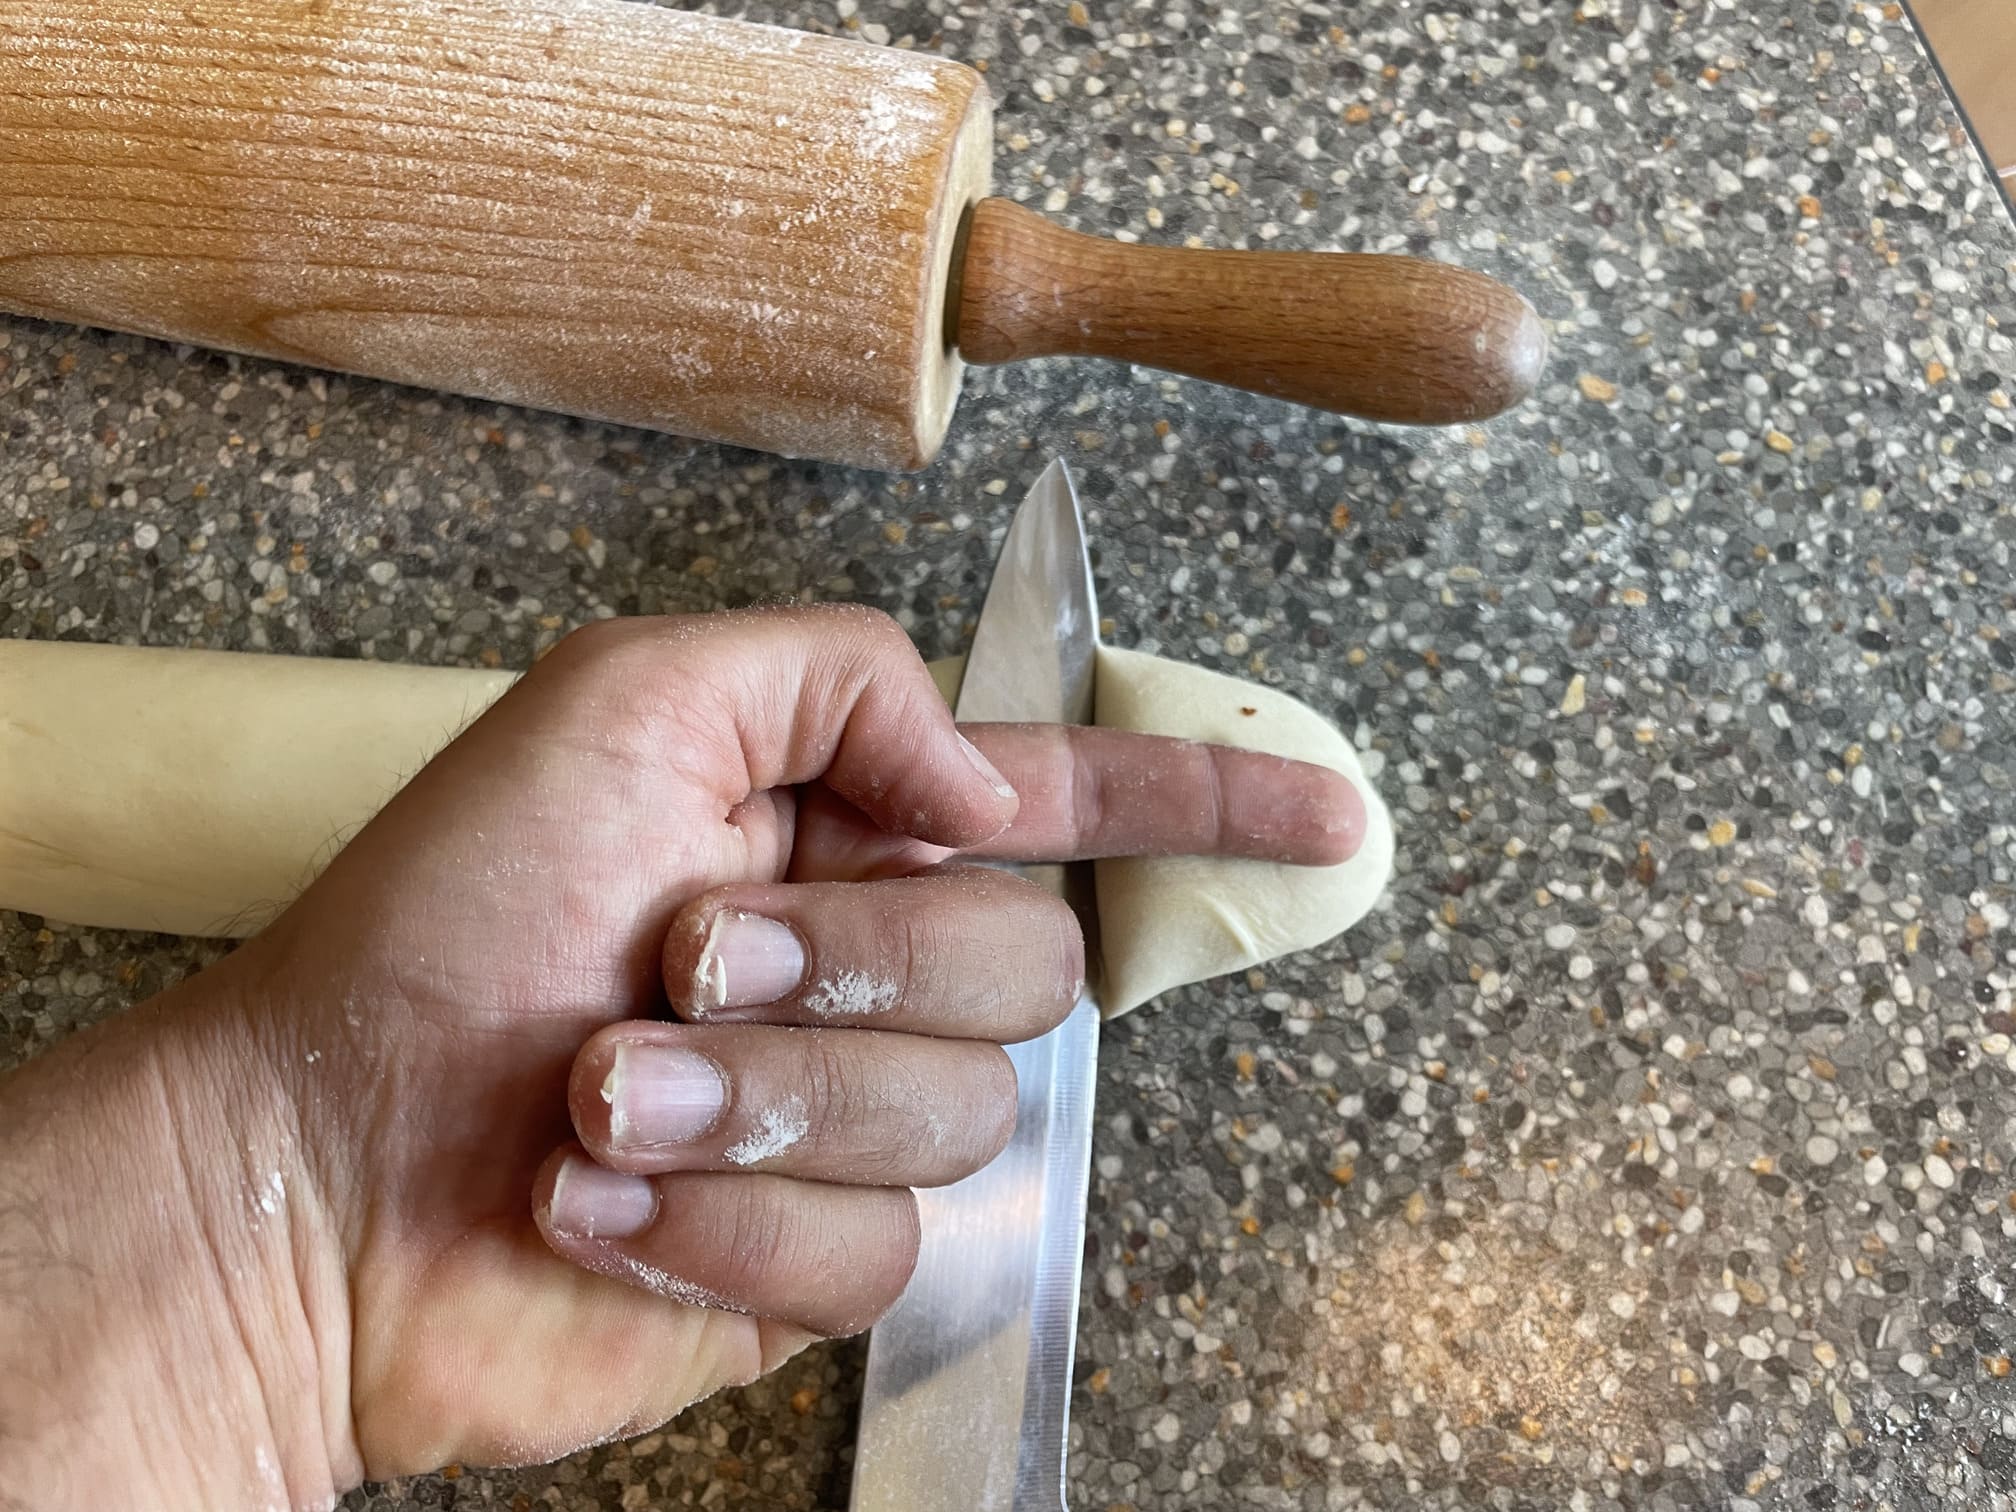
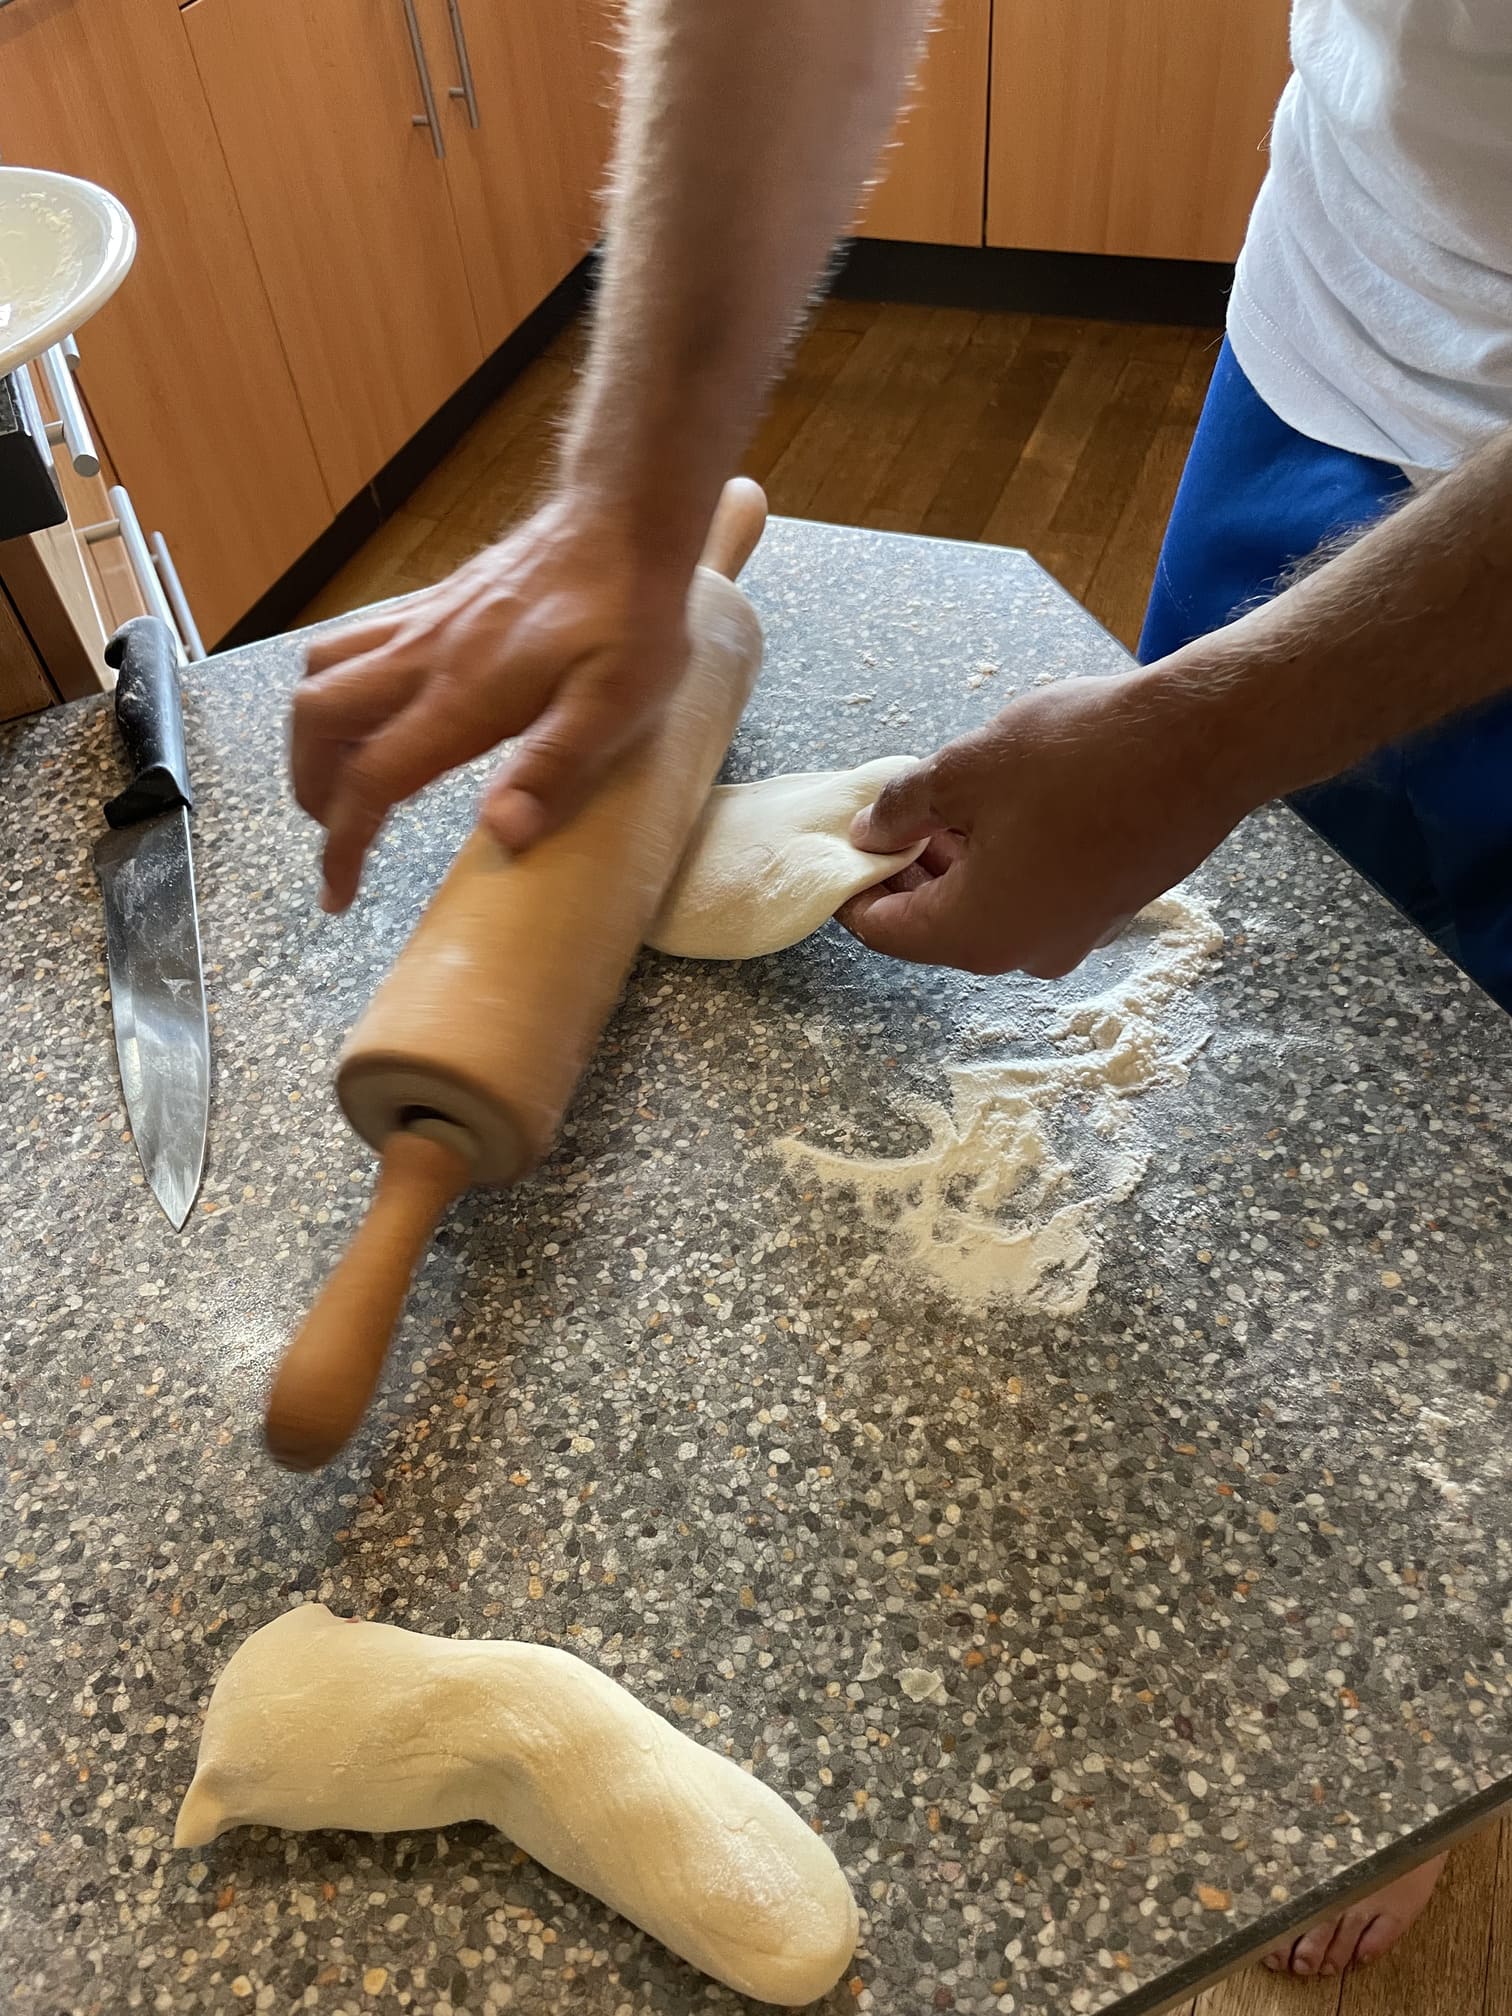
Roll the dough into logs 5 cm in diameter and cut into 4–5 cm long pieces.
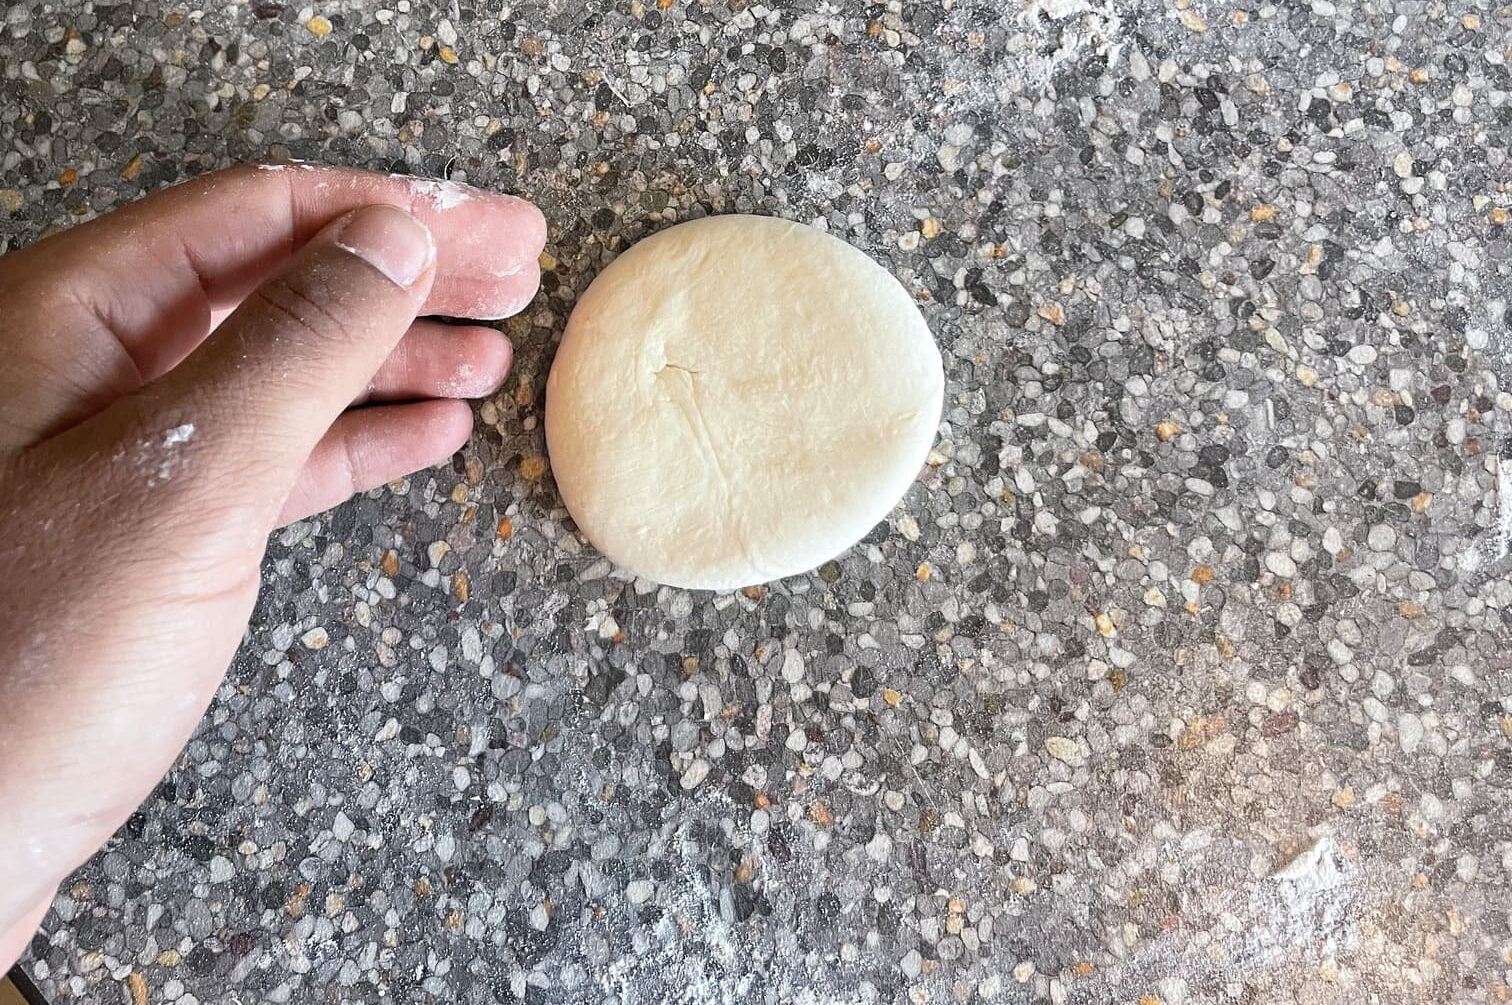
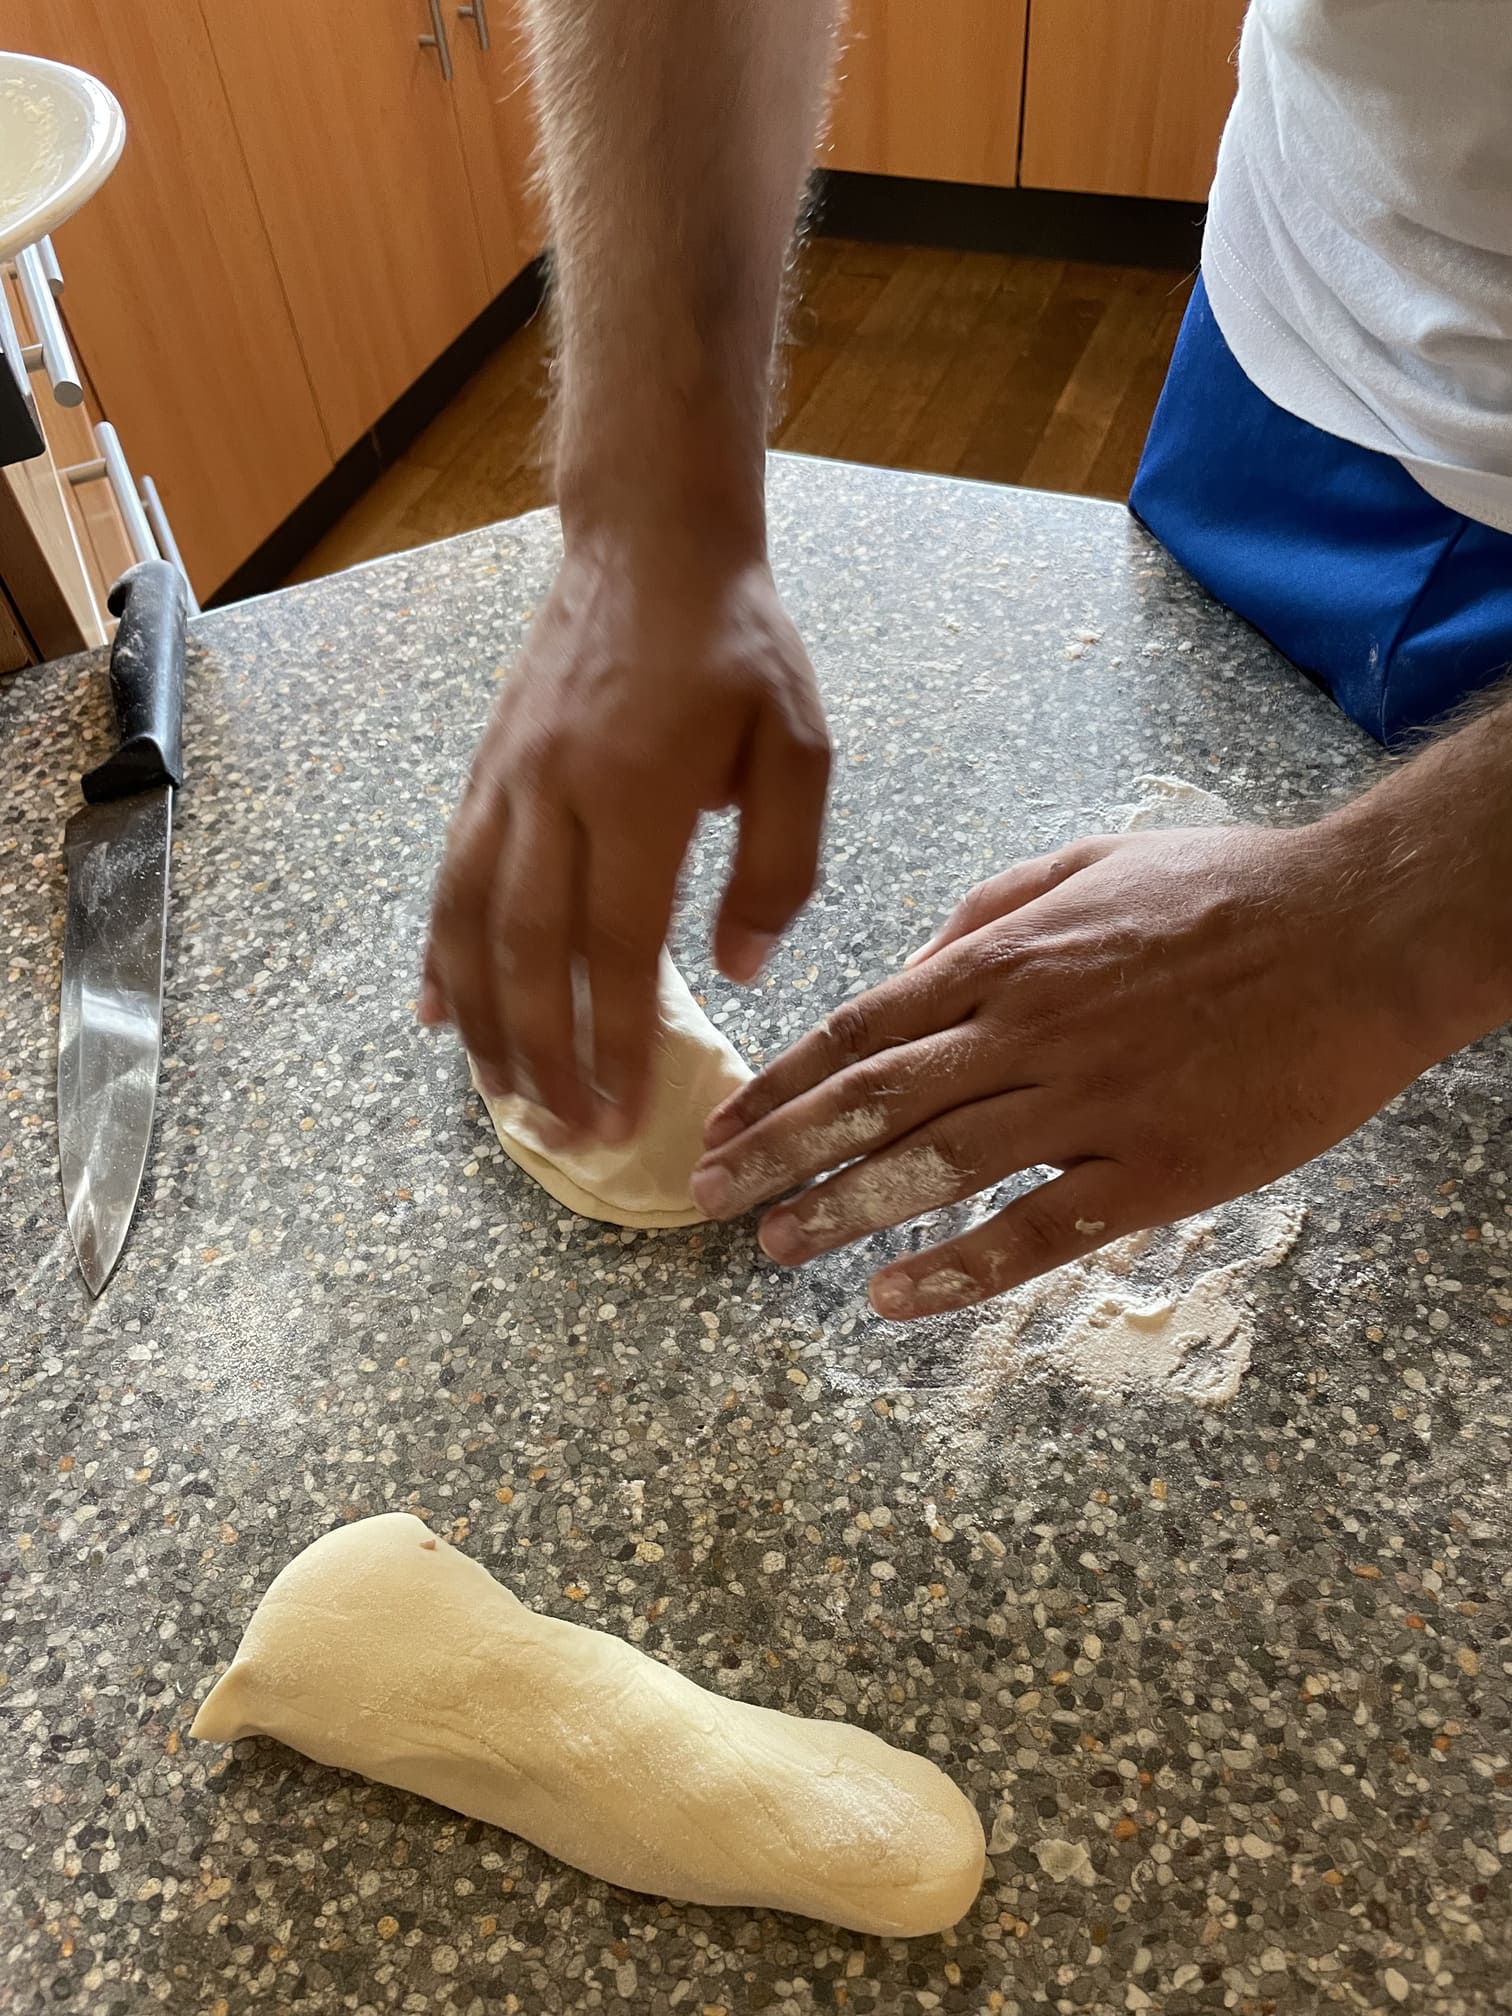
Flatten them and shape into small circles with your fingers.
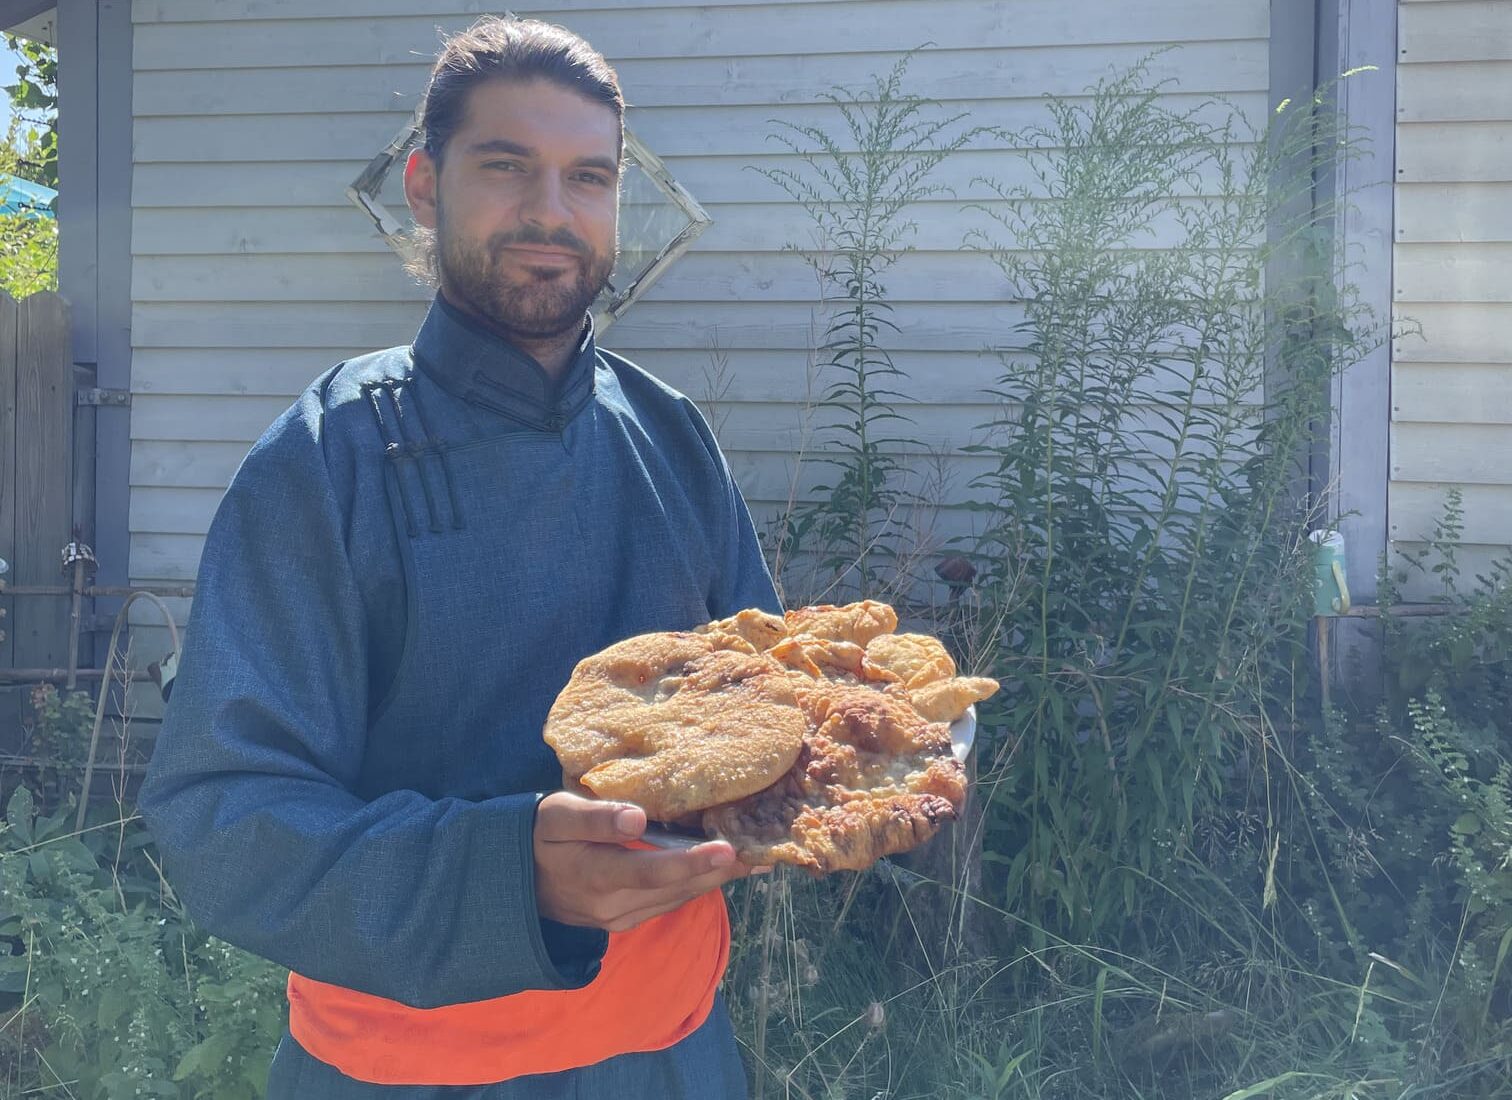
You now have two options: the classic version for all year round, or the special Naadam version. One is shaped like a turnover, the other more like a fried pizza.
Classic Version with half-circle pastries :
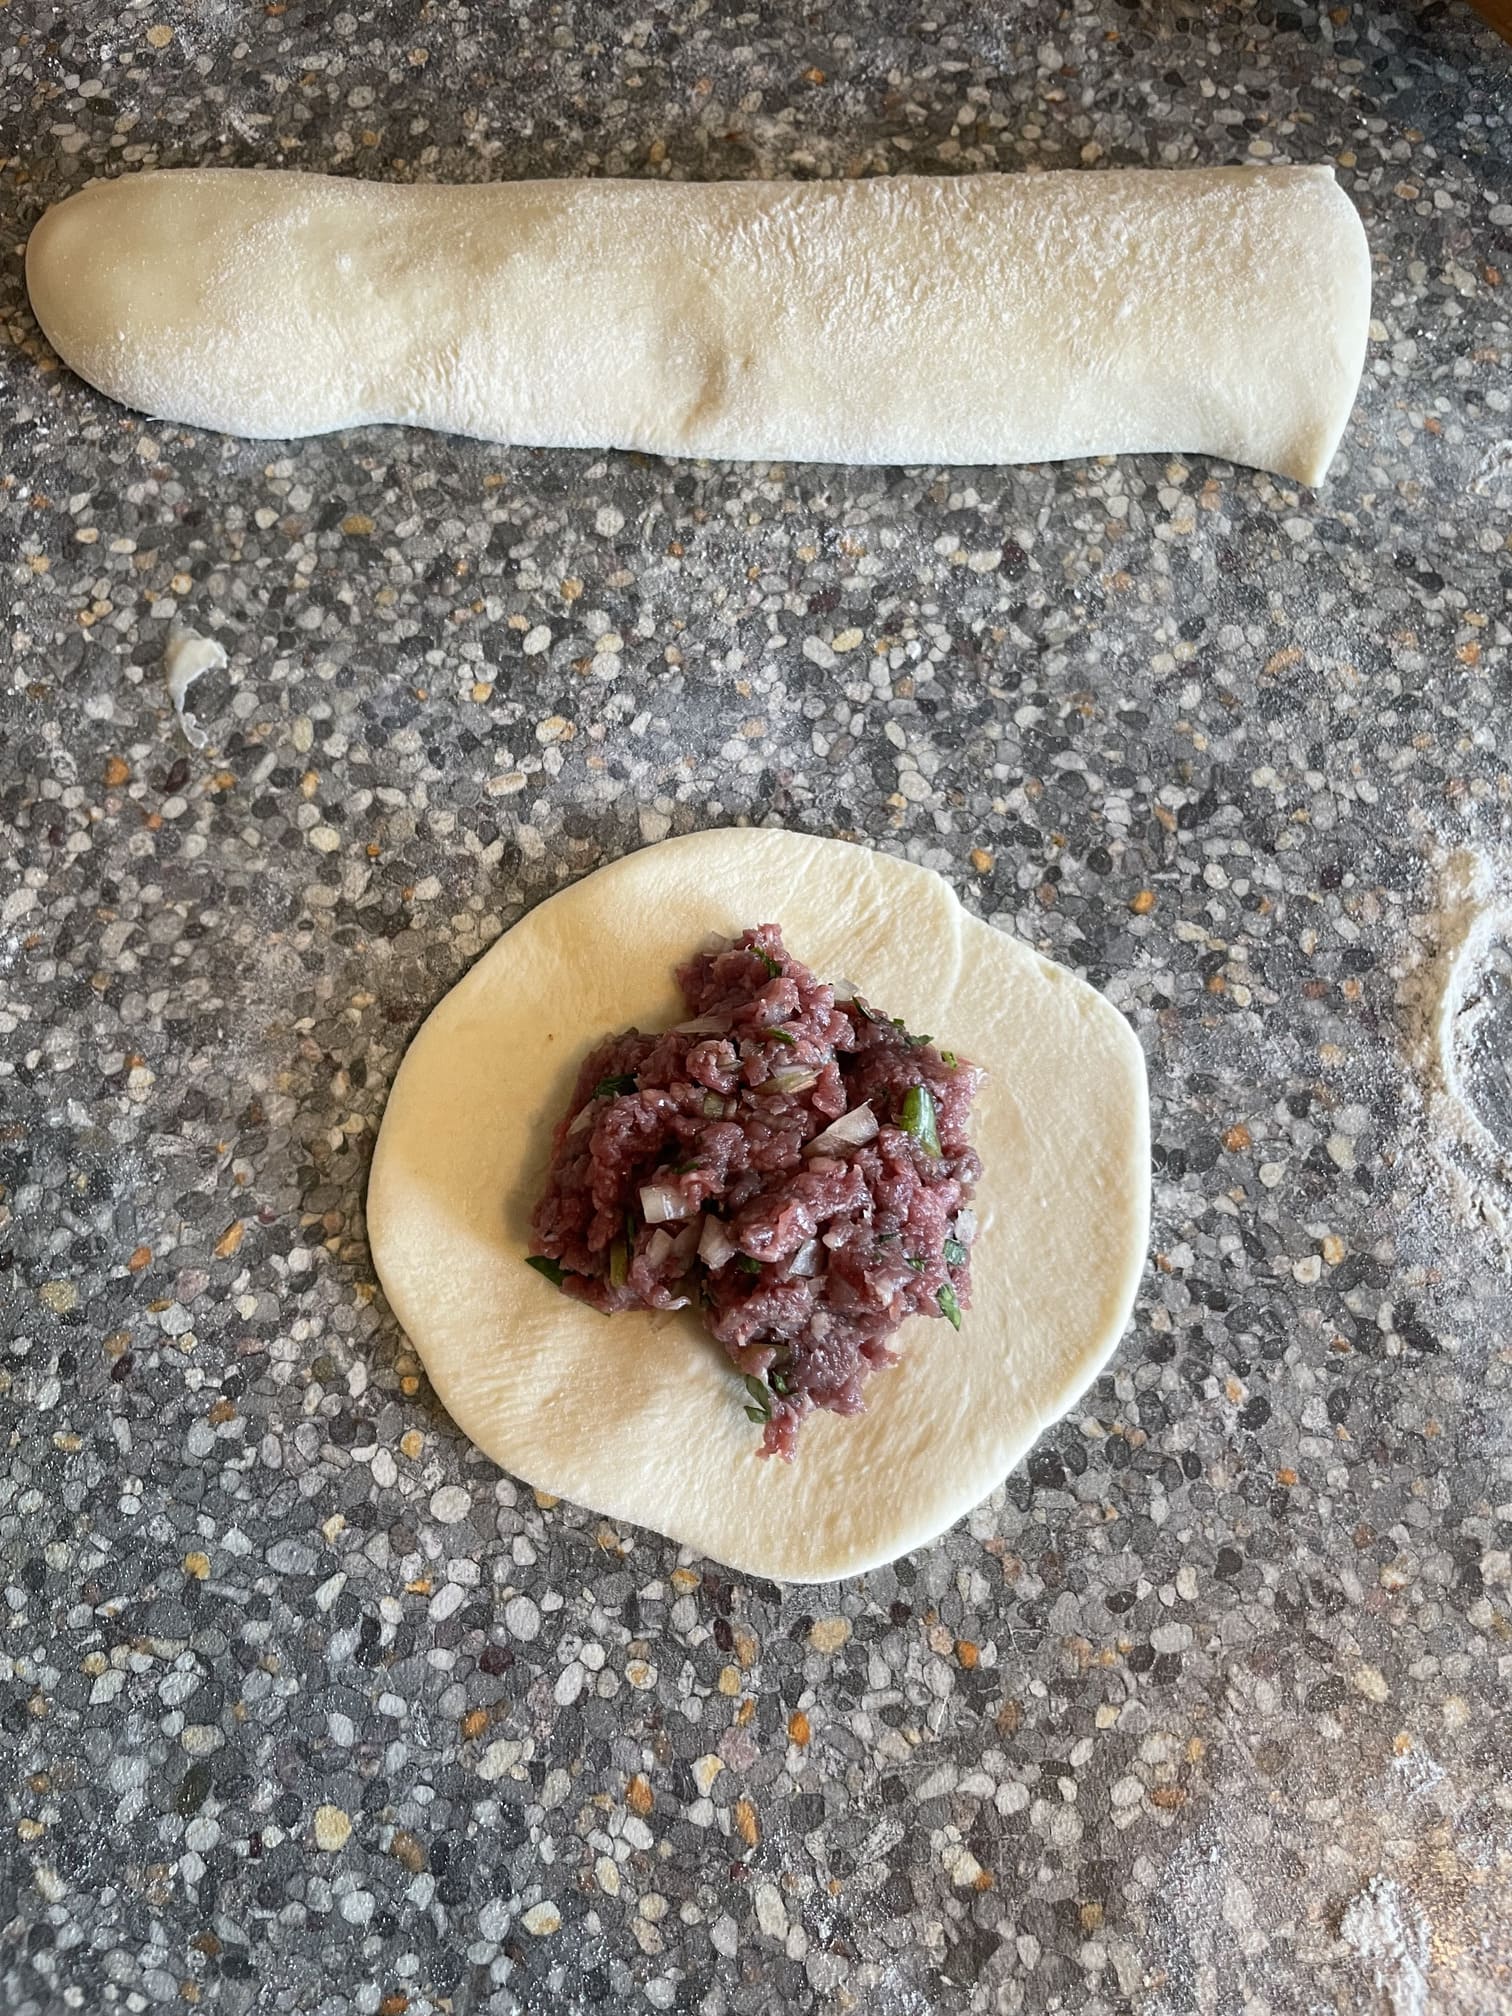
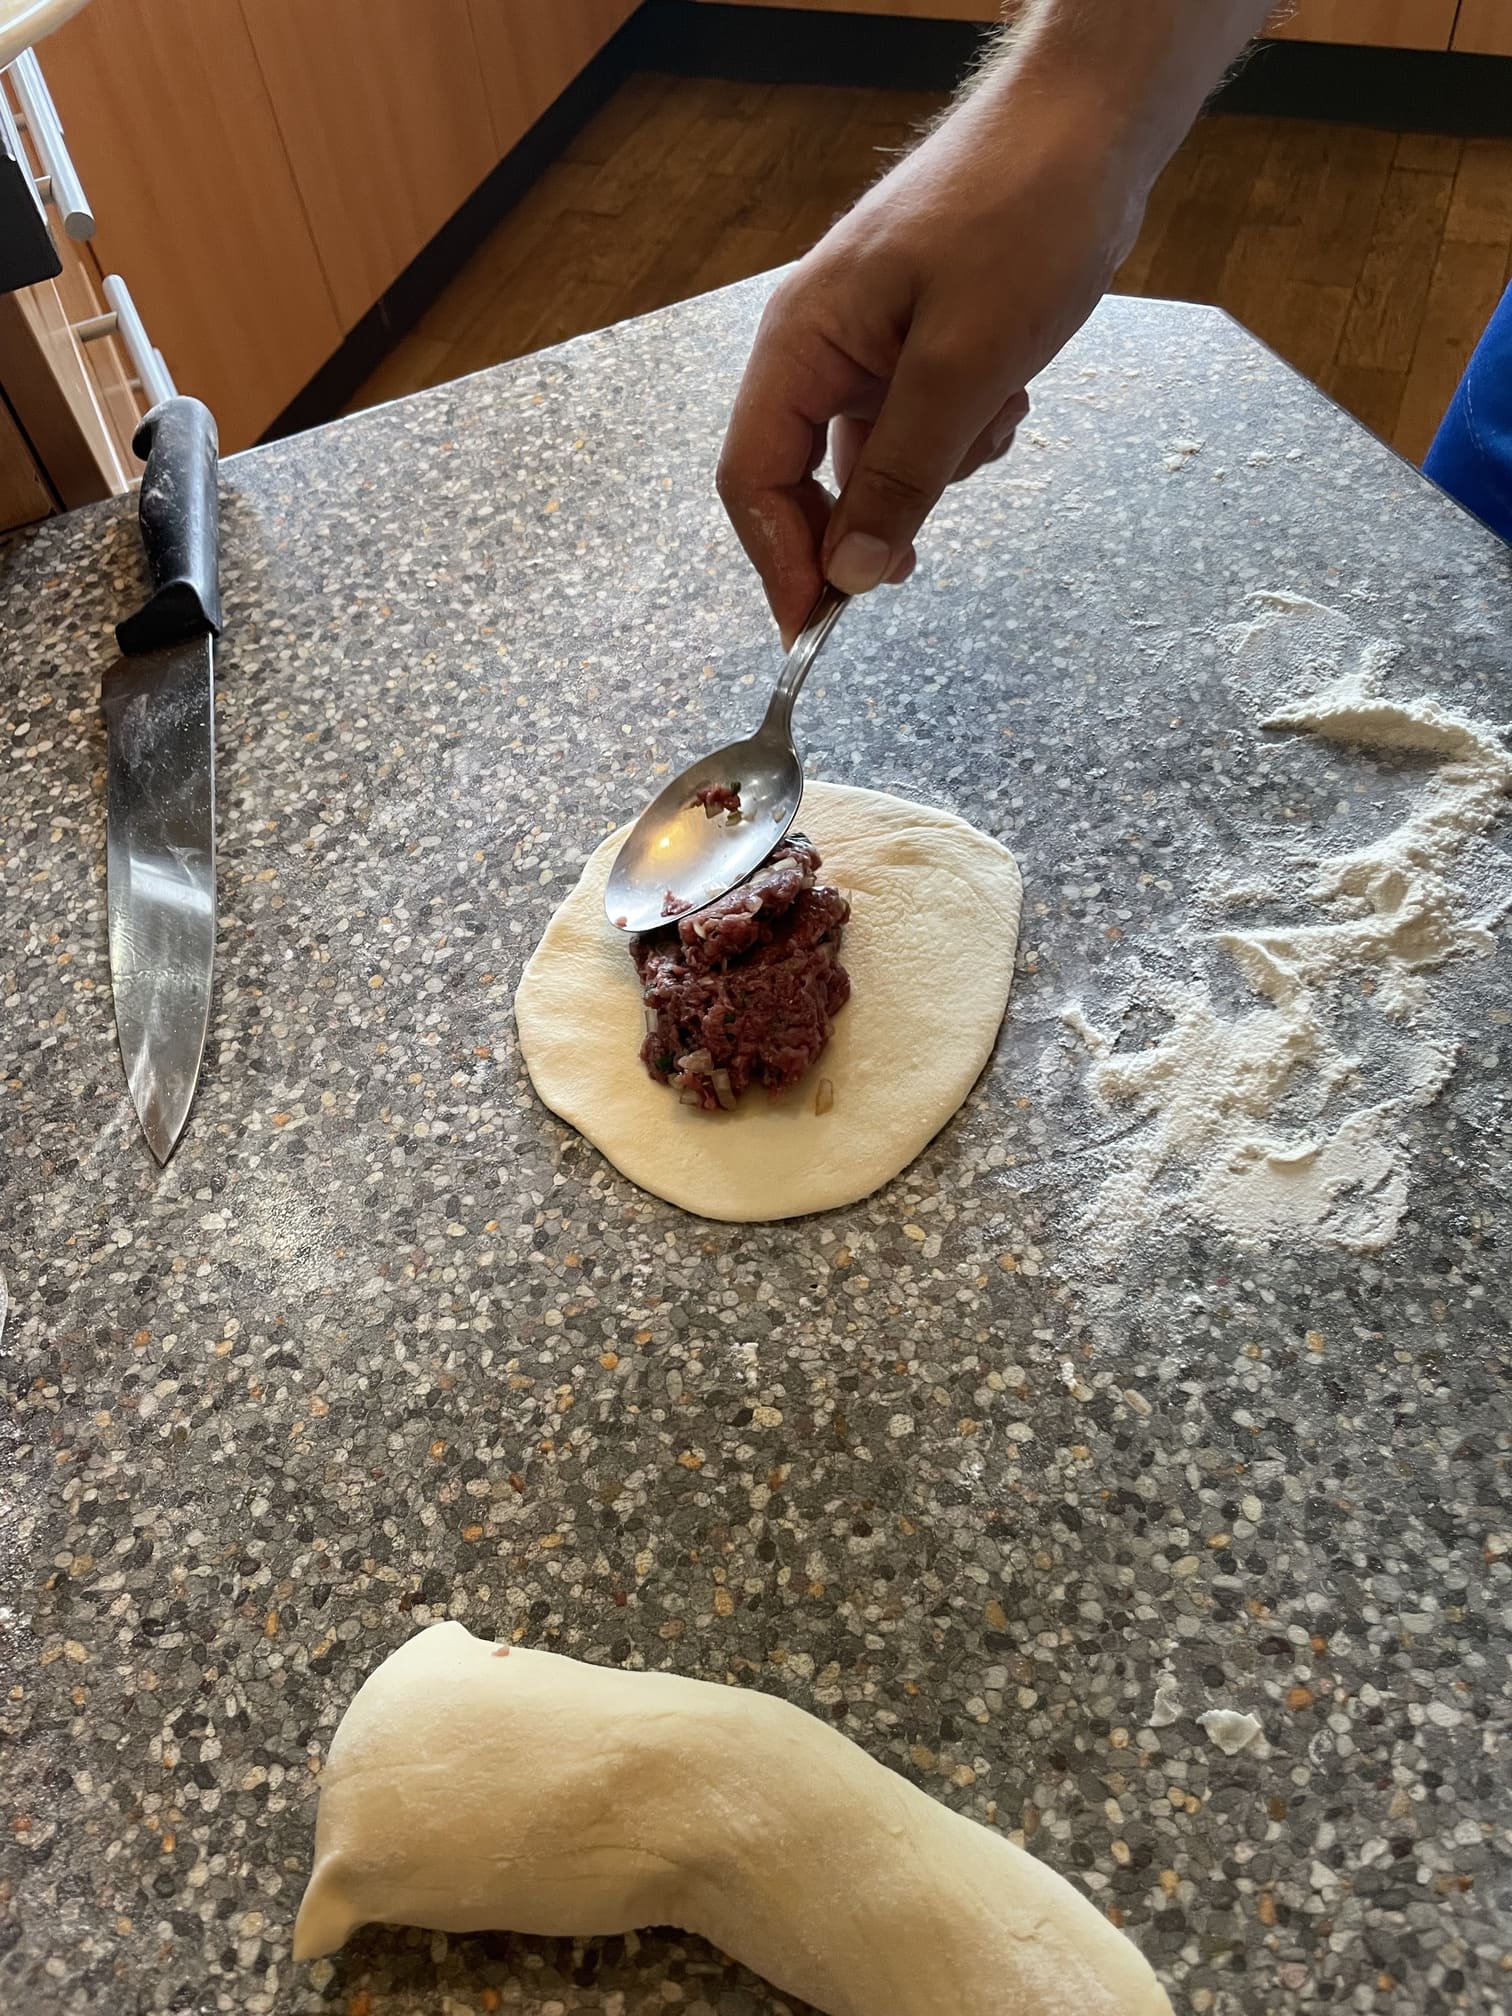
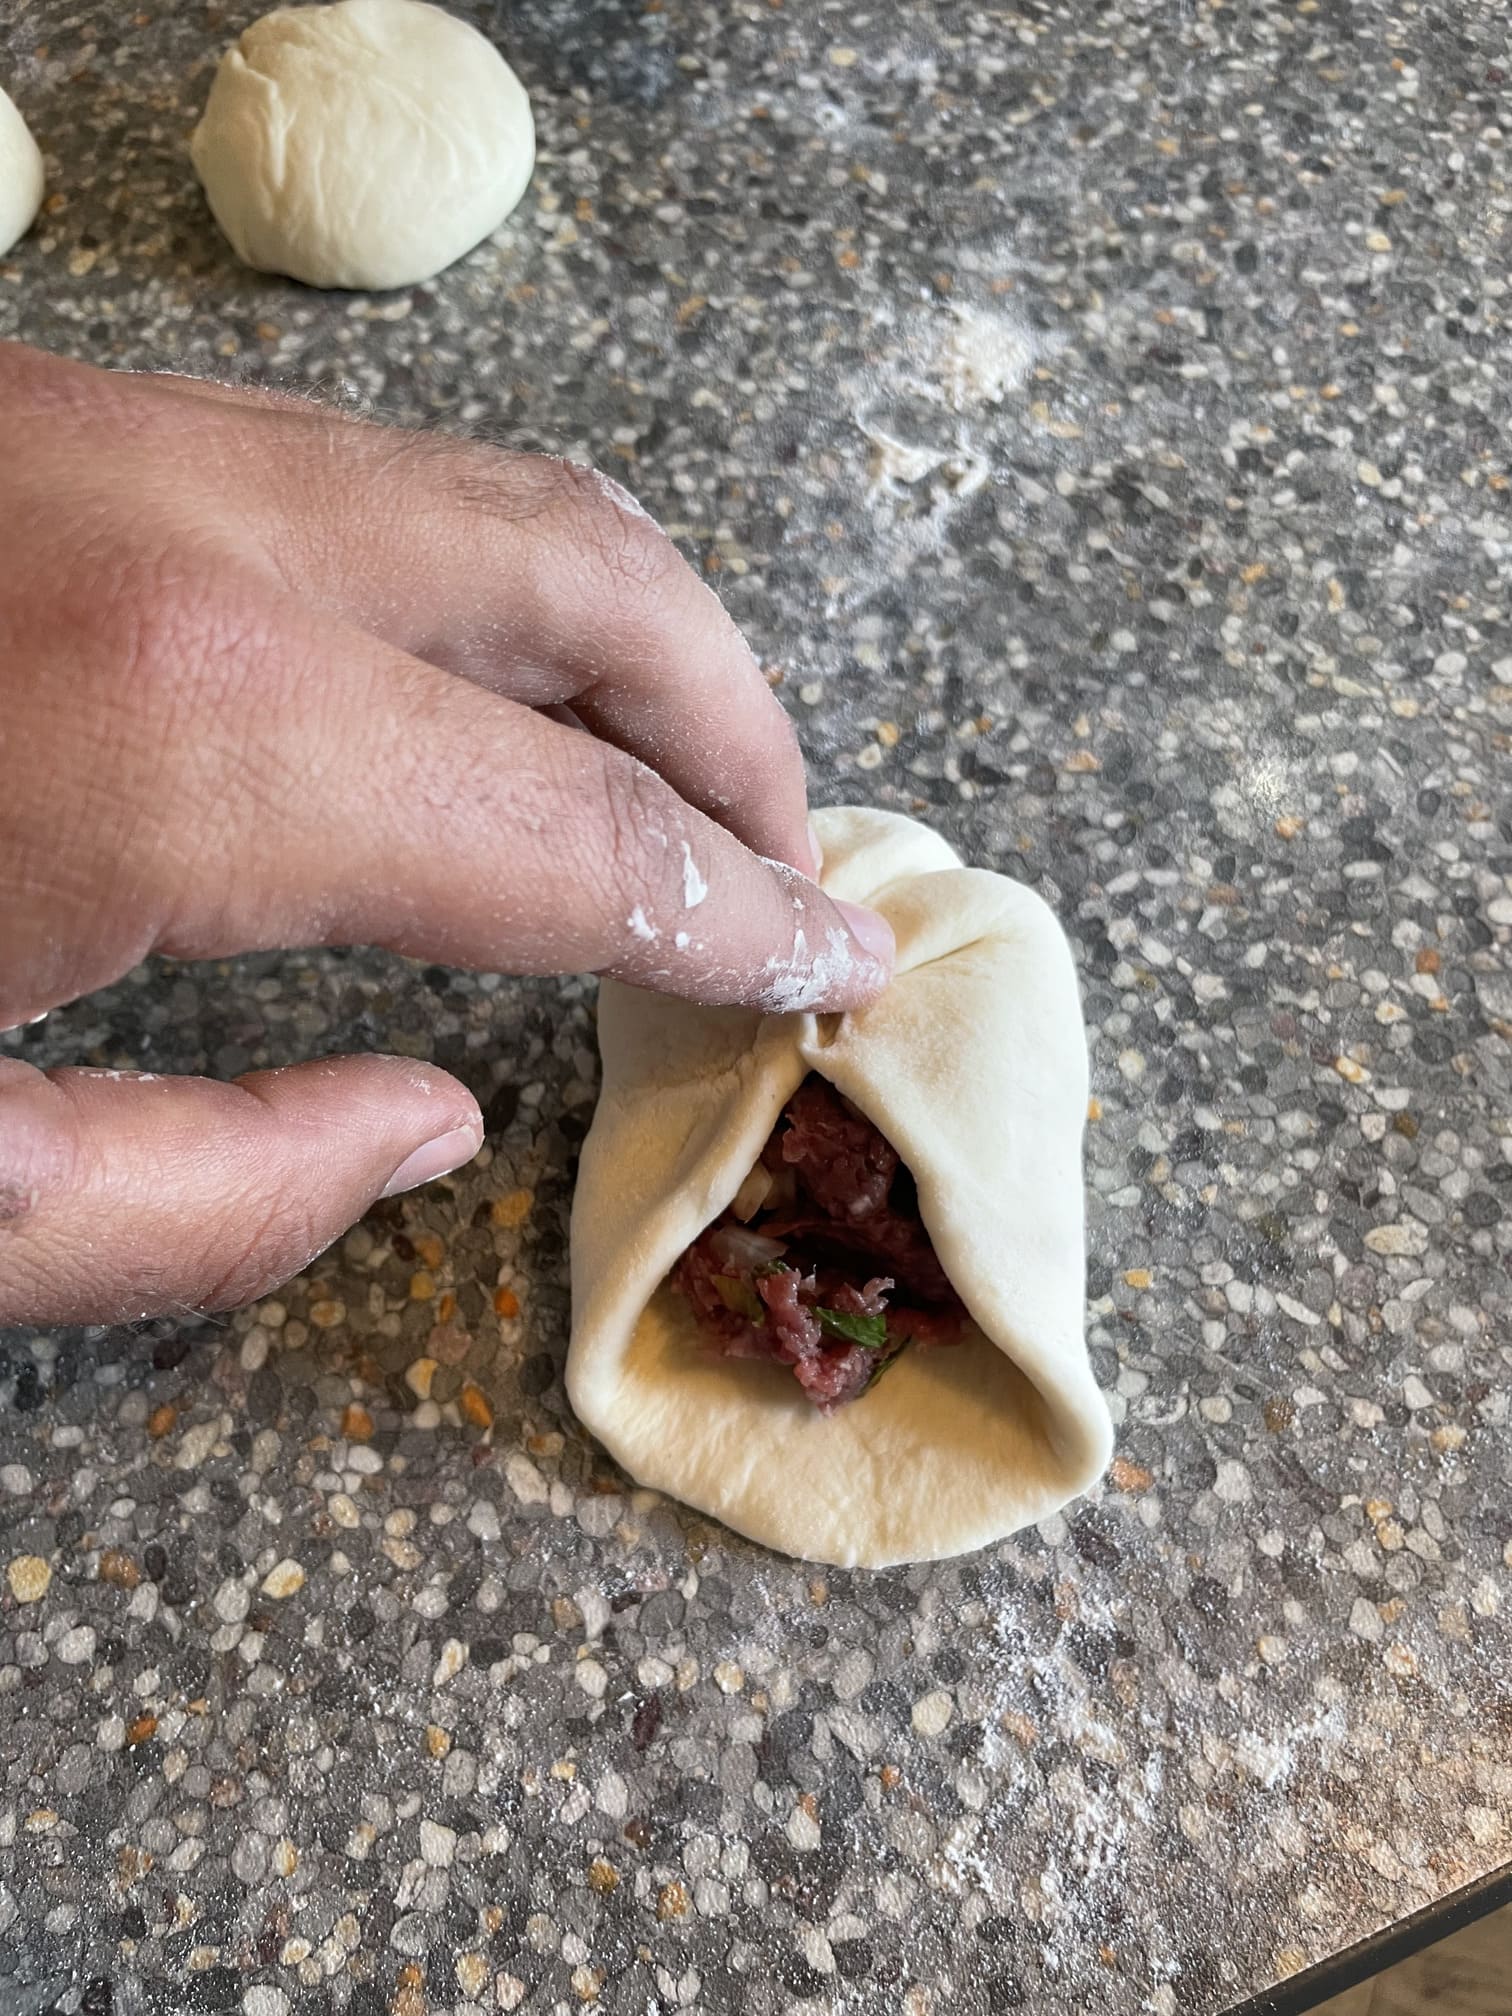
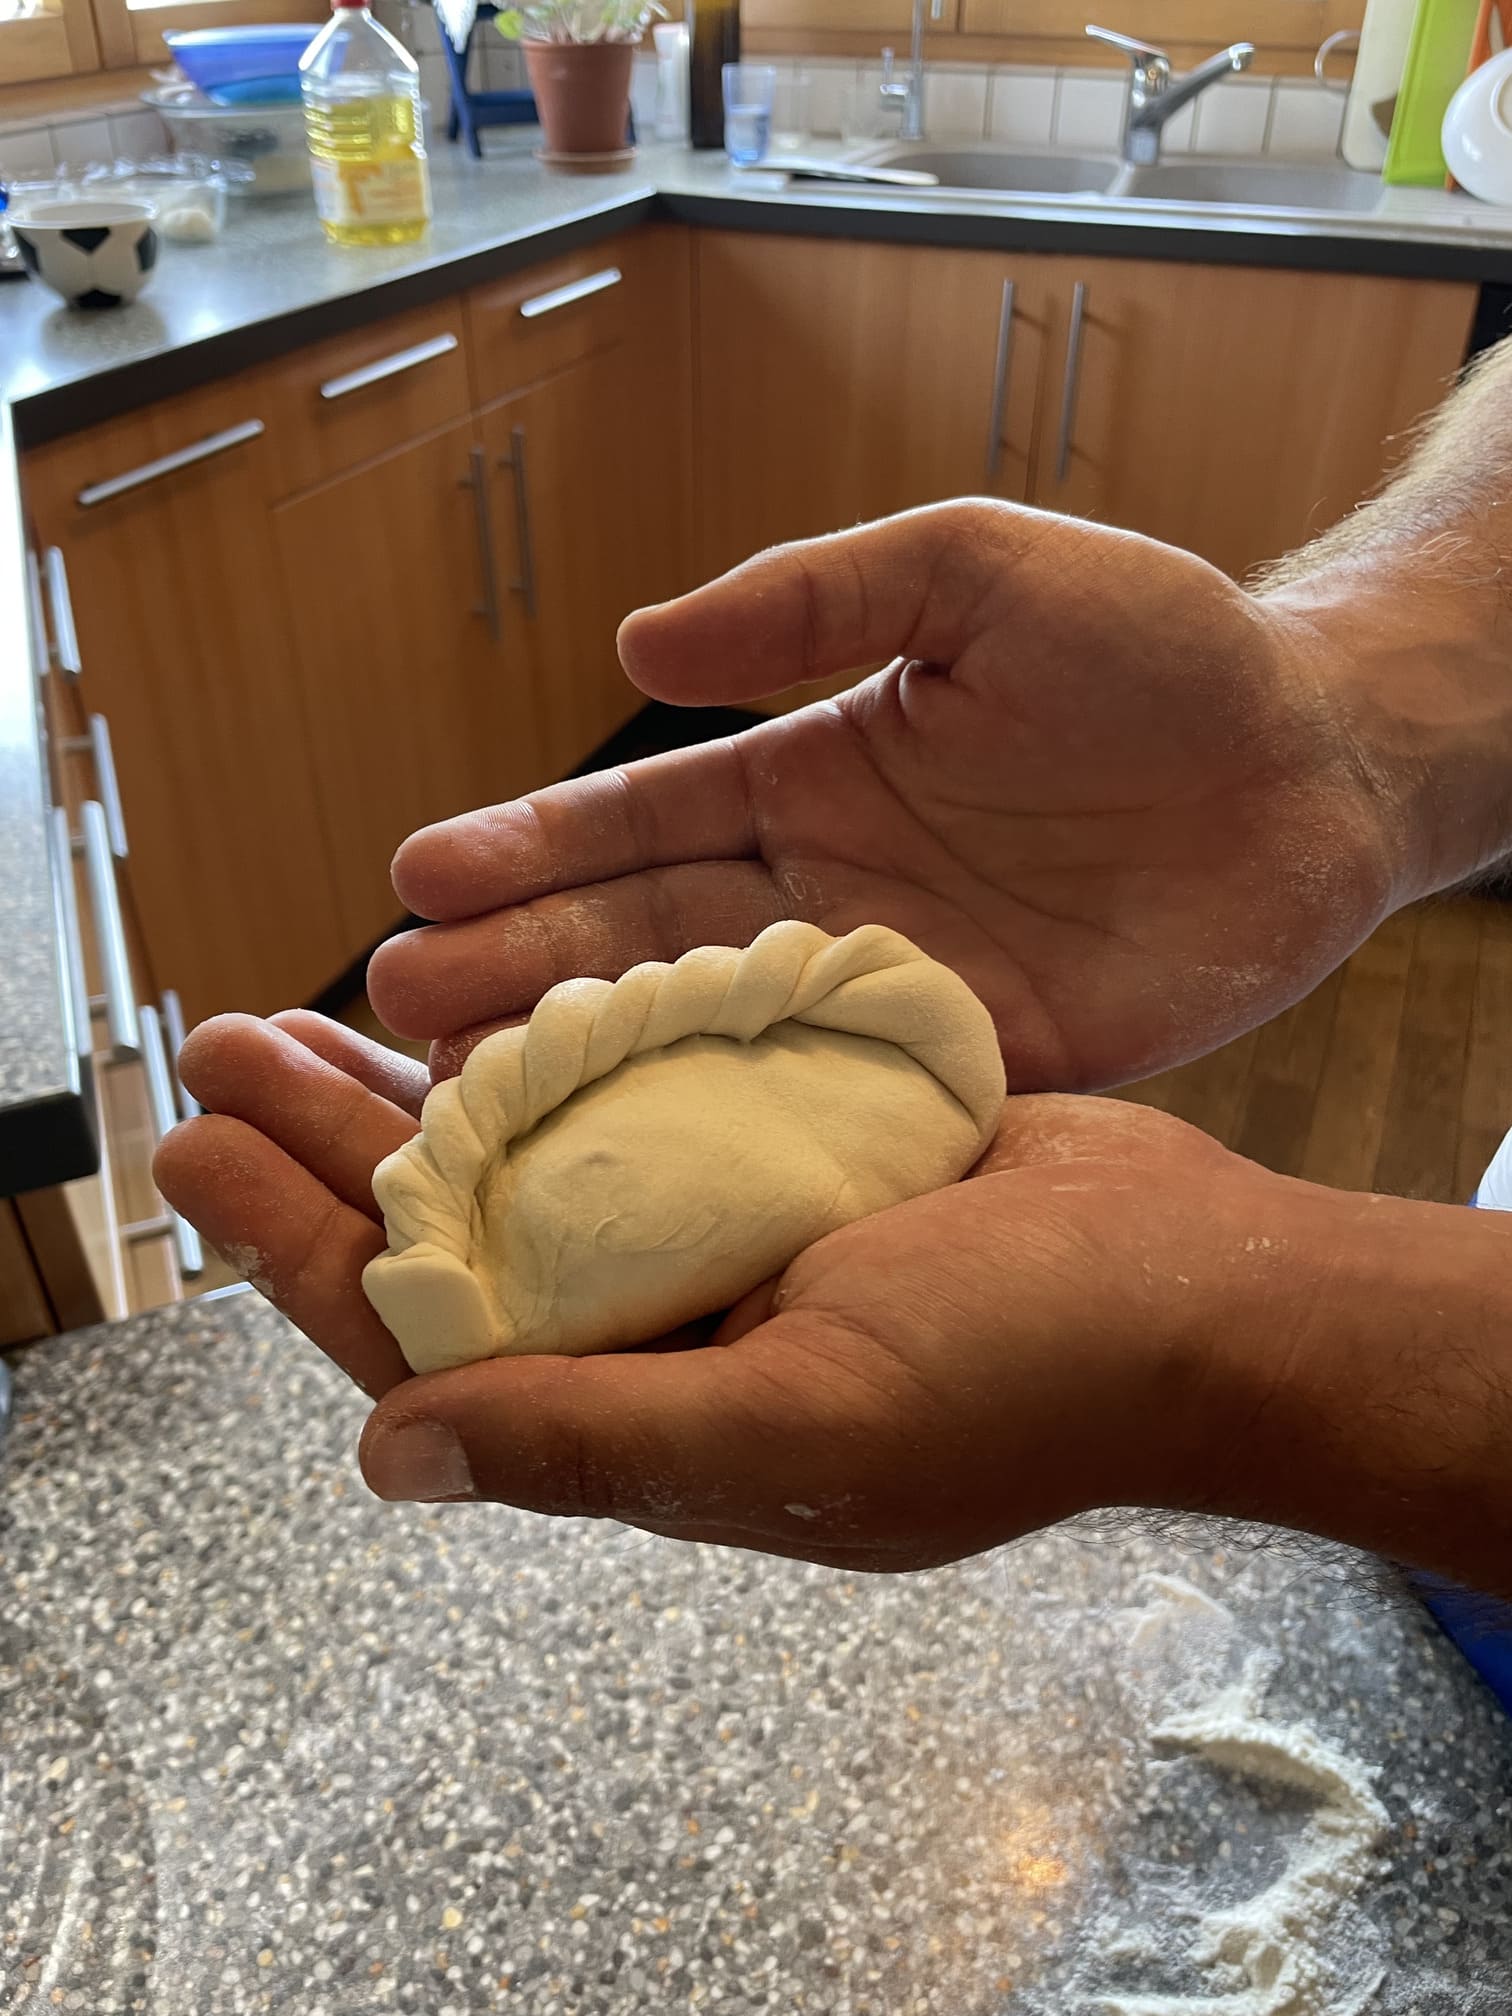
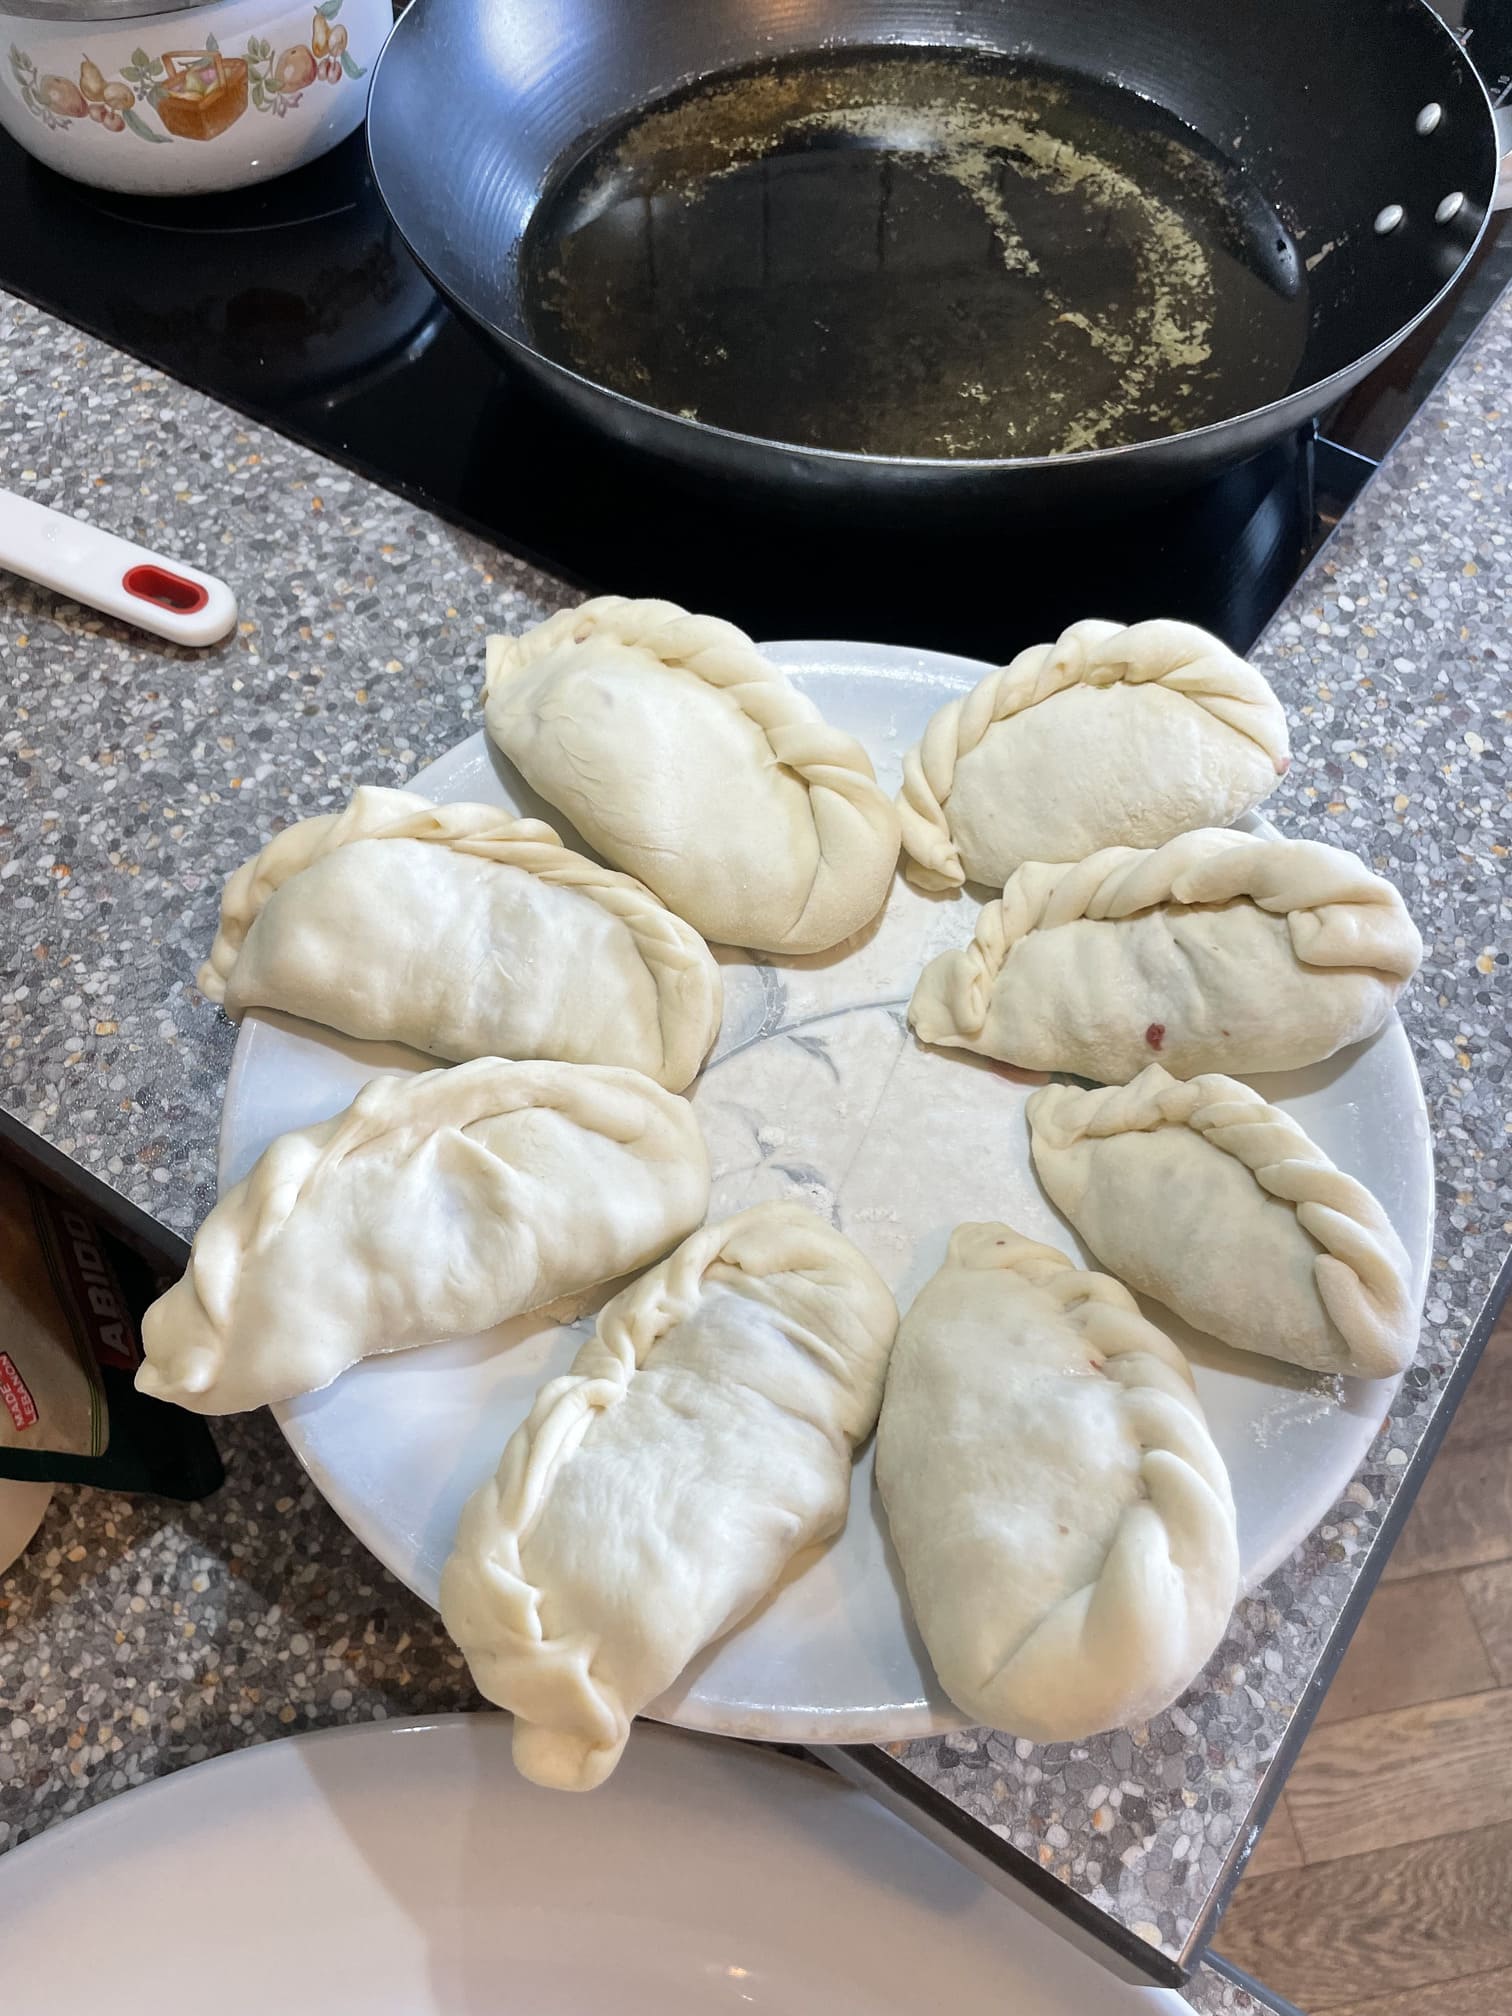
Roll out the pastry very thinly (1–2 mm), place the filling on one half and fold the other side over to seal it, forming a half-circle.
Hold the pastry in your hand and press gently, creating either small ridges or twists to ensure it’s completely sealed.
NaadamVersion with a lookalike crêpe :
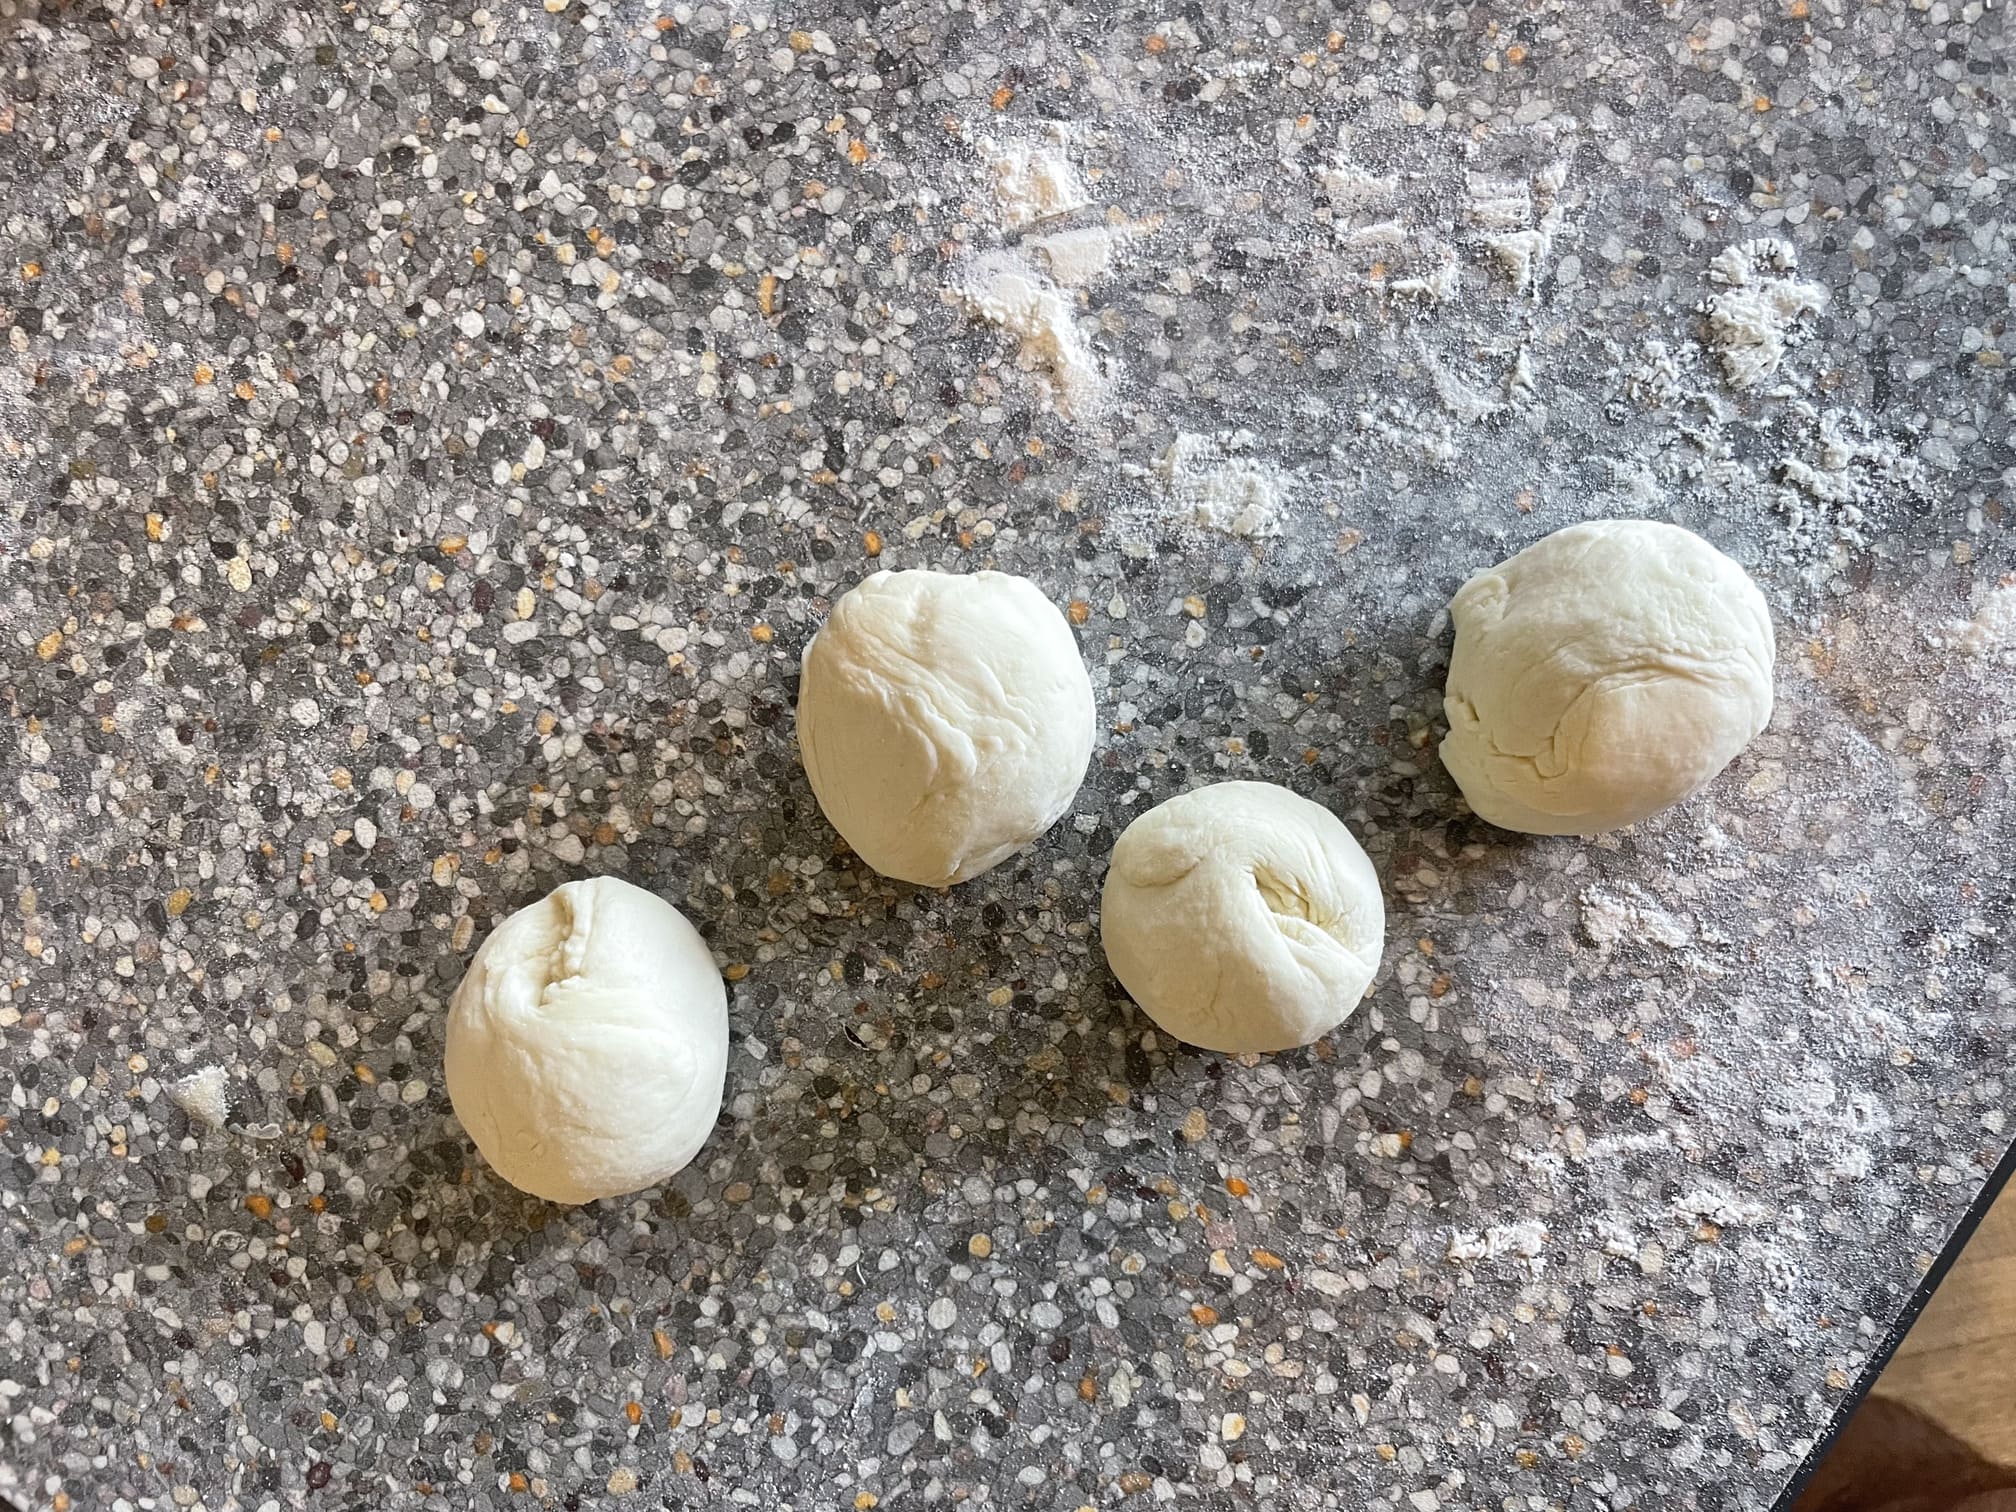
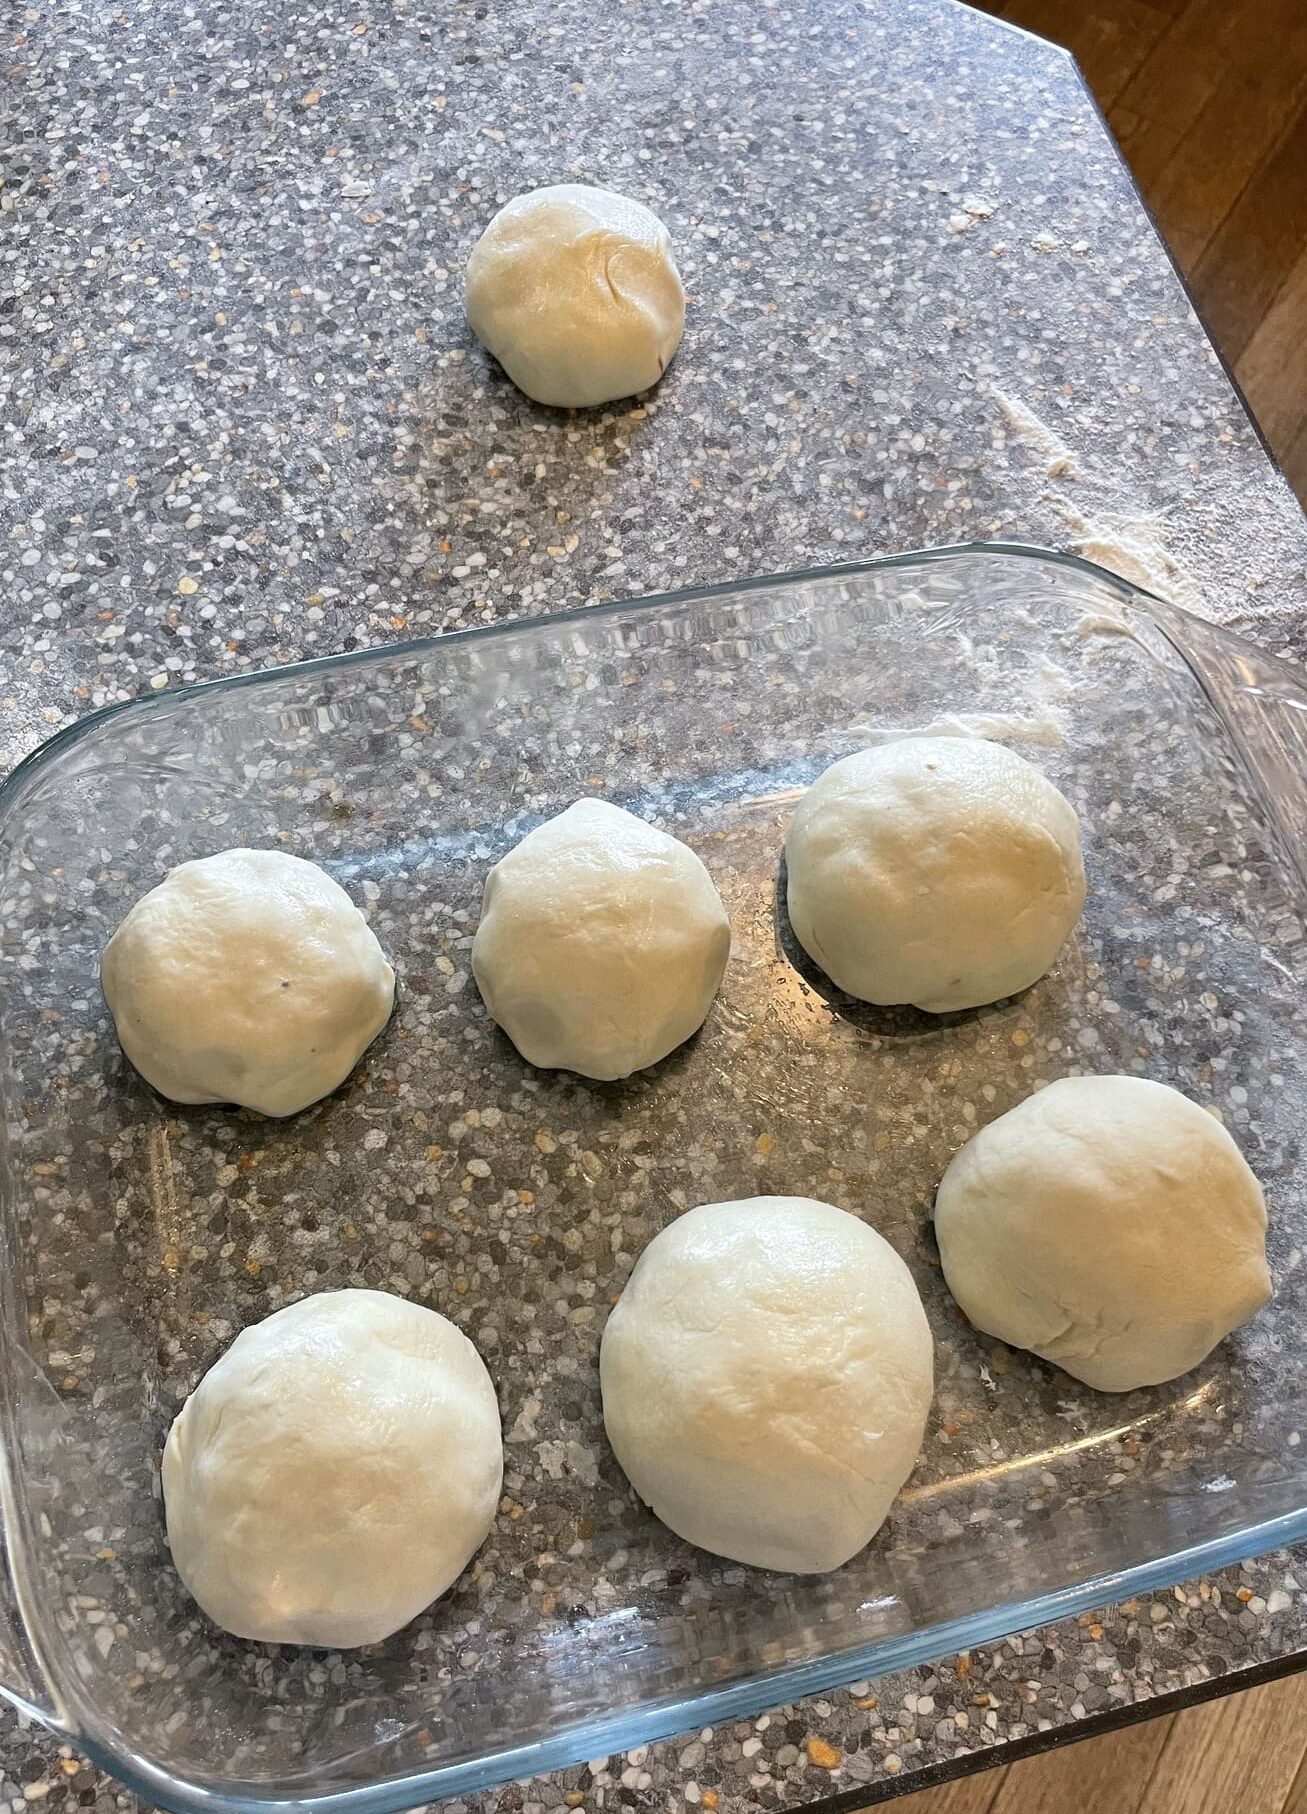
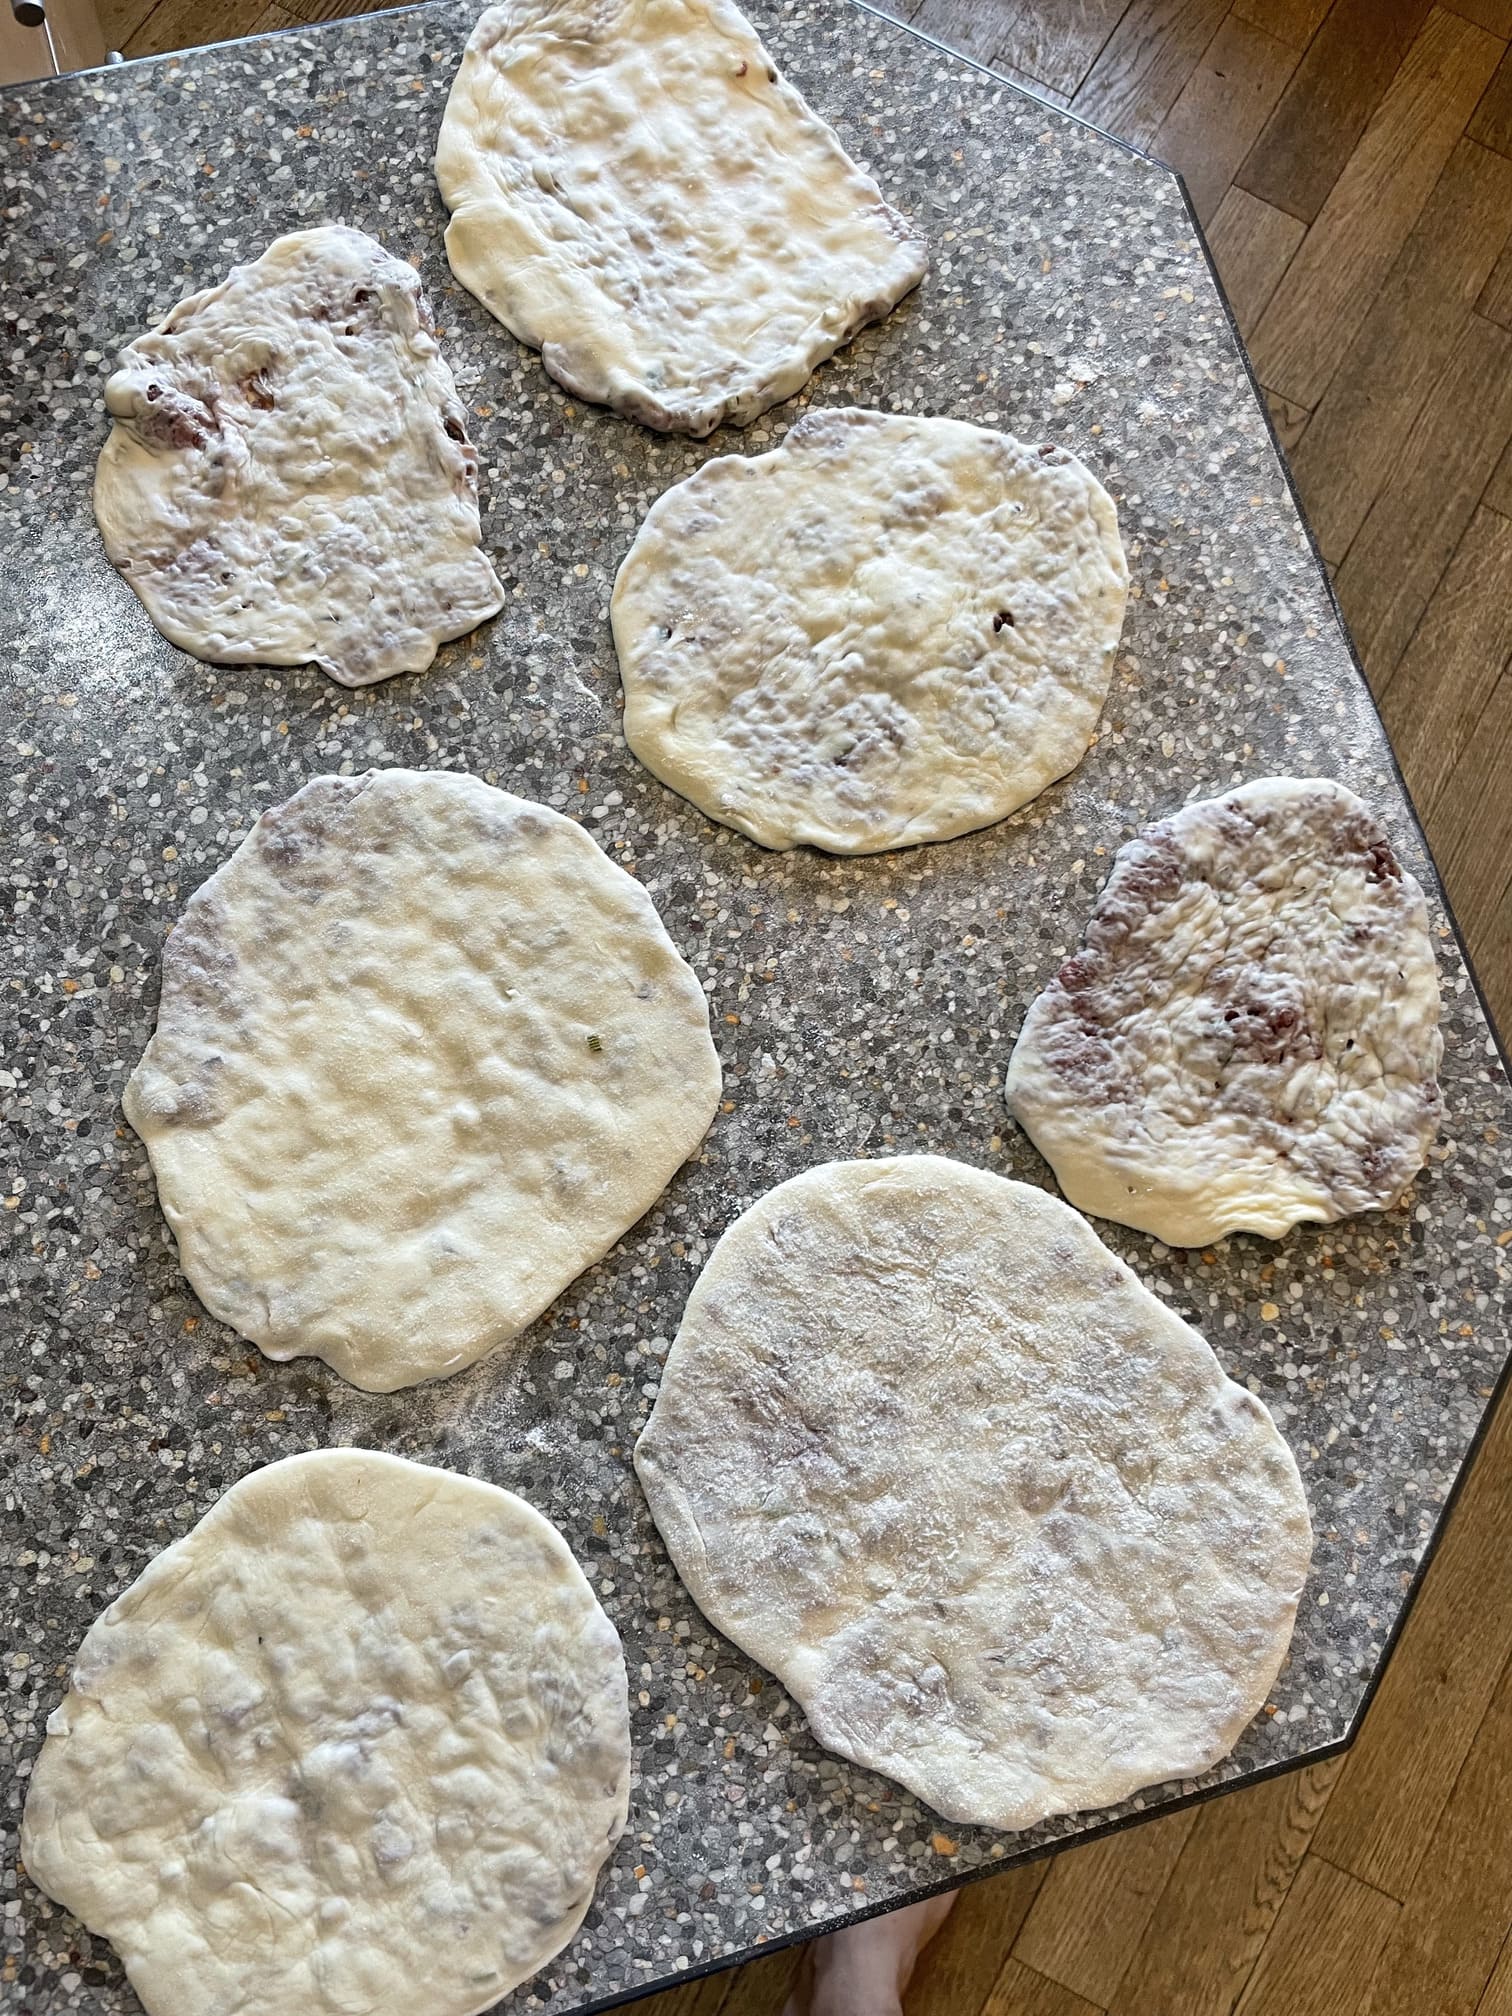
Roll out the dough to a thickness of 2–3 mm (we’ll roll it out further later), place the filling on top and seal it all up to form a ball.
Leave to rest for a few minutes, drizzling 1–2 drops of oil over each ball.
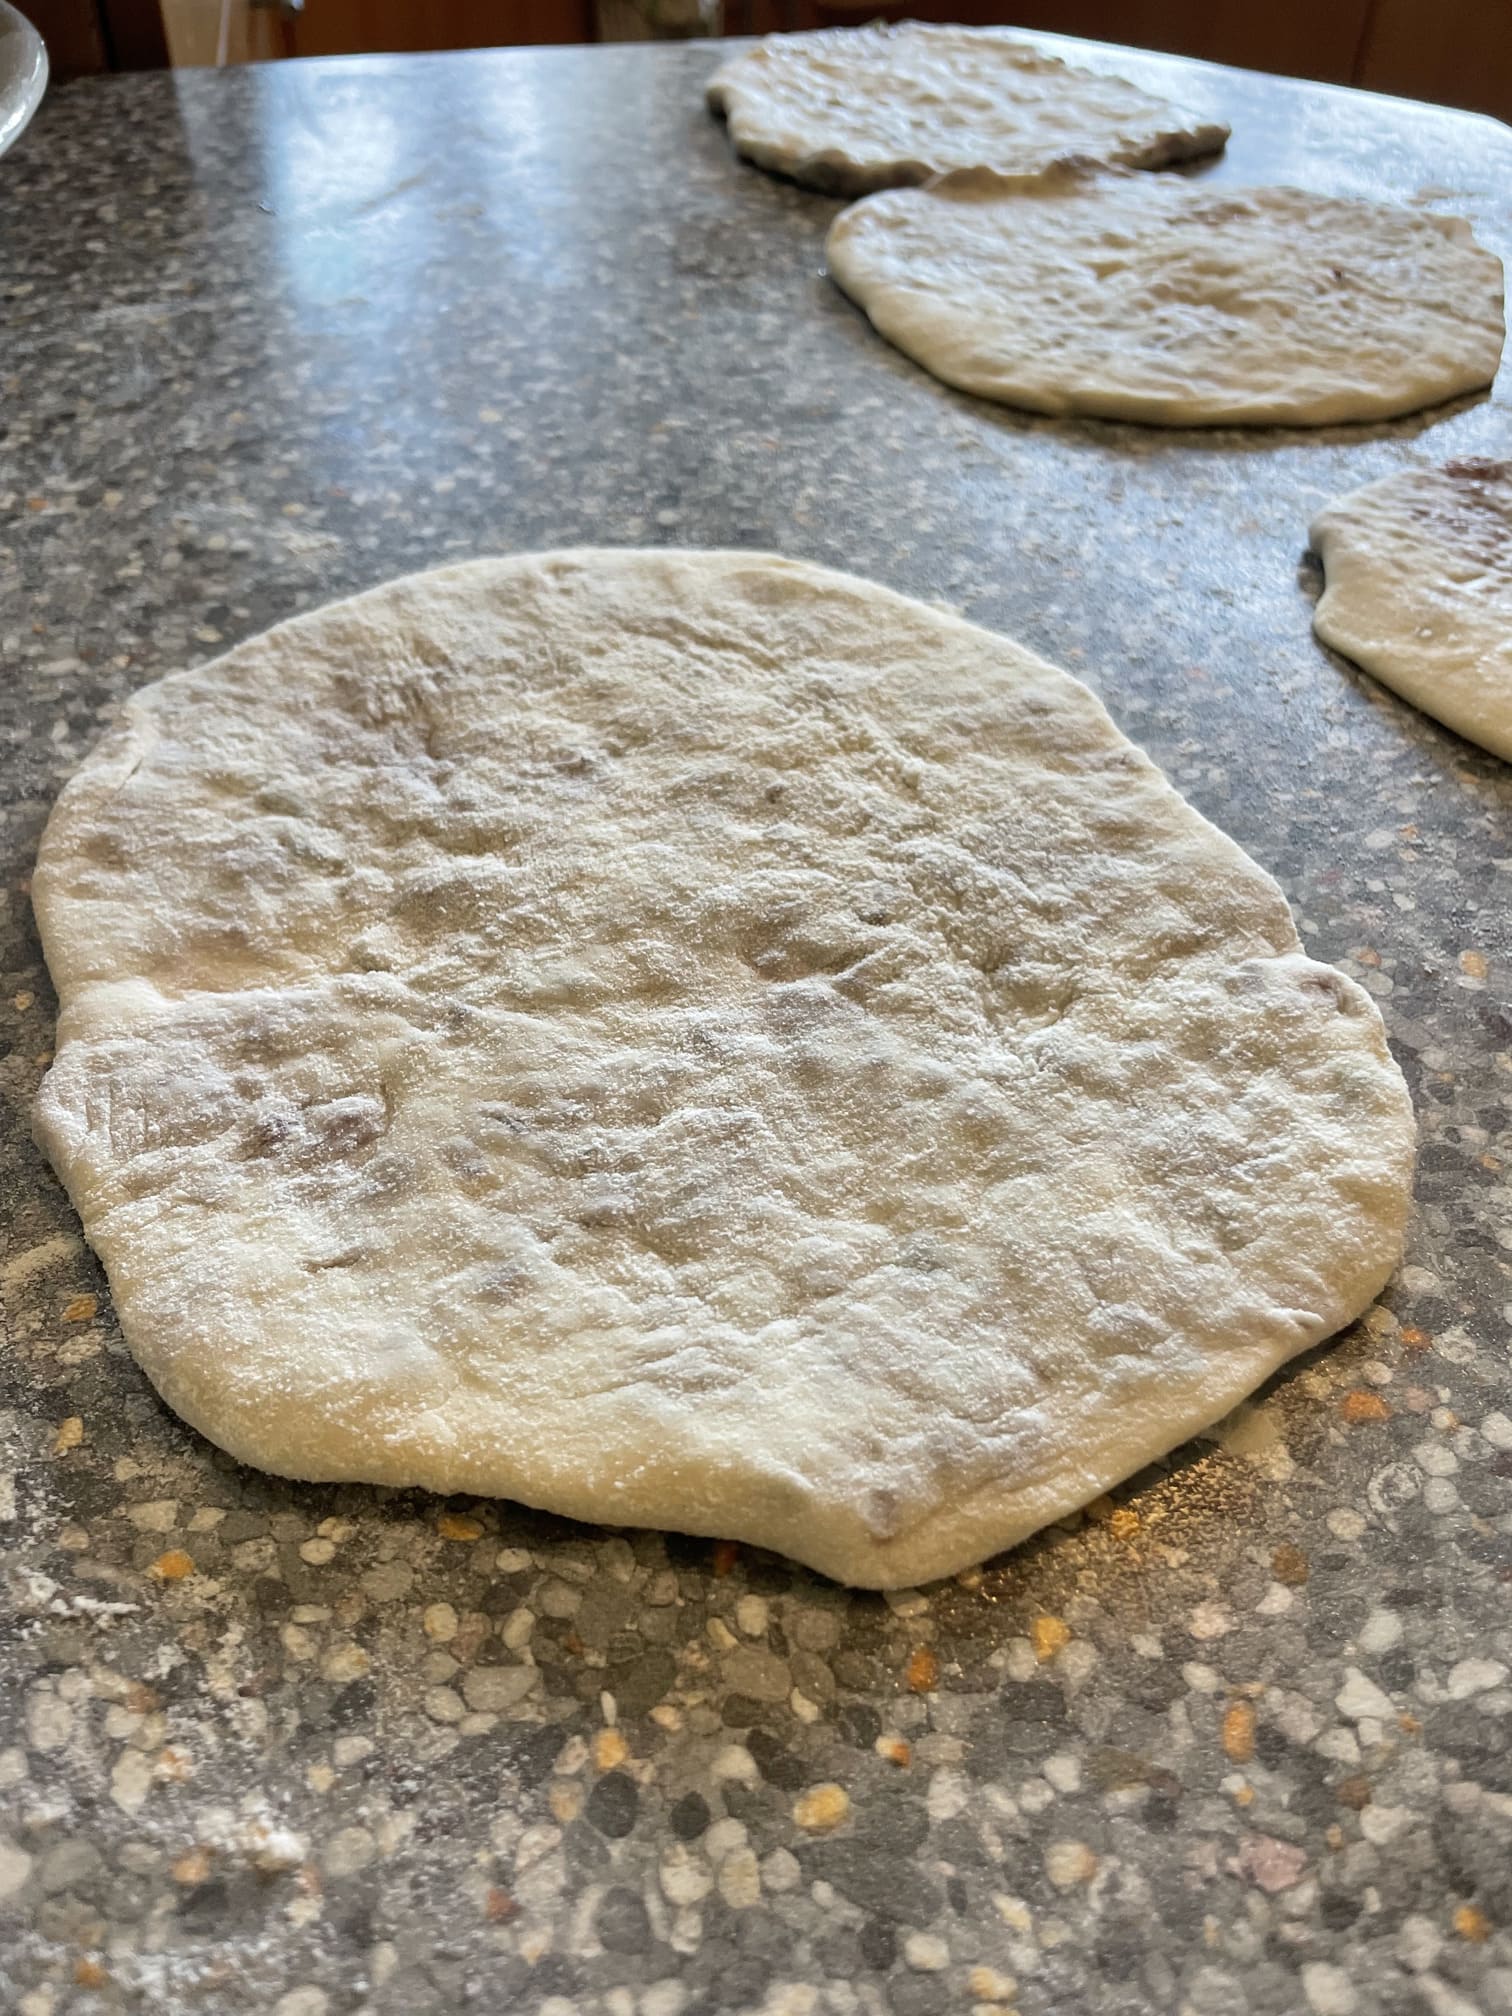
Flatten by hand, then with a rolling pin, taking care not to let the filling spill out so that the dough is evenly distributed.
Cooking :
Faites chauffer l'huile à température de friture (vous pouvez tester et voir si des bulles se forment en mettant un petit bout de pâte dans l'huile)
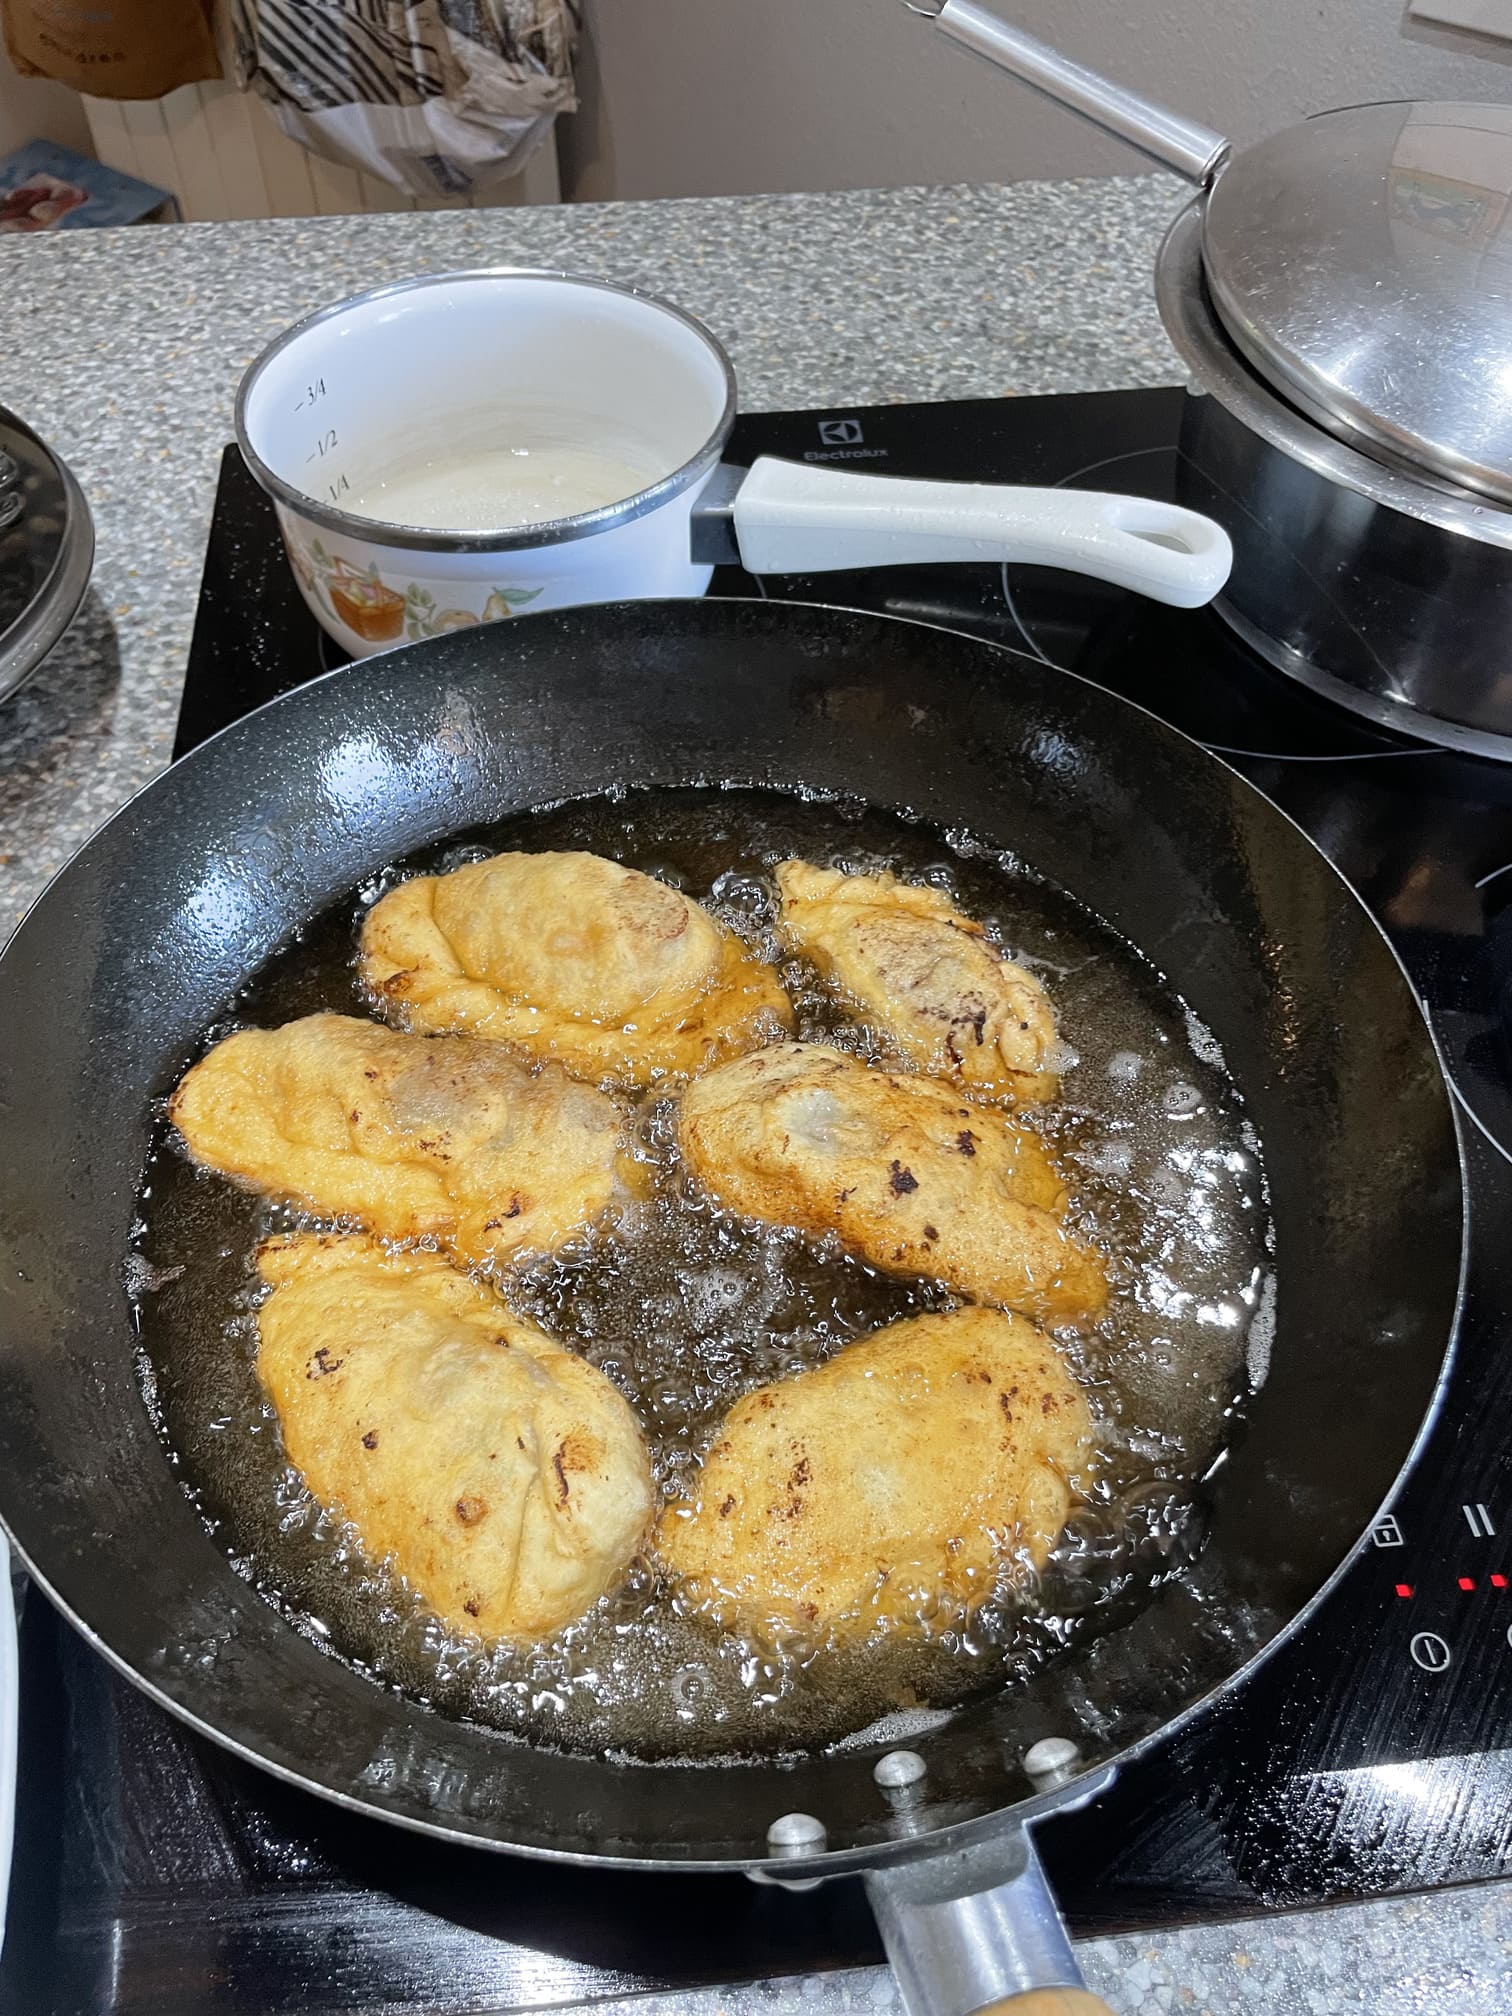
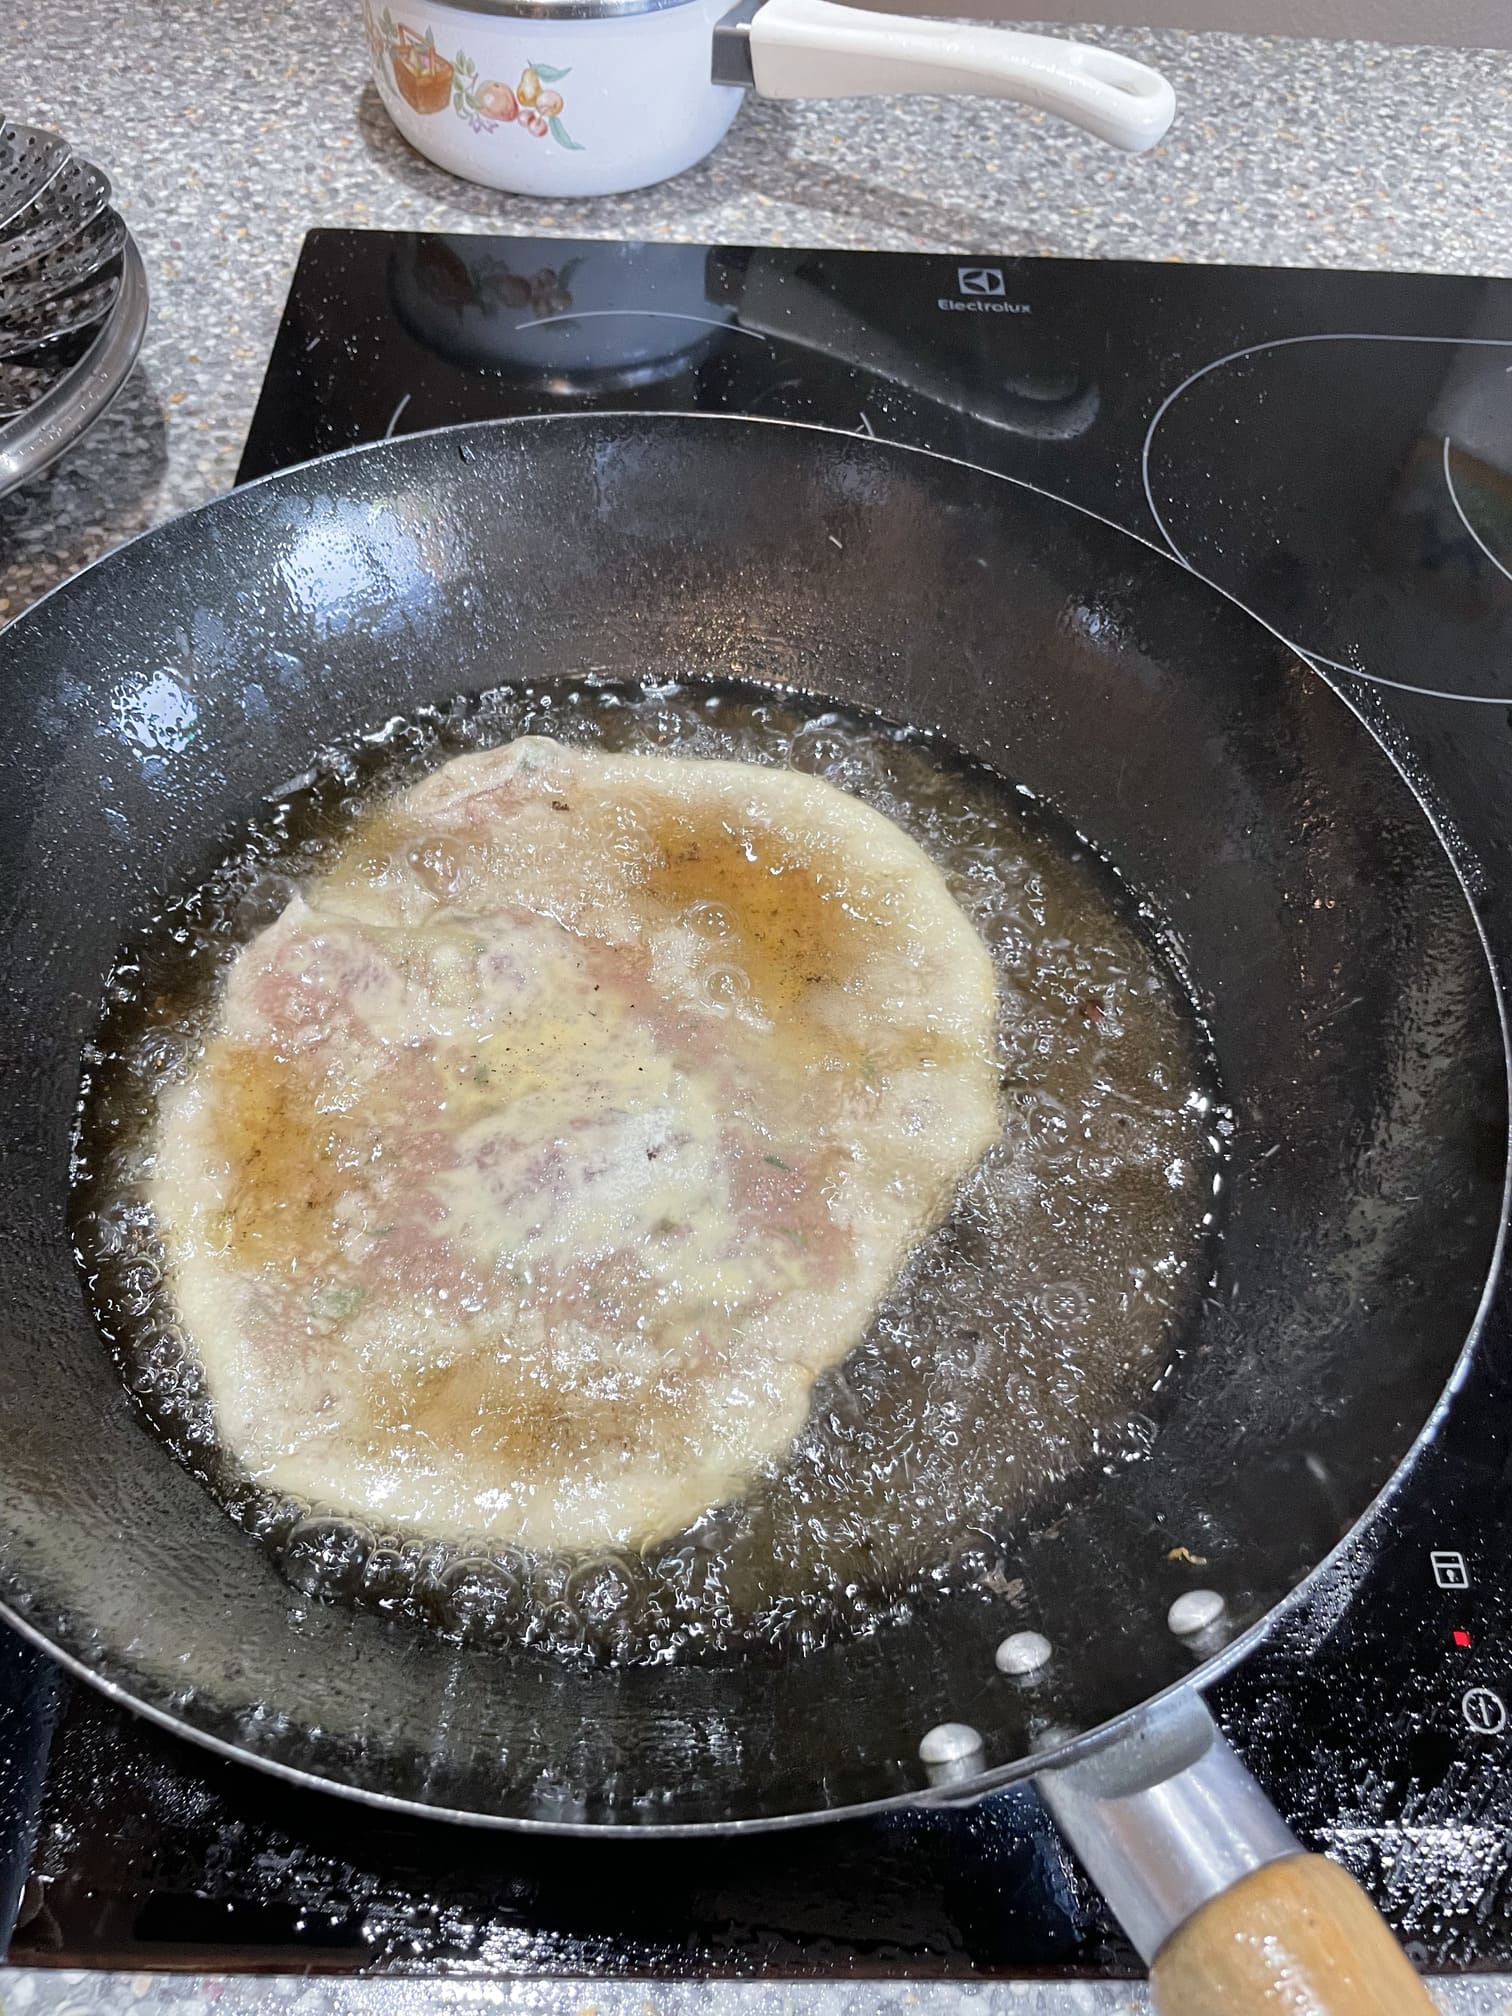
Démarrez la cuisson pour 5-6 minutes (2-3 par côté) pour la version Naadam et 6-8 minutes (3-4 par côté) pour la version classique étant plus épaisse.
Sortez et égouttez les. A déguster chaud !
Heat the oil to frying temperature (you can test this by dropping a small piece of dough into the oil to see if bubbles form)
Start frying for 5–6 minutes (2–3 per side) for the Naadam version and 6–8 minutes (3–4 per side) for the classic version, which is thicker.
Remove and drain them. Enjoy whilst hot!
Notes
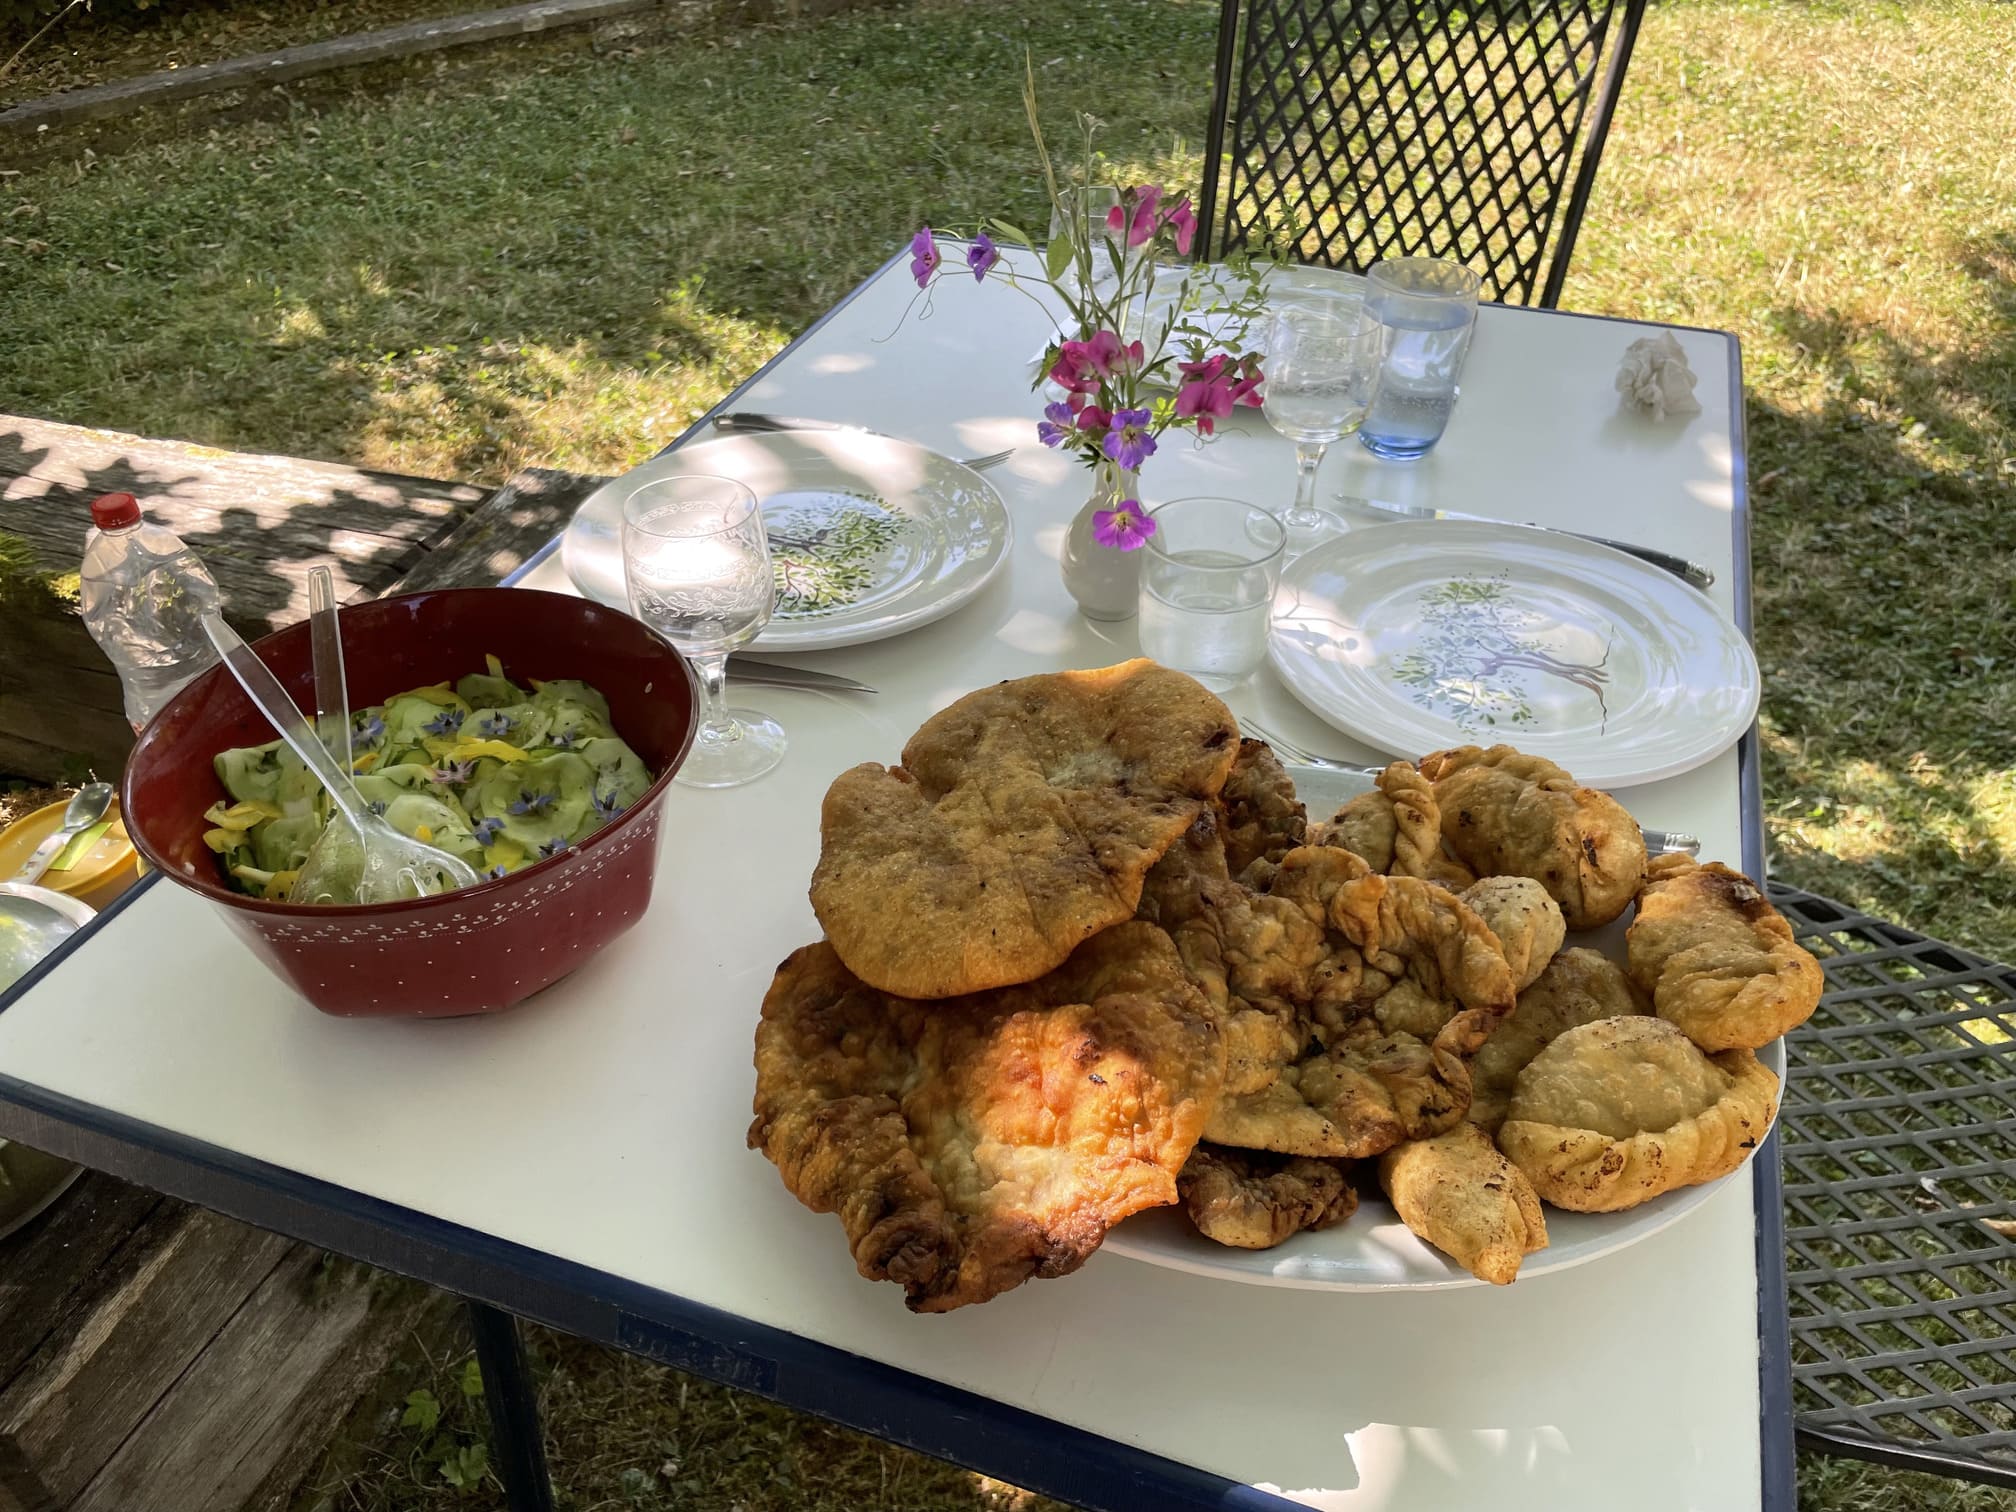
Elaborate side dishes are rare in Mongolia, but a good salad, some pickles or a vegetable stir-fry will certainly do the trick to accompany and lighten this very hearty meal, perfect for roaming the steppe and tending your herds.
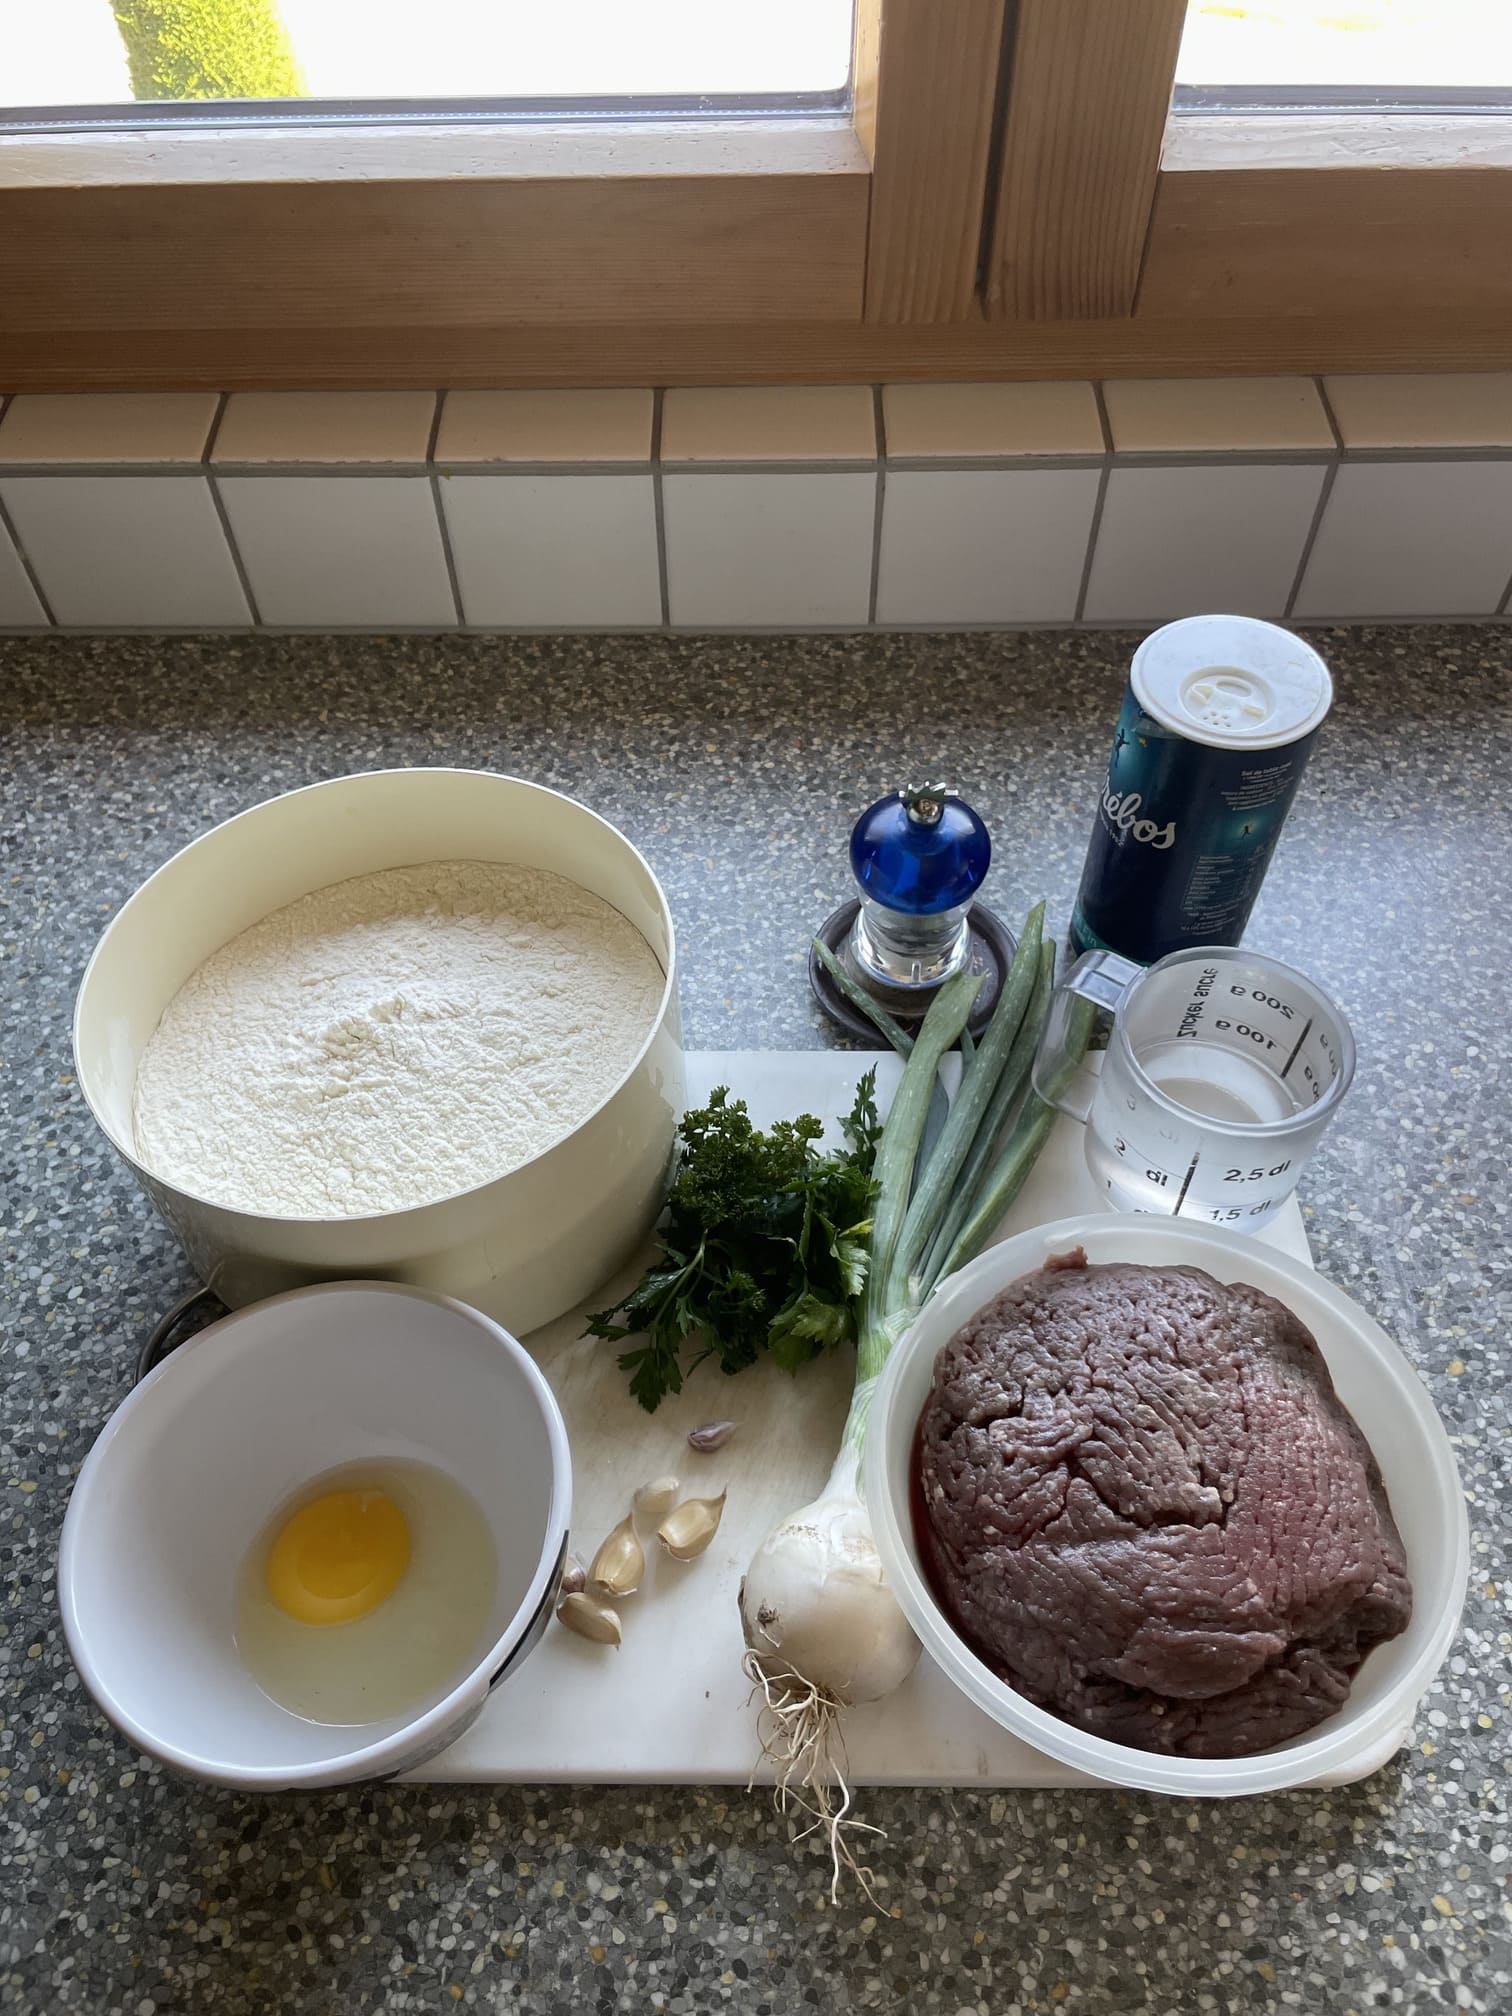
Ingredients
Dough preparation
Chopped onions, garlic and herbs
Minced meat with onions, herbs and seasoning
Dough and filling
Shaped and rolled dough (4-5cm of diameter)
Individual balls to spread
Starting the shape with your hands
Classical Version
Naadam Version
Finer spread
A thick layer to hold the filling in place and seal it
Sealing
We close the dough and filling
Sealed balls: oil them and leave them to rest for a few minutes
Personal twisting
Spread the mixture thinly, ensuring the meat is evenly distributed and remains firmly embedded in the centre of the pastry
They turned out well (I’ve put more effort into some than others)
They’re nicely spread out at the bottom, but it’s a bit of a mess at the top
3–4 minutes on each side until lightly golden
2–3 minutes on each side
A rustic and colourful tasting (some Khuushuurs are a bit overcooked and really crispy, which isn’t the original intention, but they’re still delicious!)
So now, tuck in!
I still remember the two occasions when I got to try the two different types of Khuushuur. A comforting dish that really perked me up (once it had settled, of course). I’m still filled with nostalgia whenever I make this dish again.
Wishing you a delicious meal and a happy Naadam. баяртай, Bayartay / ‘Goodbye’ in Mongolian.
If you’d like to find out more about Mongolia, do have a look at my cycle journey across Mongolia on YouTube. You’ll discover more dishes and plenty of adventures. Enjoy the video (Activate English subtitles):