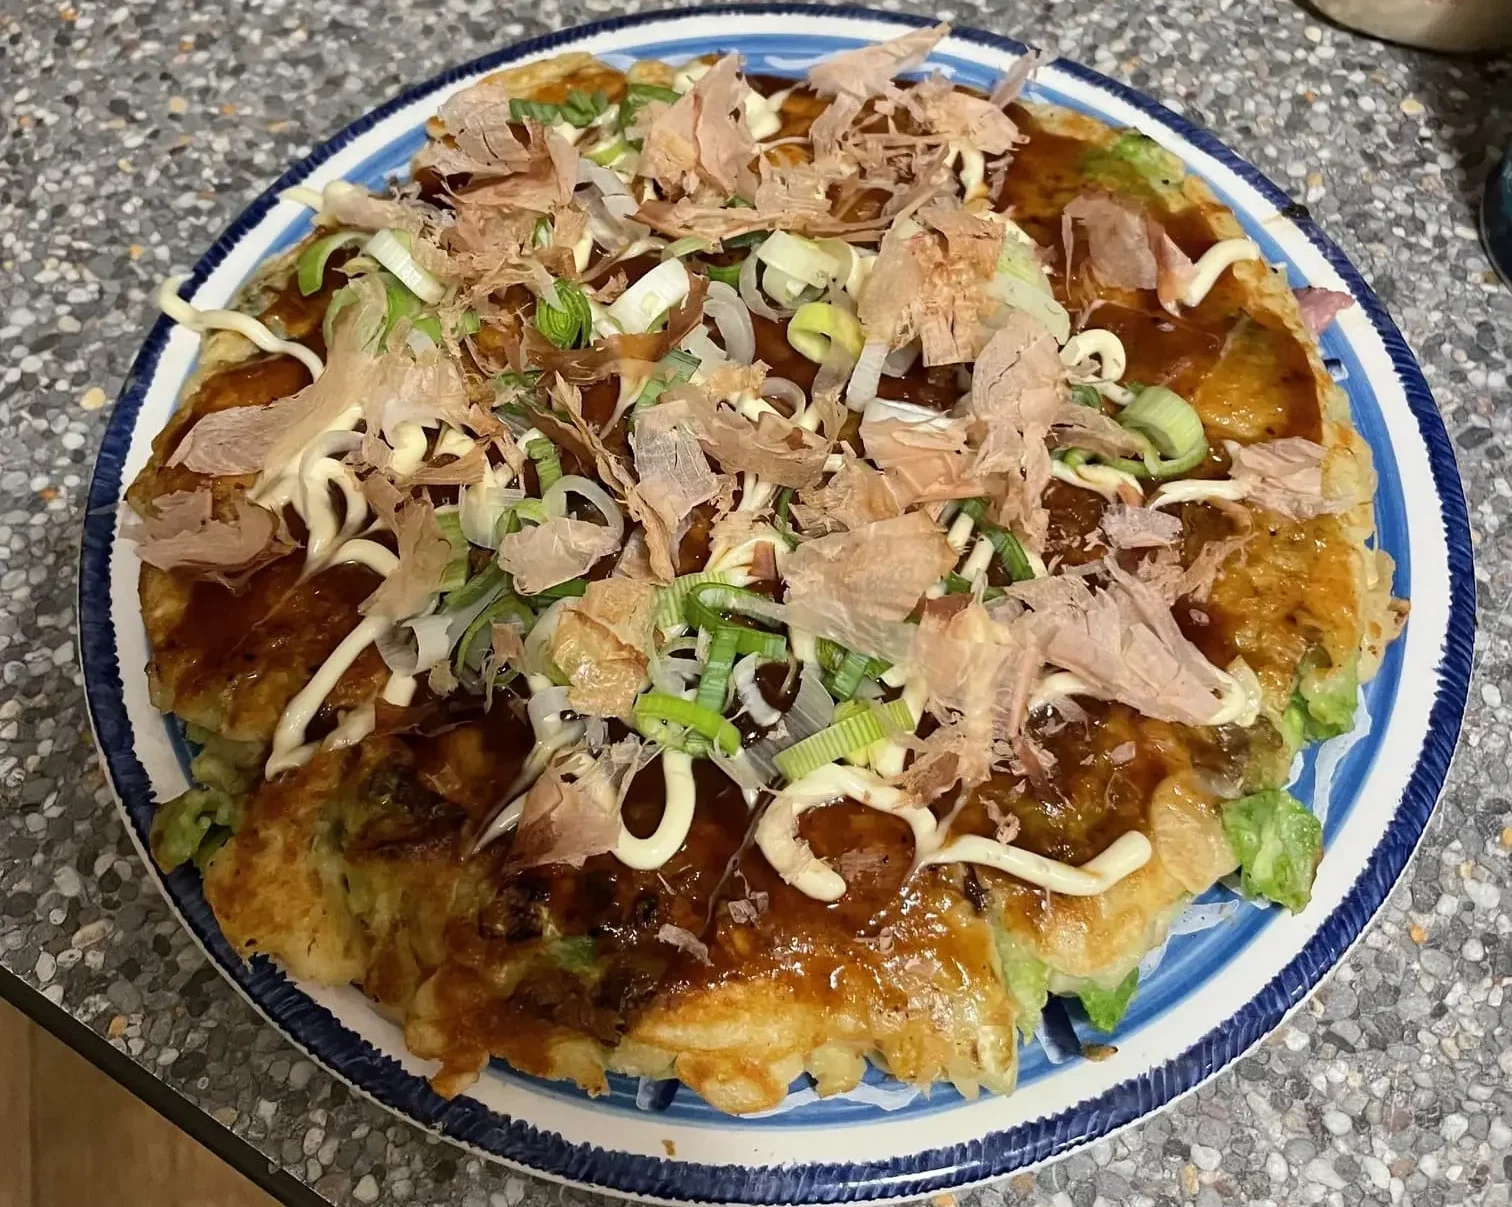
Okonomiyaki is one of the signature dishes of the Japanese peninsula, following various fish dishes and noodle soups. It originated during the post-World War II era in Japan when there was a need to create meals using available ingredients. This is why “Okonomiyaki” means “what you like” (okonomi) “grilled” (yaki).
It’s not just a dish but an institution, especially in two key cities—Osaka and Hiroshima—each with its own fundamental recipe differences. Osaka’s version is more like a savory pancake where various ingredients are mixed together, while Hiroshima’s version is multi-textured, with different layers between the batter, vegetables, and especially the noodles, which are the defining feature distinguishing the two regions.
Eating one in Japan is a true experience, not just in taste but in the entire process. First, there’s the preparation and cooking done right before your eyes on Japanese teppan (a large stainless steel griddle), where the chefs put on a show, each more creative than the last. Then, there’s the sense of sharing around the same teppan that each customer uses to keep their meal warm until the last bite. During lunchtime, many people come, quickly eat their meal, and then rush back to work. It’s Japanese efficiency even in dining. Any welcoming shop is worth visiting to enjoy this delicacy.
Let’s be honest, in a traditional European kitchen without a teppan, the Osaka style is the easiest to make. It’s “only” requiring the mixing of ingredients into the batter with a few simple steps for toppings and cooking. So, I’ll focus on that one today. Perhaps the Hiroshima style will come later.
We’ll start with a pancake batter seasoned with dashi (which makes all the difference in flavor), then add cabbage and any other vegetables or meats/proteins you’d like to include.
Let’s move on to the recipe for 4 generous servings.

Okonomiyaki (Osaka Version)
Ingredients
Dough :
- 200g flour
- 280 ml water with dashi or direct broth
- 1 small white cabbage 600-800g
- ½ teaspoon baking powder
- Pinches of salt AND sugar
- 4 eggs
- A little oil
- Optional: for more lightness, add a kind of tempura batter, called tenkasu
Topping:
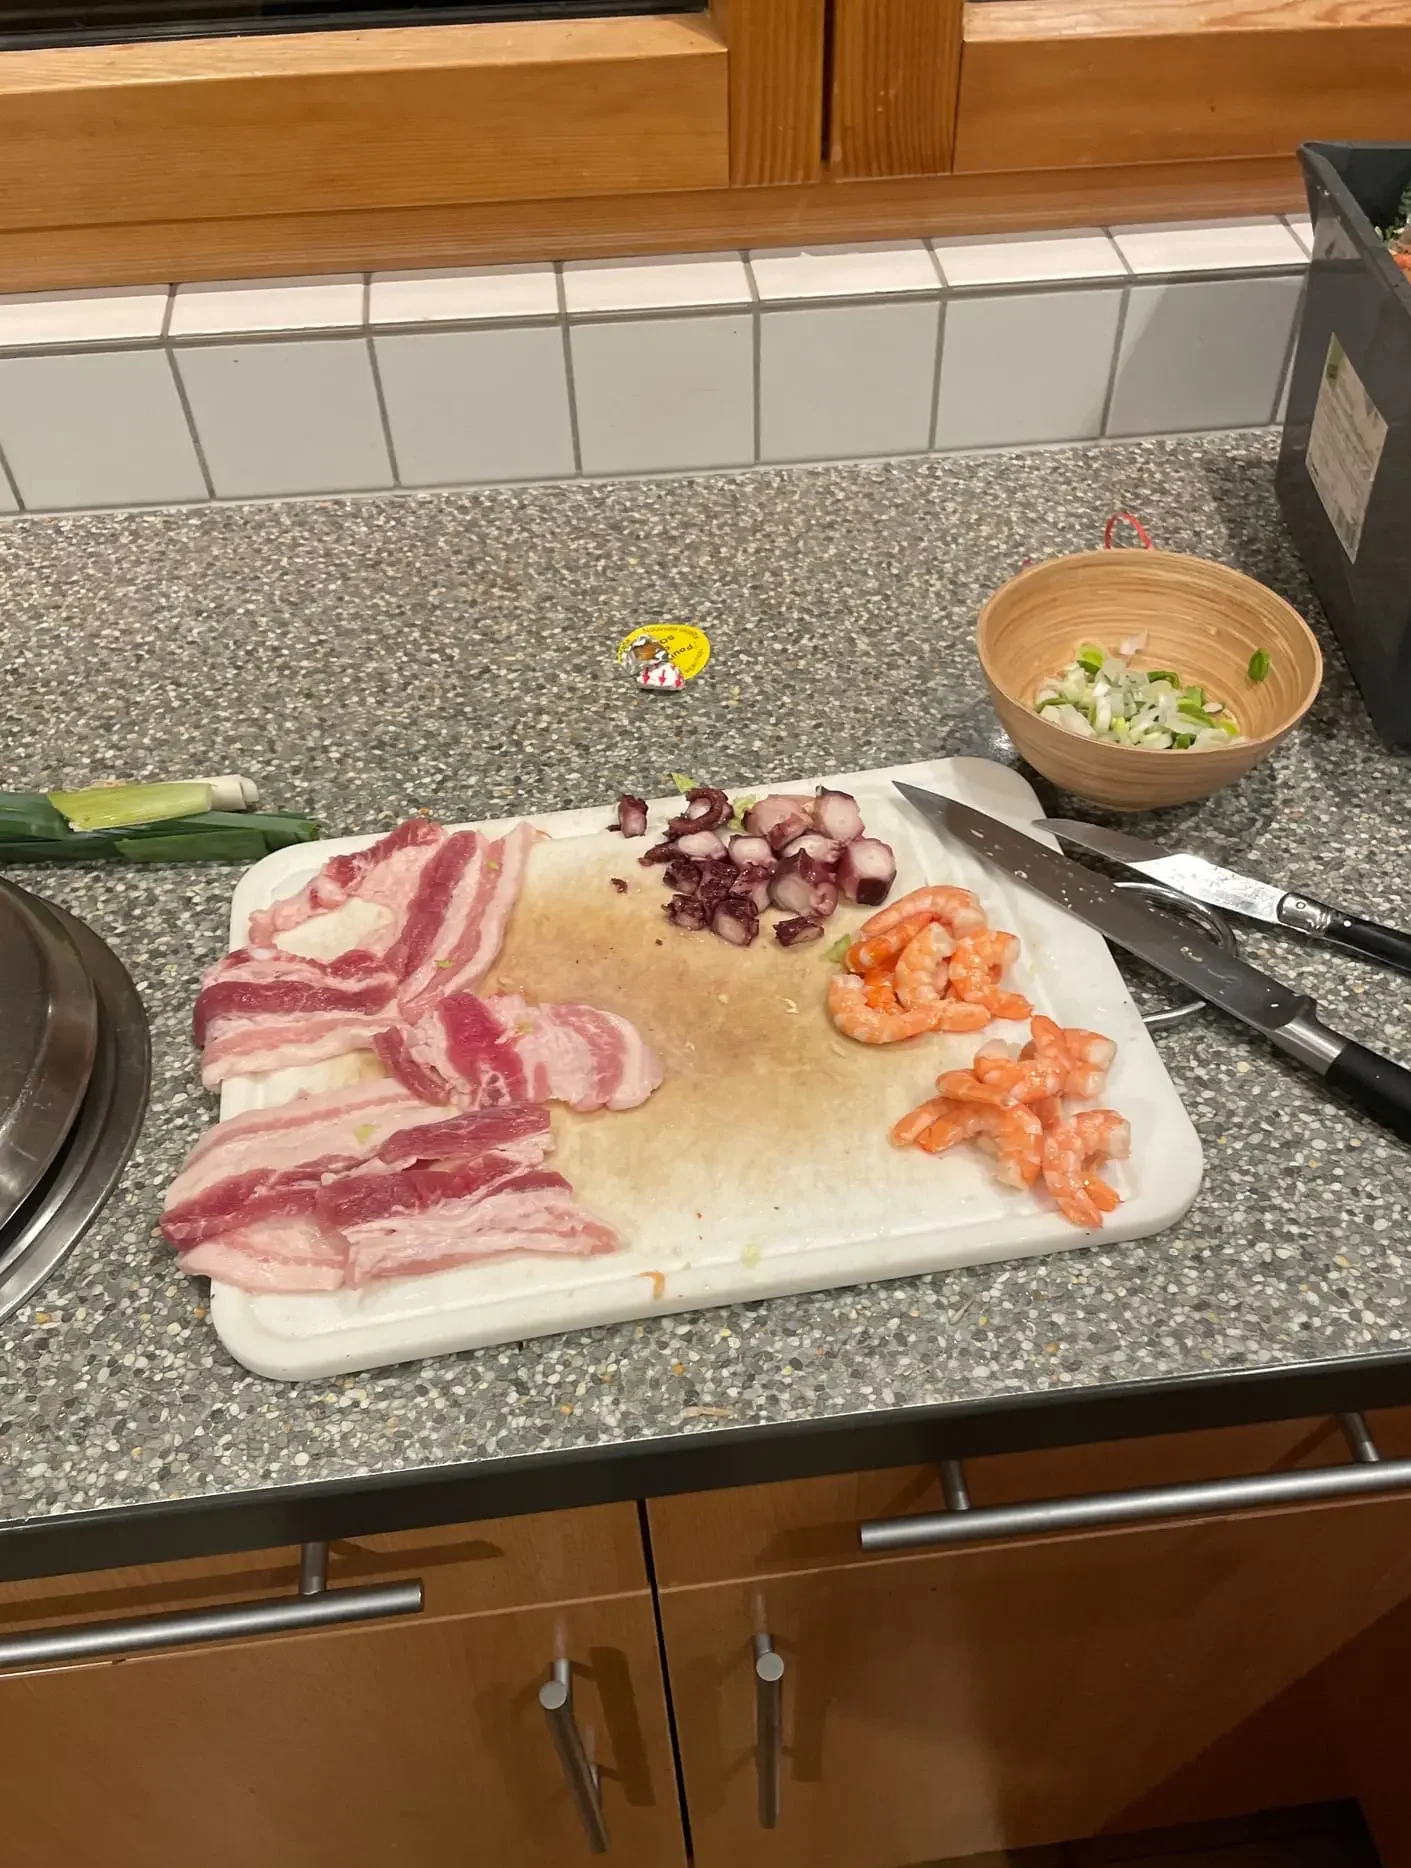
- 200 g thin slices of unsmoked bacon
- Optional: shrimp or other seafood if you're so inclined - I wanted to try octopus. It just has to be pre-cooked, ideally.
- Okonomiyaki sauce (can be bought in stores or you can find a recipe on the internet)
- Katsuoboshi/dried bonito flakes. (1 packet will probably be too much, but it can be kept for a long time).
- Kewpie-type light mayonnaise
- 1-2 green onions
- A few shavings of seaweed, aonori
- Pickled Ginger
Instructions
Preparation:
- Cut all the filling ingredients to the desired size. Chop the cabbage into small square portions, not too thin (let’s not make it too complicated), but also not too thick so that the cabbage remains easy to eat. The pork slices should be about the same size as your okonomiyaki, roughly 20 cm long.
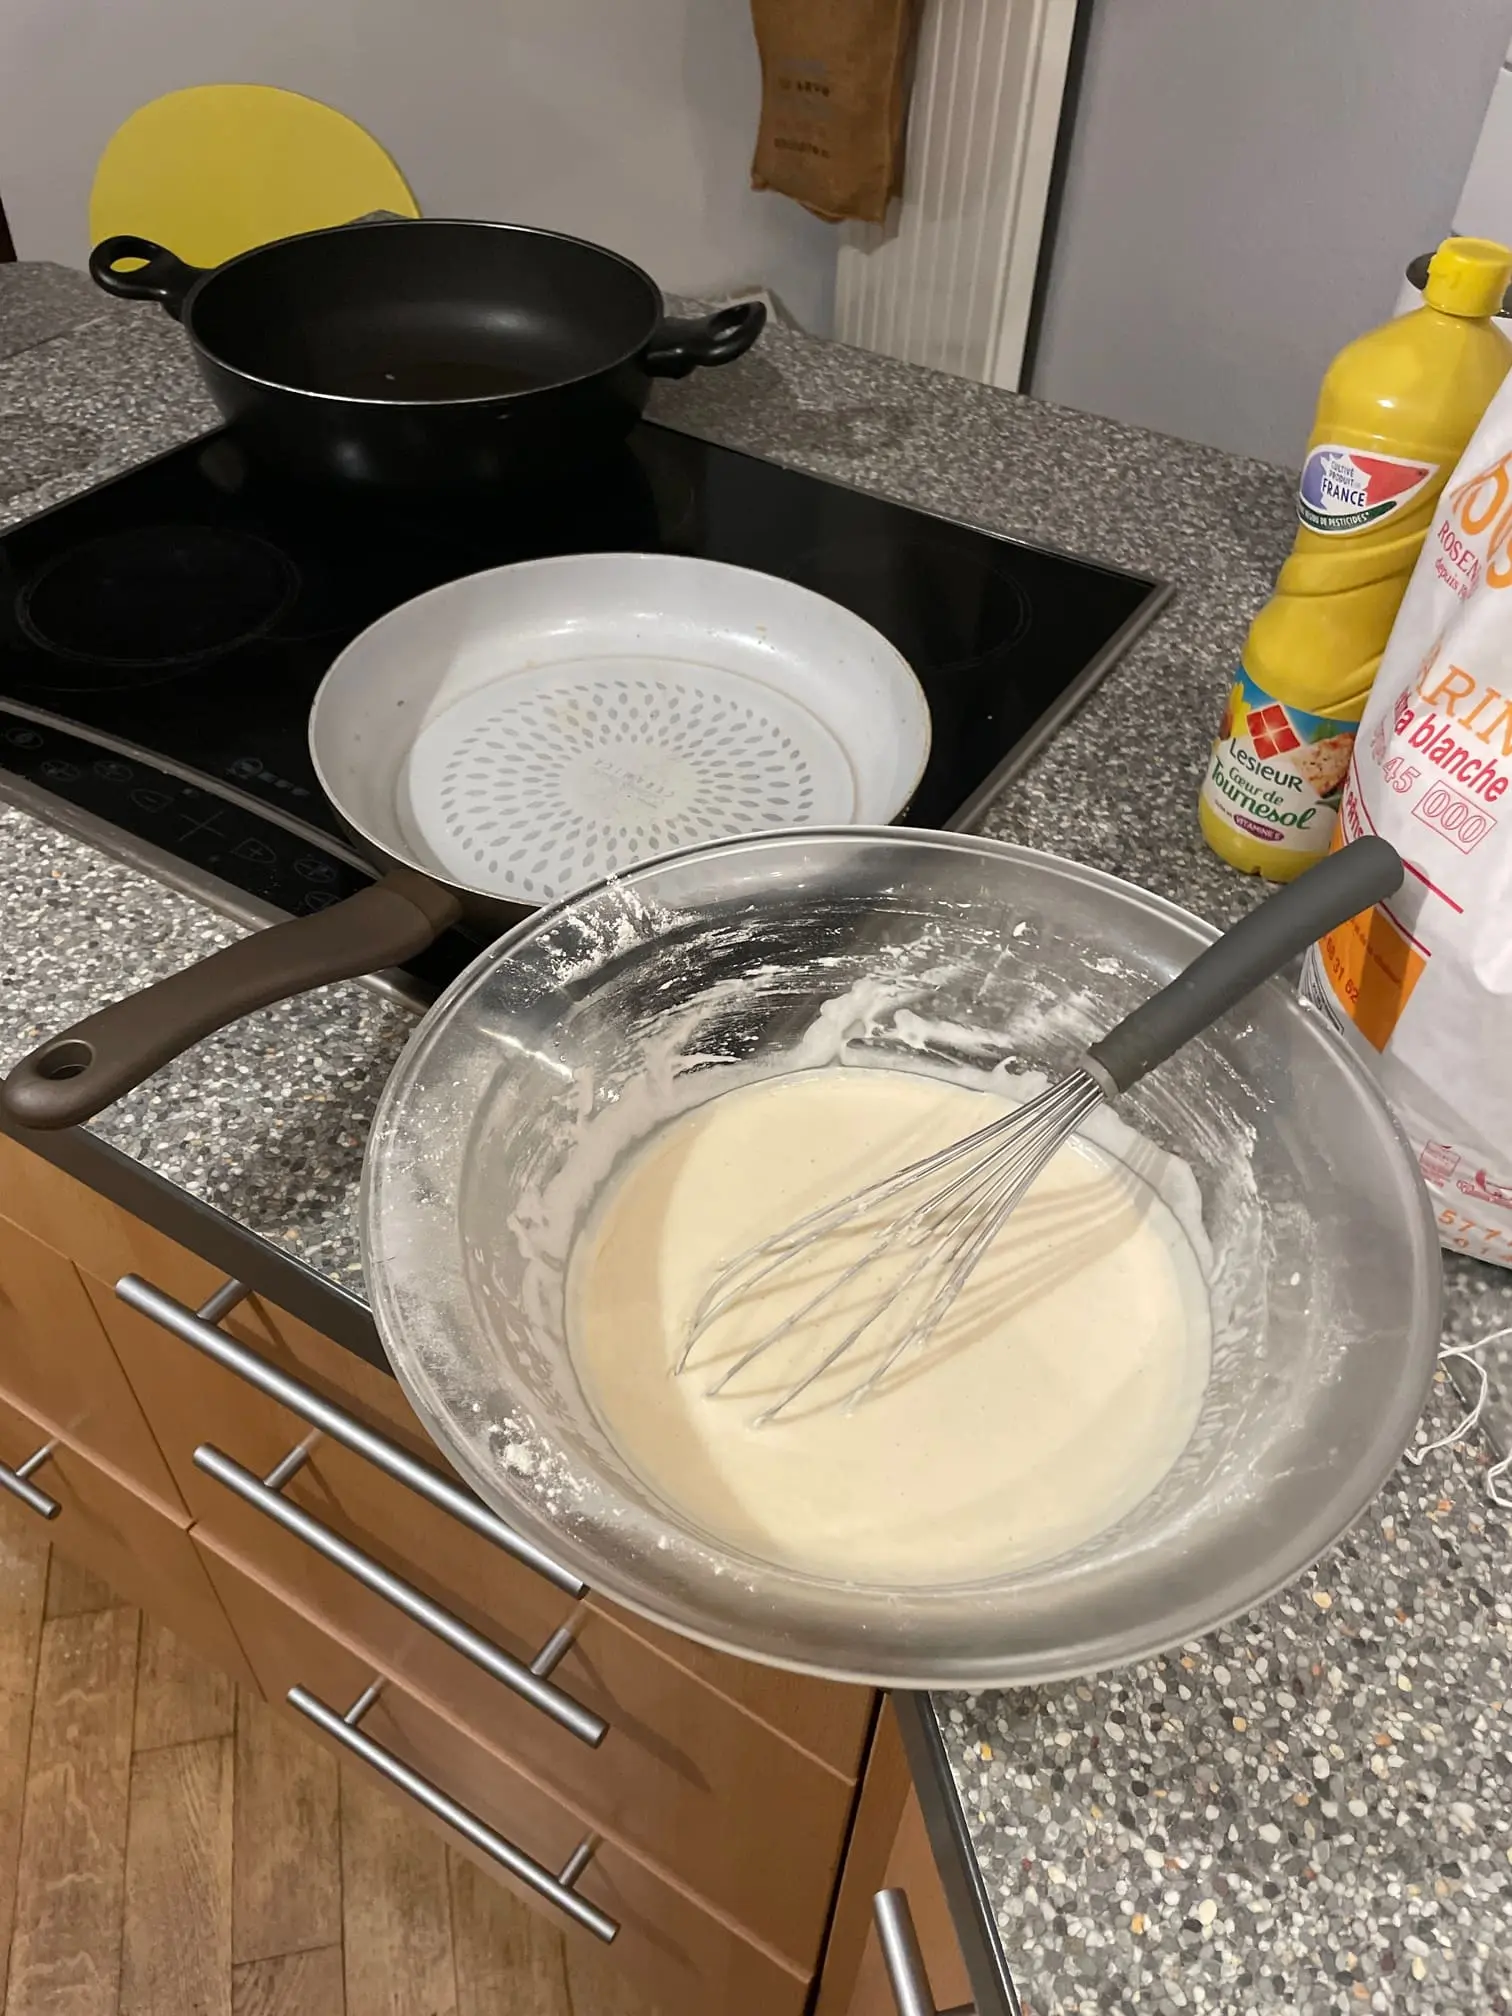
- Mix together the sugar, flour, and salt.
- Next, mix the liquids with the baking powder. Then gradually add this mixture to the flour to eliminate lumps. Add the eggs to help combine the ingredients.
- Then, submerge the cabbage, tenkasu, shrimp, and/or octopus in the mixture to create a uniform blend of batter and well-distributed fillings.
Cooking:
- You can then move on to cooking in a pre-oiled pan. Form a thick pancake in the hot pan, then reduce the heat to avoid burning the batter during the several minutes of cooking.
- When the batter starts to peel away cleanly, add the slices of pork belly on top.
- Let it grill for a few more minutes, using a lid if necessary.
- Then, flip the pancake to brown the side with the pork. Use a plate to help flip your okonomiyaki. Cook until the pork is nicely colored.
- Feel free to flip the okonomiyaki one last time to reheat the side without pork, which is important for the next step.
Presentation:
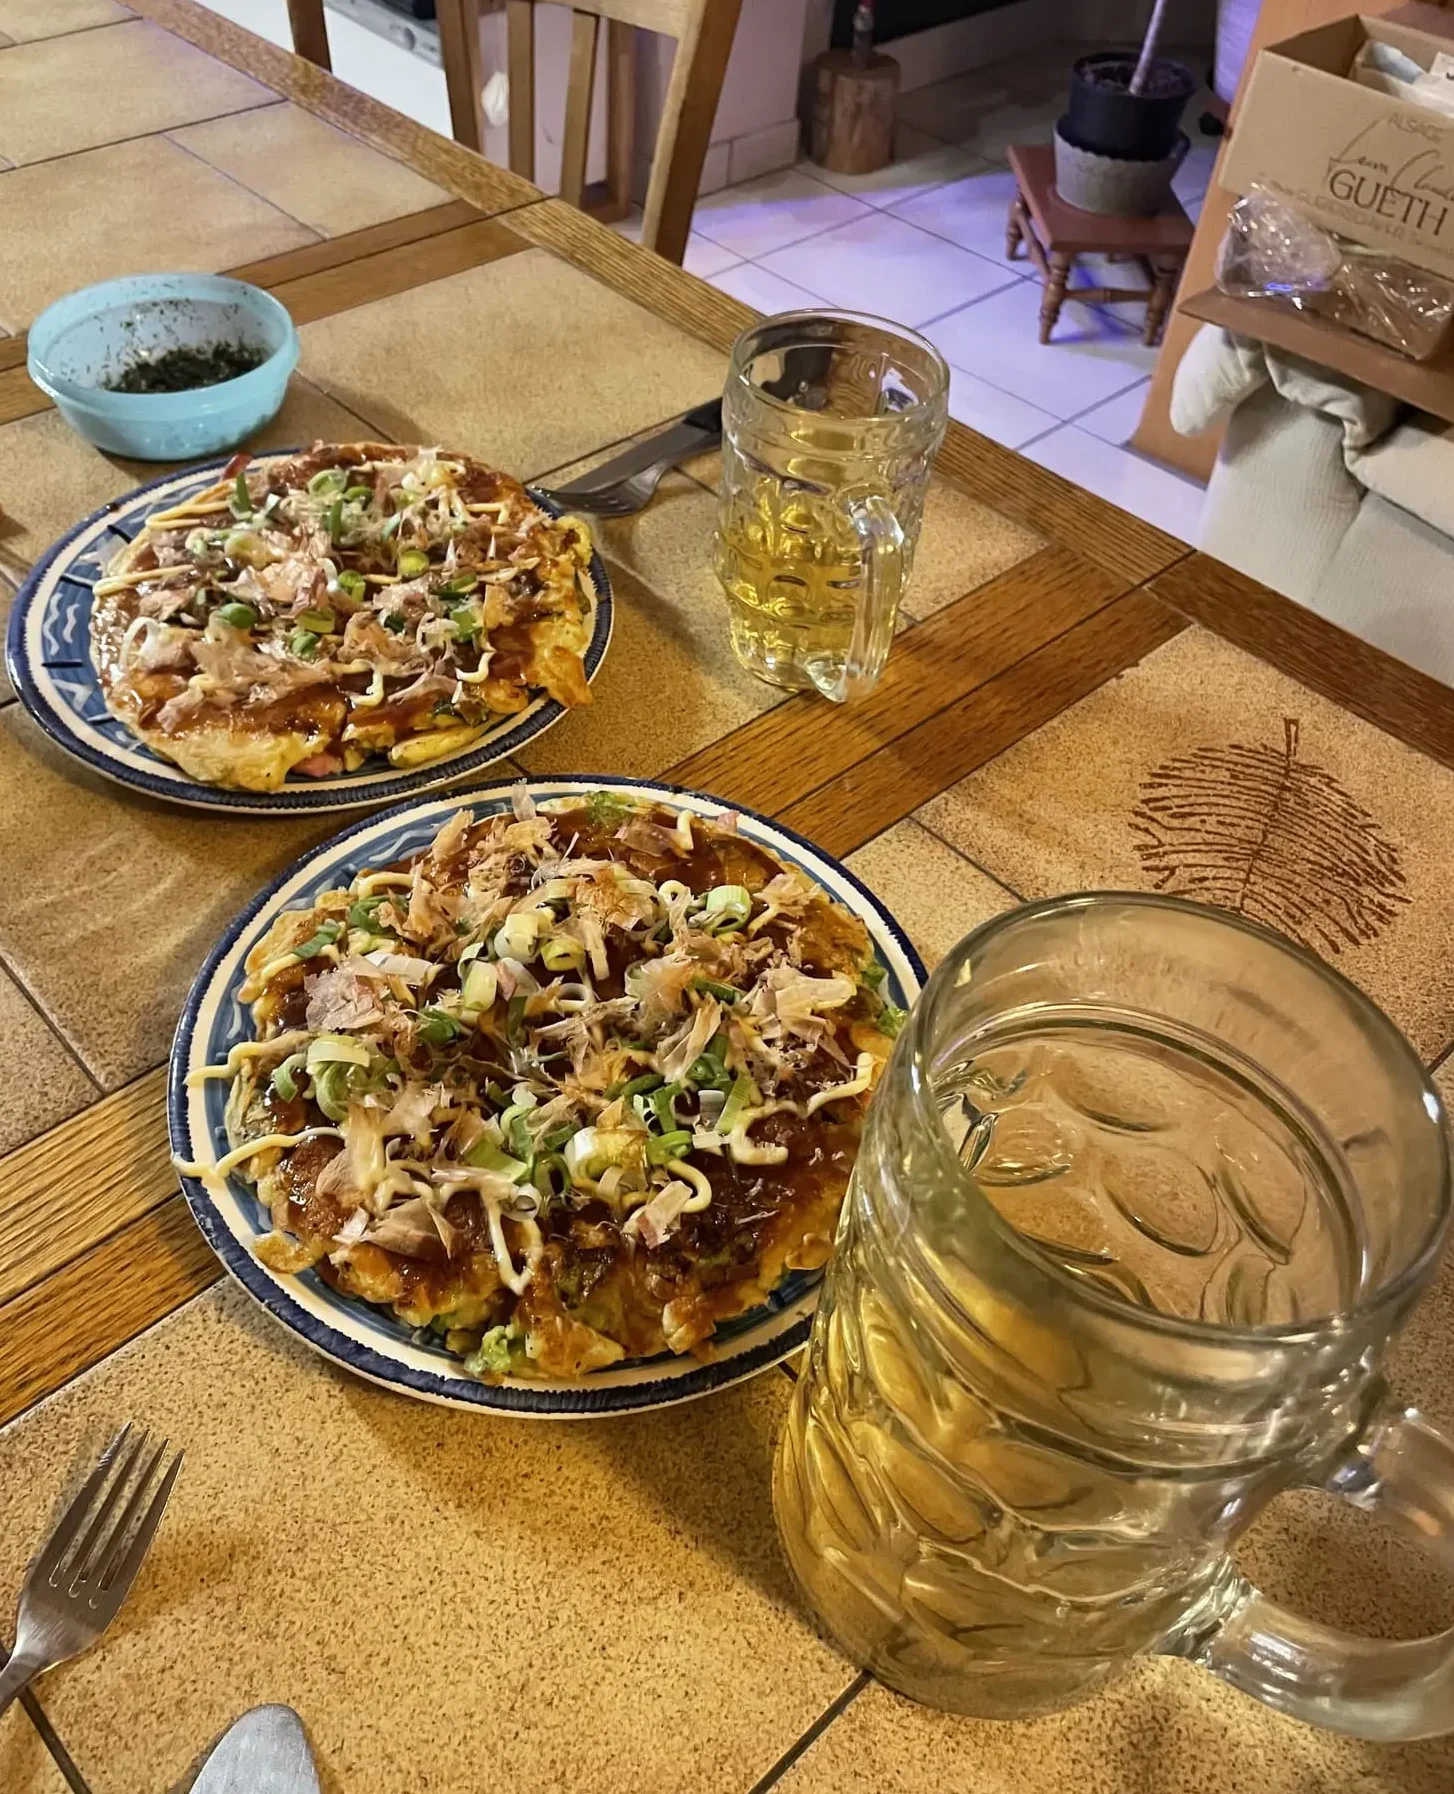
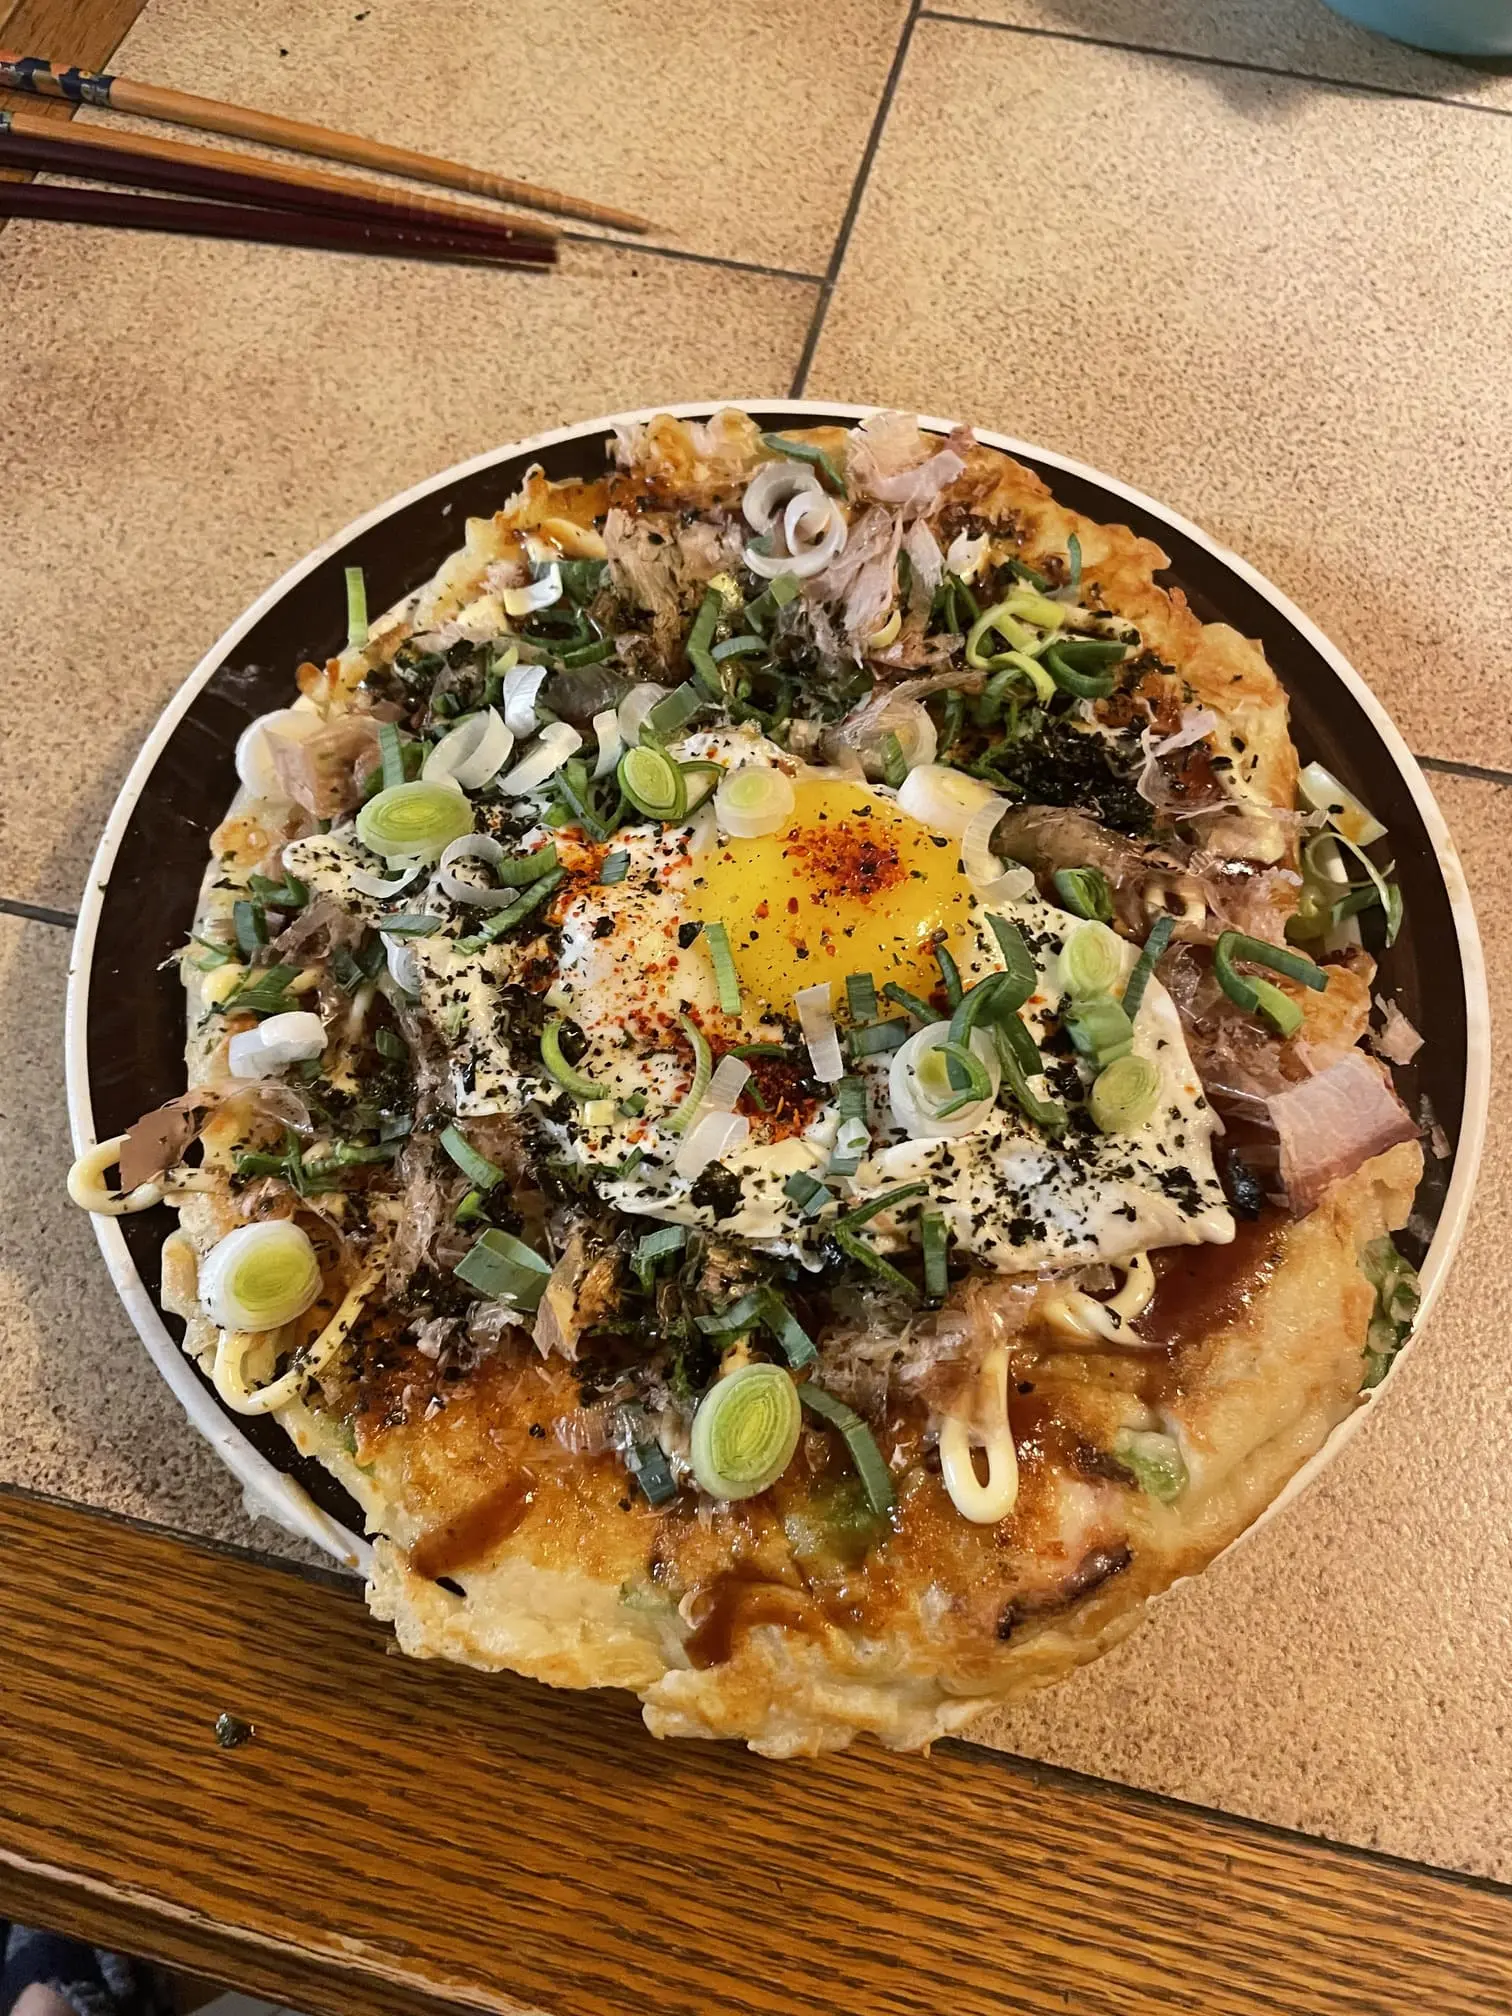
- When everything is nicely browned and cooked through the center, place the pork side down on a plate and cover the top side (without pork) with a generous layer of brown okonomiyaki sauce, using a brush to spread it evenly.
- Next, take the mayonnaise and create a small design (usually a tight grid, but feel free to get creative). If you opt for the grid pattern, you can use the tip of a knife to add some artistic flair to the design.
- Finally, sprinkle katsuoboshi on top and watch it dance (the dried flakes will react to the heat), then add ginger, green onion, and finely chopped aonori to add a touch of green color.
A small tip: If you’re cooking for a group and can’t make multiple okonomiyaki at once, it’s best to make 1-2 at a time and share them by cutting them in halves or quarters. It’s better to enjoy them together rather than having the cook stuck making each pancake for 10 minutes while guests eat one after another. Just my personal opinion, do it how you feel
Now you can enjoy this true symbol of Osaka cuisine and its thunderous gastronomic ambience. If you’re a fan of this type of food, you’ve got to visit THE food capital of Japan.
The recipe was mostly inspired on the commeaujapon website, i.e. the one I picked up on my return from my trip to Japan. I cooked it so that my parents could try it. They were delighted with this delicacy and my undeniable Japanese cooking skills ;P
Enjoy, Mata ne (またね , see you next time in Japanese).


